 Save to Pinterest
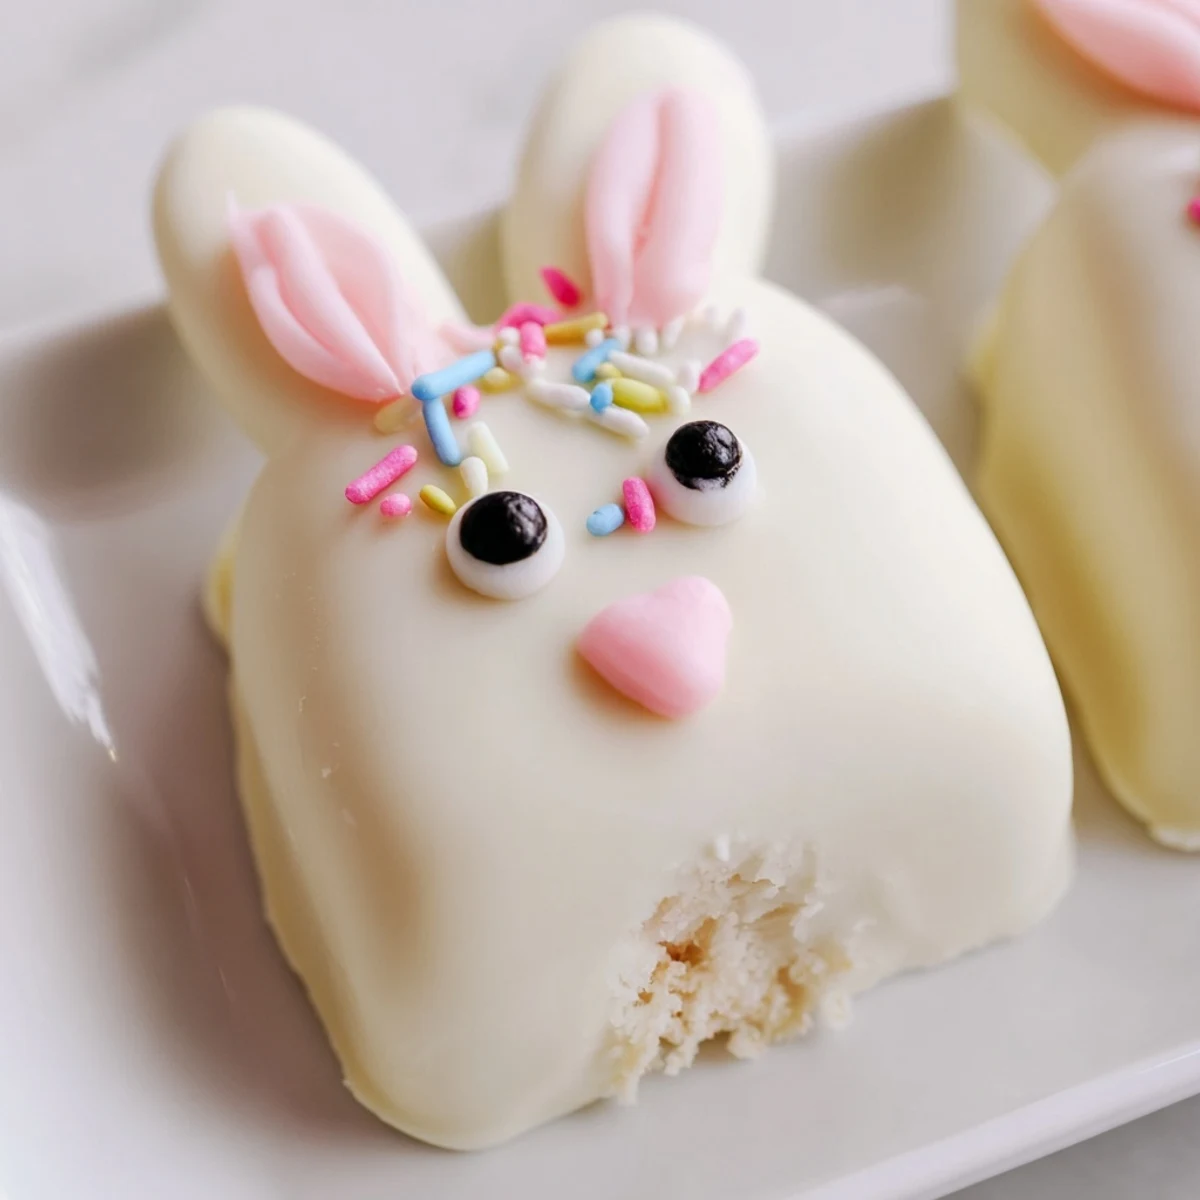
 Create these delightful bunny-shaped handheld treats combining moist vanilla cake with a rich white chocolate coating. These festive desserts are perfect for Easter celebrations, offering a fun activity for families to make together. The cake mixture uses simple ingredients like vanilla cake crumbs, cream cheese, and butter to create a dough that holds its shape beautifully when dipped. Decorate with candy eyes, sprinkles, or fondant features to bring your bunny faces to life.
Last Easter, my niece wanted to help make something extra special for dessert. We ended up spending the whole afternoon covered in white chocolate and sprinkles, laughing every time a bunny ear fell off. Those messy, joyful moments in the kitchen became the highlight of the holiday, and now these cakesicles are our requested tradition.
Ive learned that the secret to these treats is patience during the chilling step. One year I rushed it and ended up with chocolate-covered sticks and no cake attached. Now I build in extra fridge time while putting on a pot of coffee, knowing that the wait makes all the difference between beautiful bunny faces and a sweet disaster.
Ingredients
- Vanilla cake crumbs: Using slightly stale cake actually works better here, so save those leftover cupcakes or trimmings from a leveled cake
- Cream cheese: Room temperature is non negotiable for that smooth, dough like texture that holds everything together beautifully
- Unsalted butter: Adds just the right amount of richness without making the mixture too soft to handle
- Powdered sugar: A little sweetness helps bind the crumbs and balances the tangy cream cheese perfectly
- Vanilla extract: Pure vanilla makes such a difference in the final flavor, so skip the imitation stuff
- White chocolate: Candy melts are easier to work with for beginners, but high quality white chocolate tastes incredible if you are comfortable tempering
- Cakesicle sticks: Insert these at an angle rather than straight down for better stability and a more professional look
Instructions
- Make the cake mixture:
- Mix everything together with clean hands, feeling for that perfect playdough like consistency that holds its shape when squeezed
- Shape your bunnies:
- Press each portion gently into an oval with a slightly pointed top, keeping them roughly the same size so they chill evenly
- Add the sticks:
- Push each stick about halfway in, wiggling slightly to embed it securely into the cake mixture
- Chill thoroughly:
- Pop them in the fridge for at least 20 minutes, or until they feel firm and cold to the touch
- Melt the chocolate:
- Heat in short bursts, stirring between each, until you have a silky smooth pool of white chocolate
- Dip and decorate:
- Lower each cake pop into the chocolate, let the excess drip off, then immediately add decorations before it sets
 Save to Pinterest
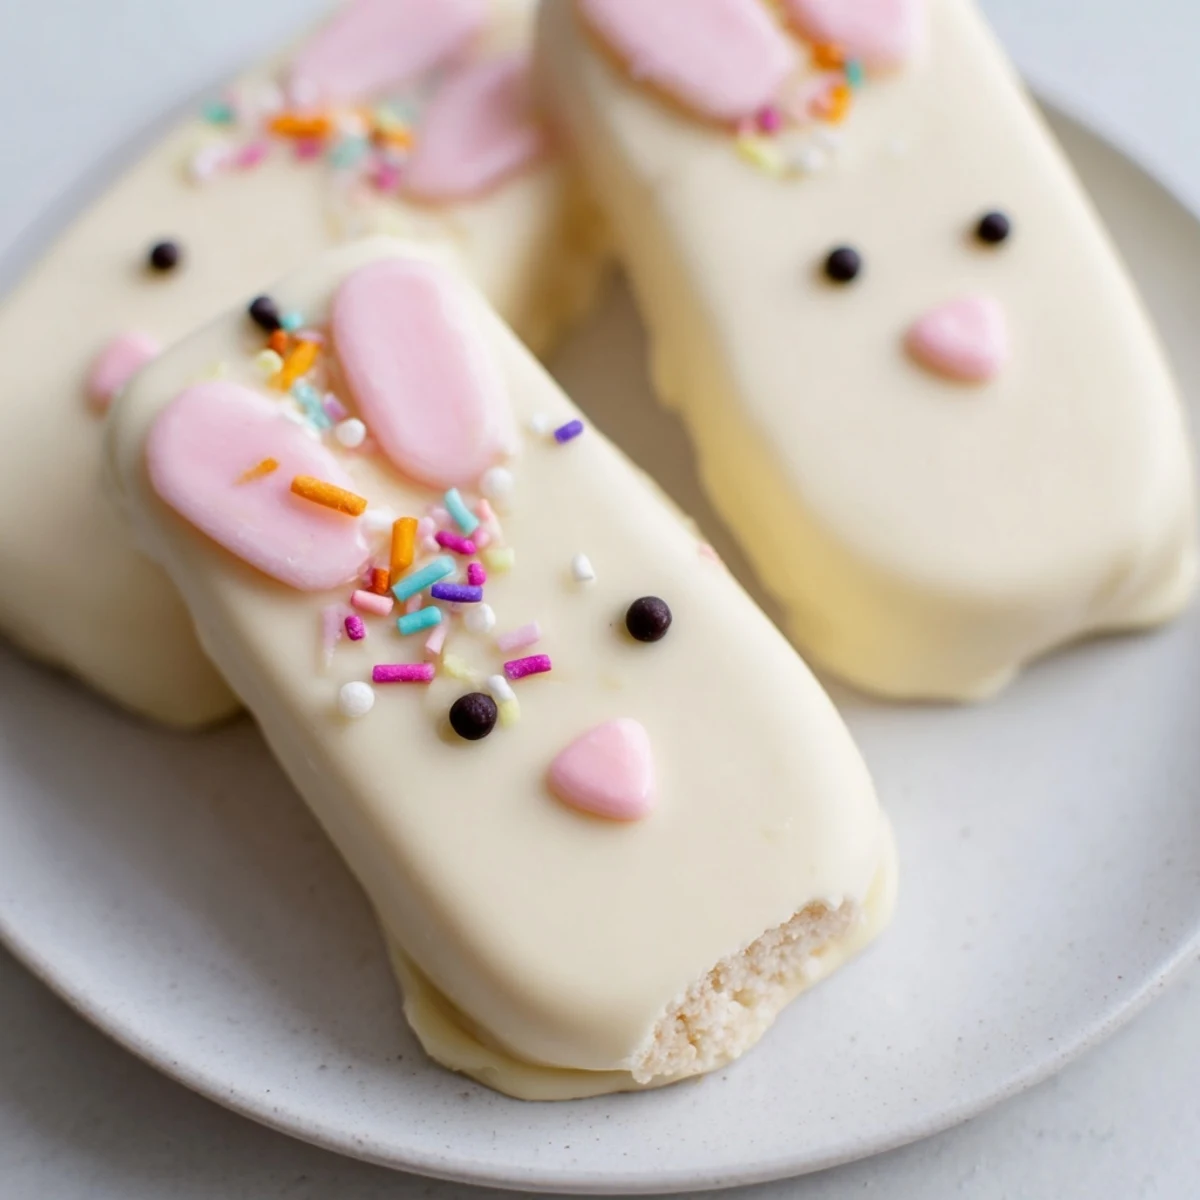
 My sister now requests these for every family gathering, not just Easter. There is something so satisfying about pulling out that tray of happy little bunny faces, each one slightly different but equally adorable.
Making Them Ahead
You can form the cake mixture up to two days before and store it tightly wrapped in the fridge. I often do this the night before a party, then just melt the chocolate and dip them fresh the next day for the best texture and appearance.
Decorating Ideas
Beyond the classic pink ears and nose, try using edible glitter for sparkly bunnies or crushed candy canes for a winter twist. Sometimes I pipe on tiny bow ties with colored chocolate for extra personality.
Serving And Storage
These are best served the same day they are made for that perfect snap of chocolate. If you need to store them, layer them between parchment paper in an airtight container.
- Let them come to room temperature for about 10 minutes before serving for the best texture
- Stand them up in a jar filled with sprinkles or sugar for an adorable display
- Package them in clear bags tied with pastel ribbon for the cutest party favors
 Save to Pinterest
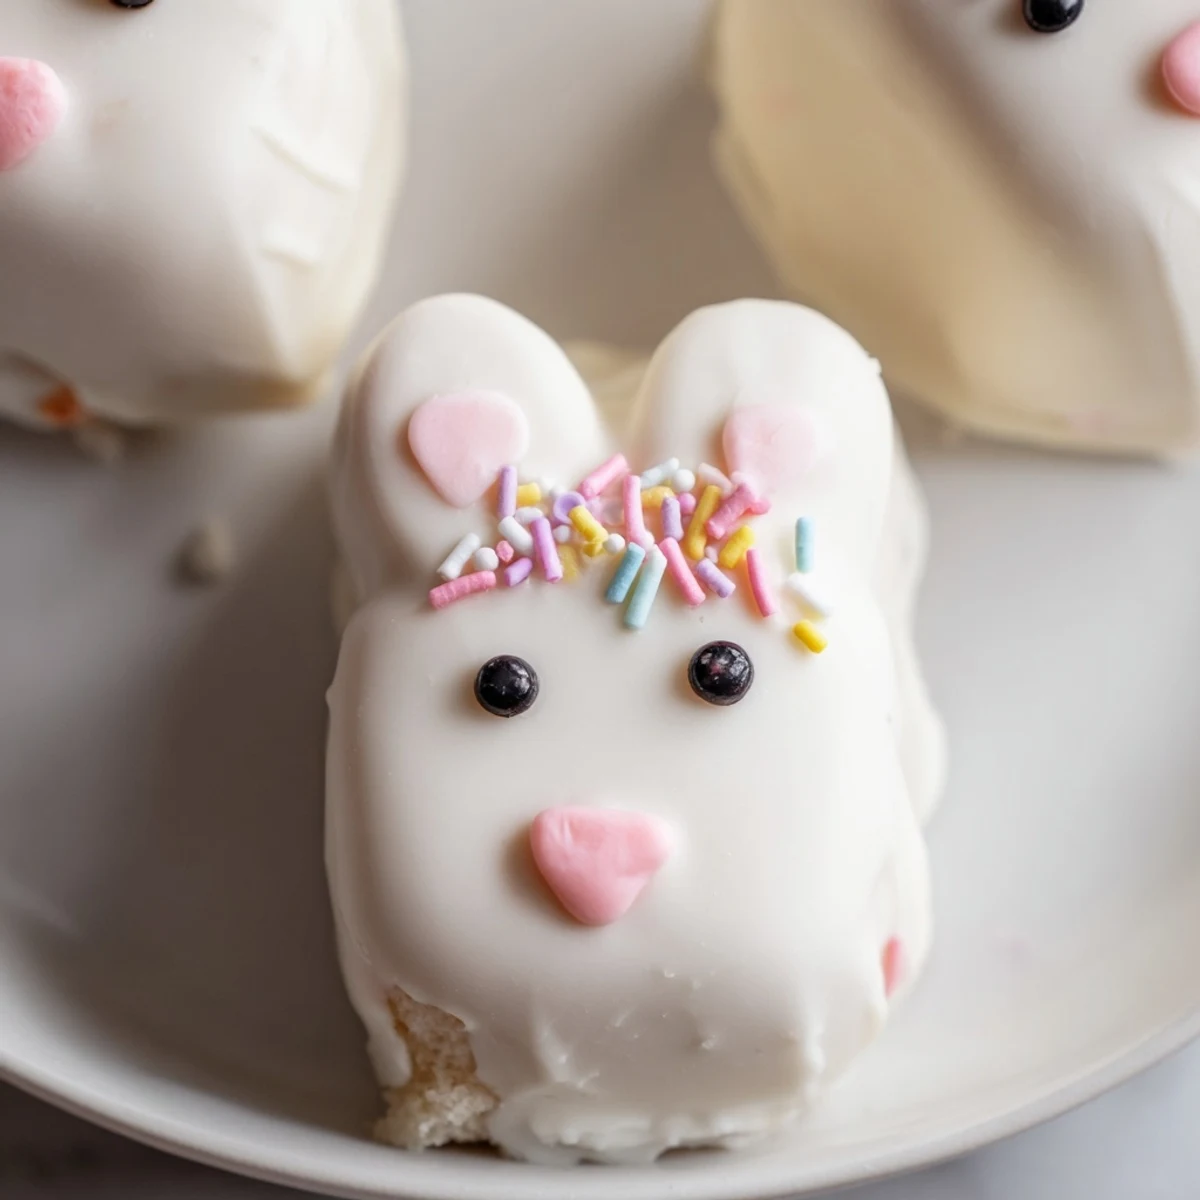
 There is pure magic in watching someone bite into these and light up at the surprise of cake inside that crisp chocolate shell. Happy Easter baking!
Recipe Questions & Answers
- → How long do white chocolate bunny cakesicles stay fresh?
-
Store your bunny cakesicles in an airtight container in the refrigerator for up to 3 days. The cool temperature helps maintain the white chocolate coating and keeps the cake moist. For best results, let them come to room temperature briefly before serving.
- → Can I make these ahead of time for Easter?
-
Absolutely! Prepare the cake mixture and shape the bunnies up to 2 days in advance. Store them in the refrigerator until ready to coat with white chocolate. Dip and decorate them the day before your celebration for optimal freshness and appearance.
- → What other cake flavors work well for these treats?
-
While vanilla cake creates a classic pairing with white chocolate, you can experiment with chocolate, lemon, strawberry, or red velvet cake crumbs. Each flavor offers a unique twist while still maintaining the adorable bunny presentation.
- → Do I need a special mold to make bunny cakesicles?
-
No special mold is required! Hand-shaping the cake mixture into flattened ovals works perfectly. However, using a cakesicle mold can help create uniform shapes and make the process easier, especially if you're making a large batch.
- → What's the best way to melt white chocolate for coating?
-
Melt white chocolate in a microwave-safe bowl using 30-second intervals, stirring thoroughly between each session. This prevents scorching and ensures smooth, even melting. Alternatively, use a double boiler on the stovetop for gentle, controlled heating.
- → How can I prevent the cake mixture from falling off the sticks?
-
Ensure your cake mixture has a dough-like consistency that holds together well. After inserting the stick, gently press the cake around it to secure. Refrigerating the shaped bunnies for 20-30 minutes before dipping firms them up and helps the sticks stay in place.
