 Save to Pinterest
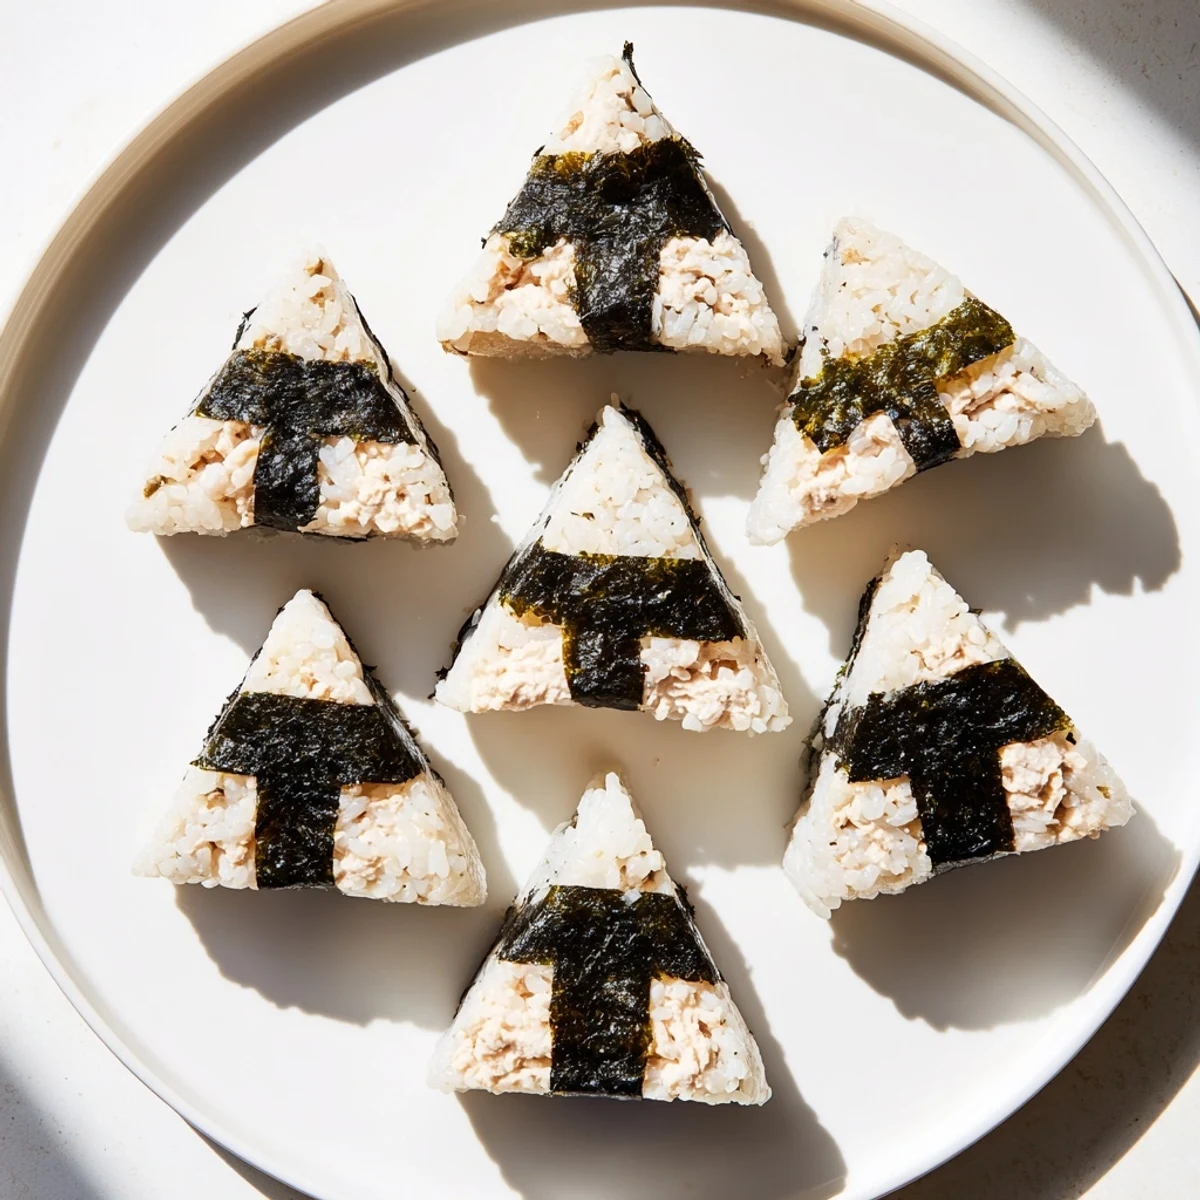
 These traditional Japanese rice balls feature a savory center of canned tuna mixed with creamy Kewpie mayonnaise, soy sauce, and black pepper. The warm short-grain rice forms a tender exterior that encases the flavorful filling, while a pinch of salt enhances the natural sweetness. Each hand-shaped triangle gets wrapped with a strip of crispy nori for added texture and easy handling. Ideal for meal prep, school lunches, or quick snacks, these onigiri can be customized with scallions or sesame oil.
The convenience store around the corner from my old apartment in Tokyo had a glass case near the register filled with onigiri wrapped in crisp plastic, each one tucked inside a clever sleeve that separated the nori from the rice until the exact moment you were ready to eat. I bought one almost every morning, always the tuna mayo version, tearing the packaging open while walking to the train station and eating it one handed with my bag sliding off my shoulder. Years later at home in my own kitchen I realized how absurdly simple they are to make and how much better they taste when the rice is still warm beneath your fingertips. The shaping takes a little practice but even the ugly ones disappear fast.
My friend Yuki nearly fell off her chair laughing the first time she watched me try to shape onigiri into neat triangles. They looked like lumpy potatoes, every single one, but we ate them sitting on the kitchen floor with a six pack of beer and she told me the taste was perfect even if the geometry was a disaster.
Ingredients
- Japanese short-grain rice: This is non negotiable because long grain varieties will simply crumble apart when you try to shape them, so seek out the real thing.
- Water: Measured precisely for plump tender grains that stick together without turning gummy.
- Canned tuna in water: Drain it thoroughly, pressing the lid down firmly so the filling stays creamy rather than watery.
- Japanese mayonnaise like Kewpie: Richer and more tangy than standard mayo, it transforms basic canned tuna into something genuinely craveable.
- Soy sauce: Just a teaspoon adds depth and umami that pulls the whole filling together.
- Ground black pepper: Optional but a welcome gentle heat that balances the richness of the mayo.
- Salt: Used on your palms while shaping, it seasons the outside of the rice and keeps it from sticking to your hands.
- Nori sheets cut into strips: They provide a satisfying crunch and make the onigiri easier to hold, wrapped around the base just before eating.
Instructions
- Wash the rice well:
- Rinse the rice under cold running water, swirling it with your hand, and repeat until the water turns mostly clear, usually four or five changes. Let it drain in a strainer for a few minutes so the cooking water ratio stays accurate.
- Cook the rice:
- Combine the rinsed rice and measured water in a rice cooker or a heavy bottomed pot and cook according to the package instructions. Once done, let it rest covered for ten minutes so the grains finish steaming and firm up slightly.
- Mix the tuna filling:
- While the rice rests, break up the drained tuna in a bowl with the mayonnaise, soy sauce, and pepper, stirring until it becomes a cohesive creamy mixture. Taste it and adjust with a little more soy sauce if you like it bolder.
- Prepare your hands:
- Wet both hands with plain water, then rub a pinch of salt across your palms, which seasons the rice surface and creates a barrier against sticking. Keep a bowl of water nearby because you will need to re wet between each onigiri.
- Shape the onigiri:
- Scoop roughly half a cup of warm rice into one hand, press a shallow well into the center with your thumb, and spoon in a generous tablespoon of the tuna filling. Fold the rice over the filling and gently cup your hands together, rotating and pressing until you have a triangle or oval shape that holds together without being packed too tightly.
- Wrap with nori:
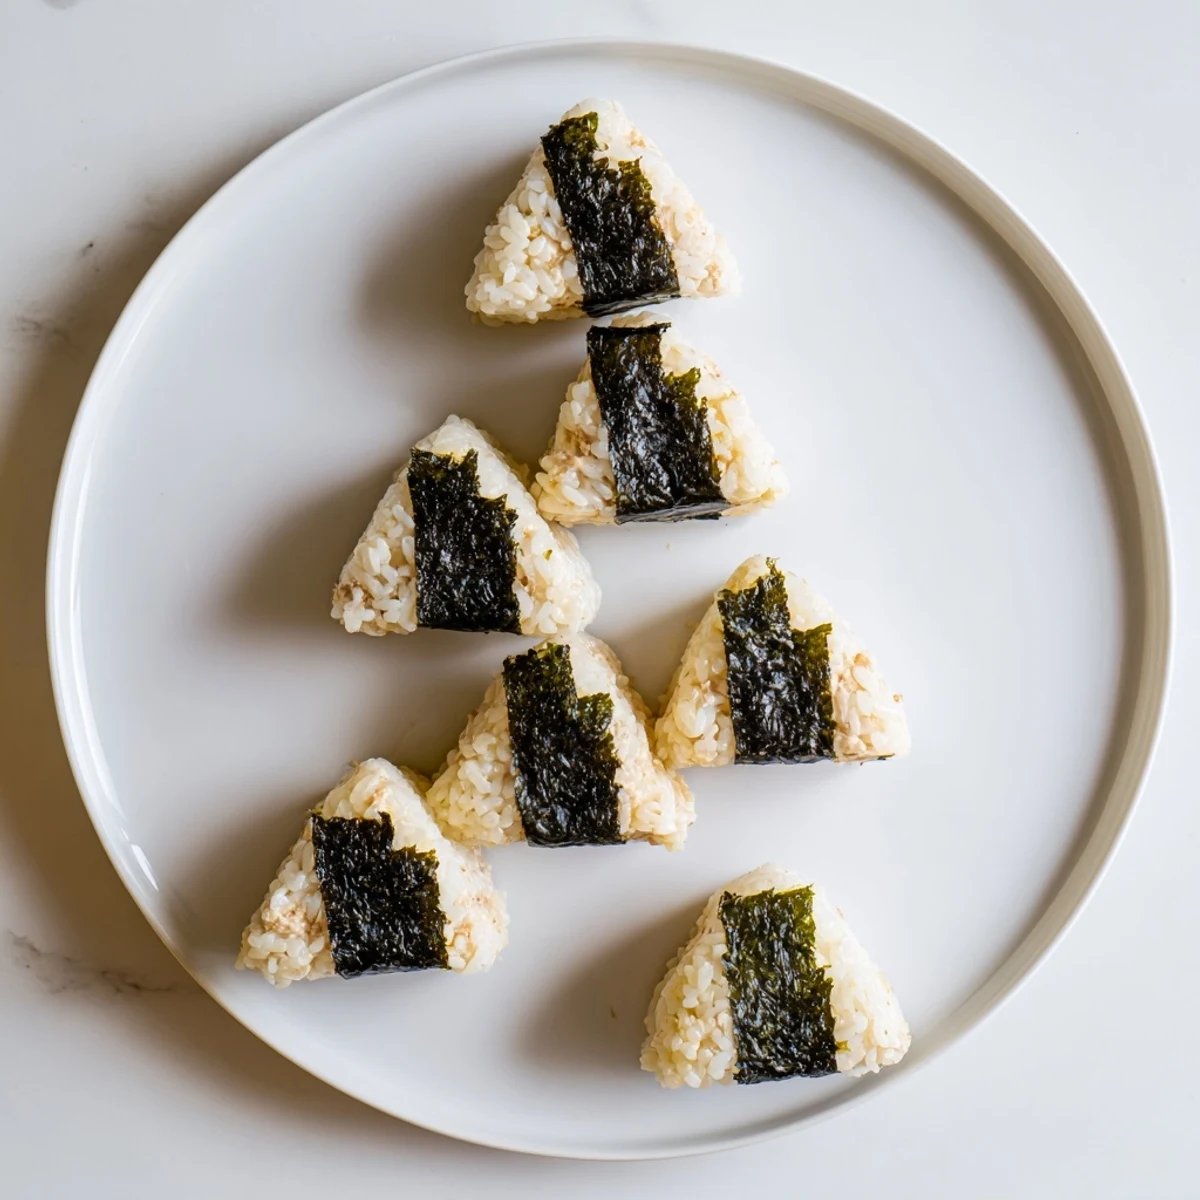
- Press a strip of nori against the bottom edge of each onigiri, wrapping it partway up the sides so it covers roughly a third of the rice. Serve them right away for the best contrast of soft rice and crackly seaweed, or wrap them tightly for later.
 Save to Pinterest
 I packed six of these in a bento box for a summer hike last year and my partner ate all of them before we reached the trailhead, sitting on the tailgate of the car with nori stuck to his chin, asking if I could make more next weekend.
Tools That Genuinely Help
A rice cooker takes the guesswork out of the most important step in this entire recipe, which is getting the rice texture right. If you do not own one, use a heavy pot with a tight fitting lid and resist every urge to peek while it simmers. A clean damp kitchen towel draped over your work surface gives you a spot to rest shaped onigiri without them sticking.
When Onigiri Travel
These are made for lunchboxes and day trips, but a few small precautions keep them tasting fresh rather than sad. Wrap each one individually in plastic wrap, pressing out as much air as possible, and keep the nori strips separate in a small bag so they stay crisp. They are best eaten within a few hours, though they will survive twenty four hours in the refrigerator if you let them come to room temperature before eating.
Making It Your Own
The tuna mayo filling is just a starting point once you feel confident with the shaping technique and want to experiment. Try folding in chopped scallions or a few drops of toasted sesame oil for extra fragrance, or swap the tuna for flaked smoked salmon when you want something a little fancier.
- A tiny dot of wasabi hidden inside the filling surprises people in the best possible way.
- Furikake sprinkled over the rice before shaping adds color and a savory crunch on the outside.
- Serve with a small cup of miso soup and call it a meal that cost you almost nothing.
 Save to Pinterest
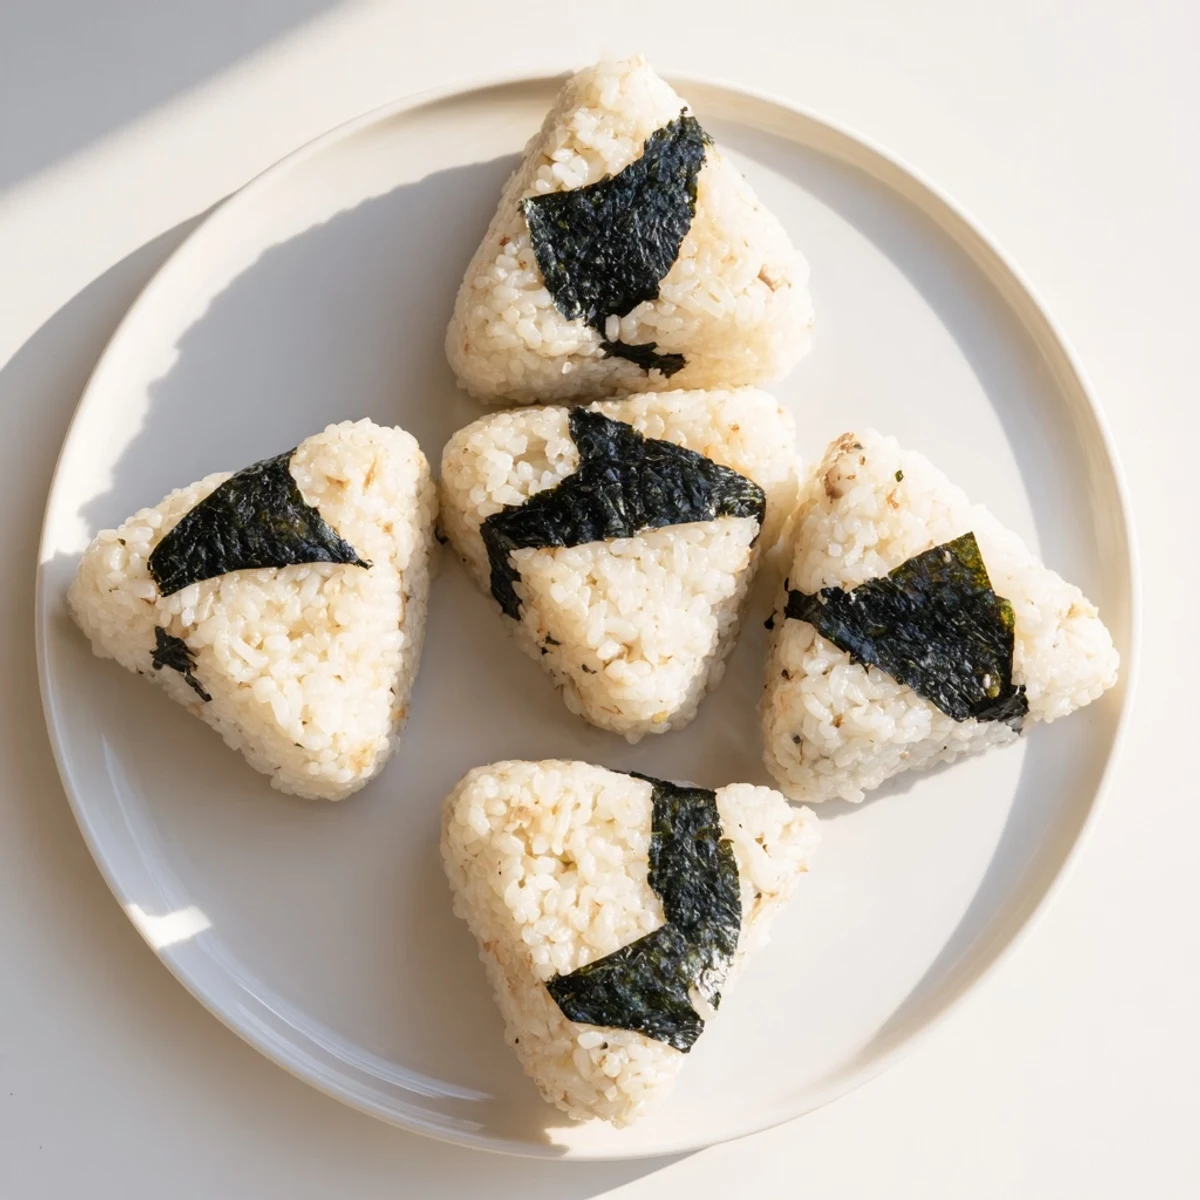
 There is something quietly satisfying about standing at your kitchen counter with warm rice in your bare hands, shaping food the way people have done it for centuries, no tools required. These little rice balls carry the kind of comfort that makes you slow down and eat lunch properly, even on a busy day.
Recipe Questions & Answers
- → What type of rice works best for onigiri?
-
Japanese short-grain rice or sushi rice is essential because its high starch content creates the sticky texture needed to hold the triangular shape. Long-grain varieties like jasmine or basmati won't bind properly and will fall apart.
- → Can I use regular mayonnaise instead of Japanese mayo?
-
Yes, regular mayonnaise works as a substitute, though the flavor will be slightly less rich and savory. Japanese mayonnaise contains egg yolks and rice vinegar, giving it a distinct creamy umami taste that complements the tuna.
- → How long do onigiri stay fresh?
-
For best quality and texture, enjoy onigiri the same day they're made. They can be wrapped tightly in plastic wrap and refrigerated for up to 24 hours, though the rice may become firmer. Let cold onigiri come to room temperature before eating.
- → Why do I need to salt my hands when shaping?
-
Lightly salting your palms serves two purposes: it seasons the exterior of the rice, and it helps prevent the warm sticky rice from clinging to your skin. Wetting your hands with water first helps the salt adhere evenly.
- → Can I freeze onigiri for later?
-
Avoid freezing onigiri with the tuna filling already inside, as the texture of both rice and tuna will deteriorate. Instead, freeze plain shaped rice balls wrapped well in plastic, then thaw and add fresh filling when ready to eat.
- → What other fillings can I use?
-
Popular alternatives include salted salmon (shake), pickled plum (umeboshi), bonito flakes with soy sauce (okaka), or cooked kombu seaweed. The tuna mayo combination remains a favorite for its creamy, savory appeal.
