 Save to Pinterest
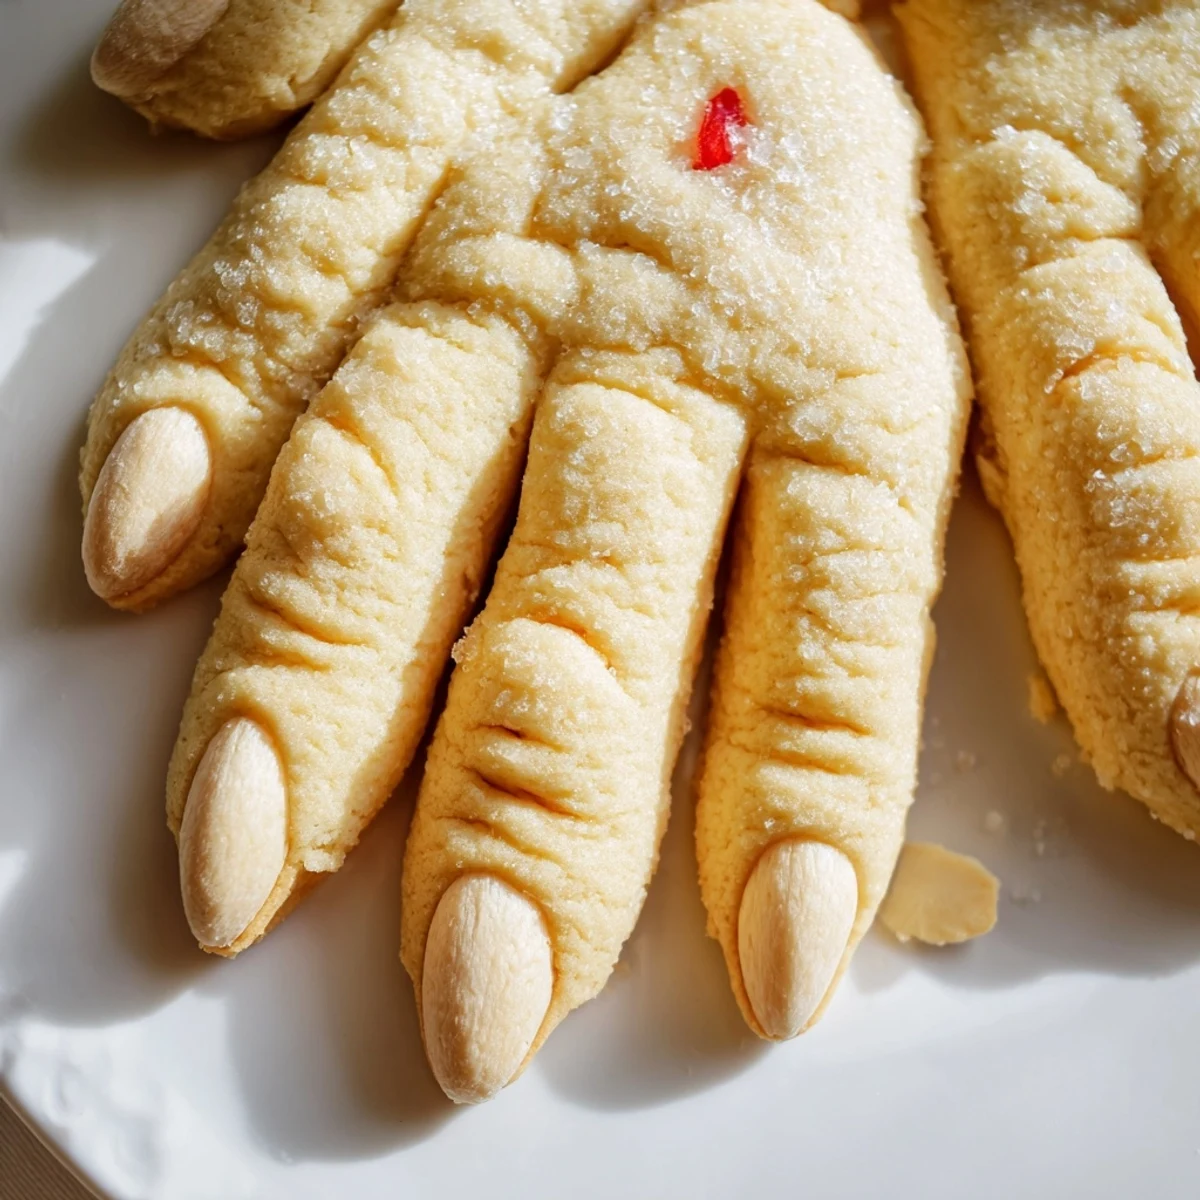
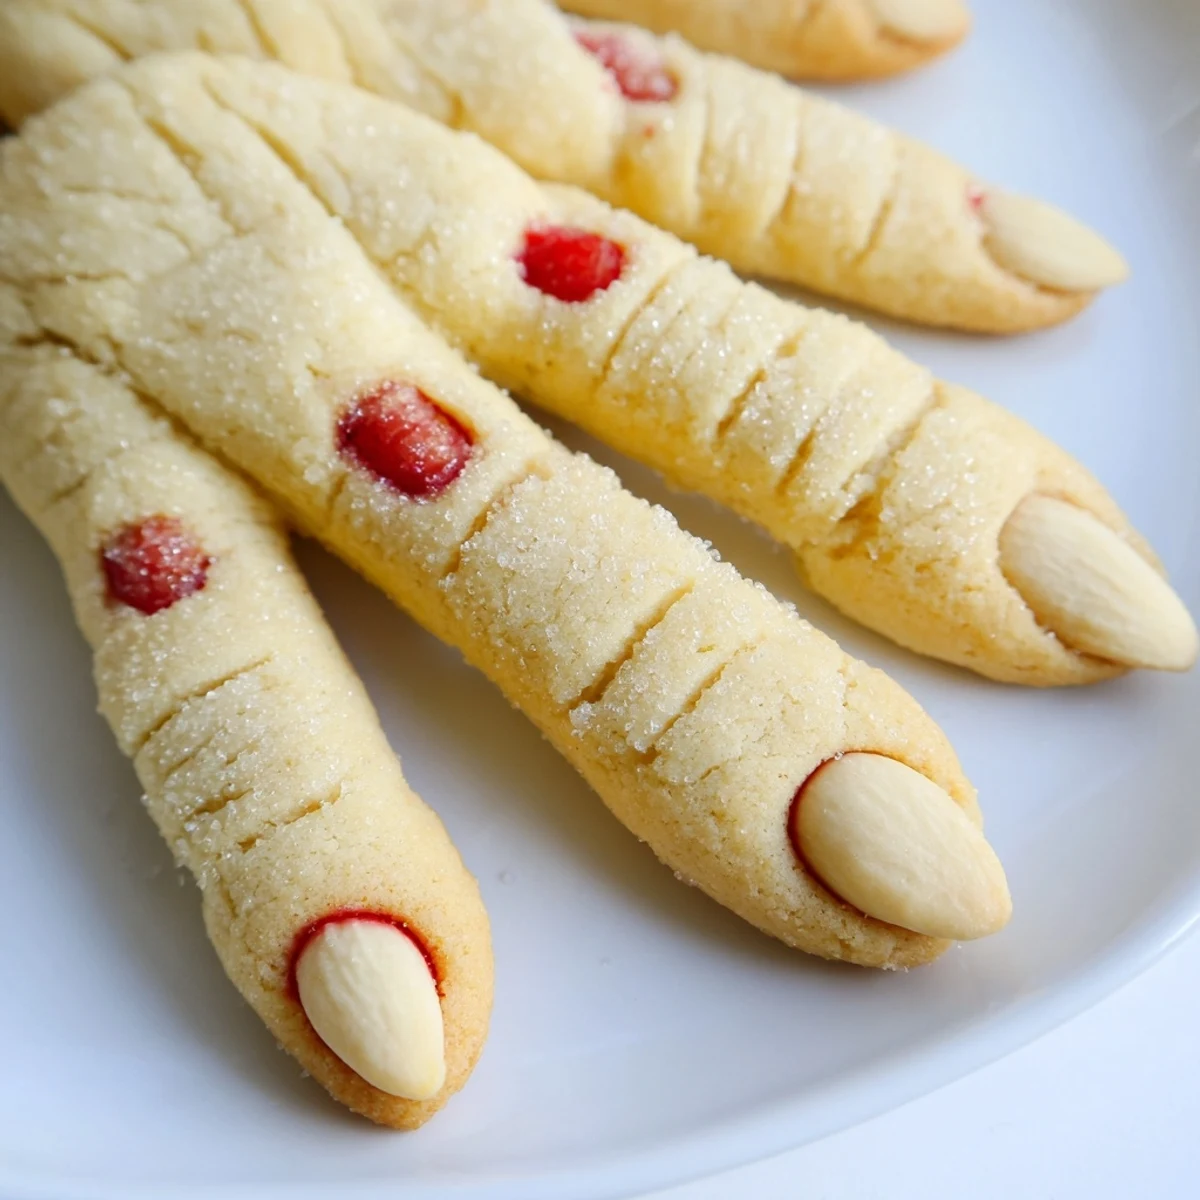
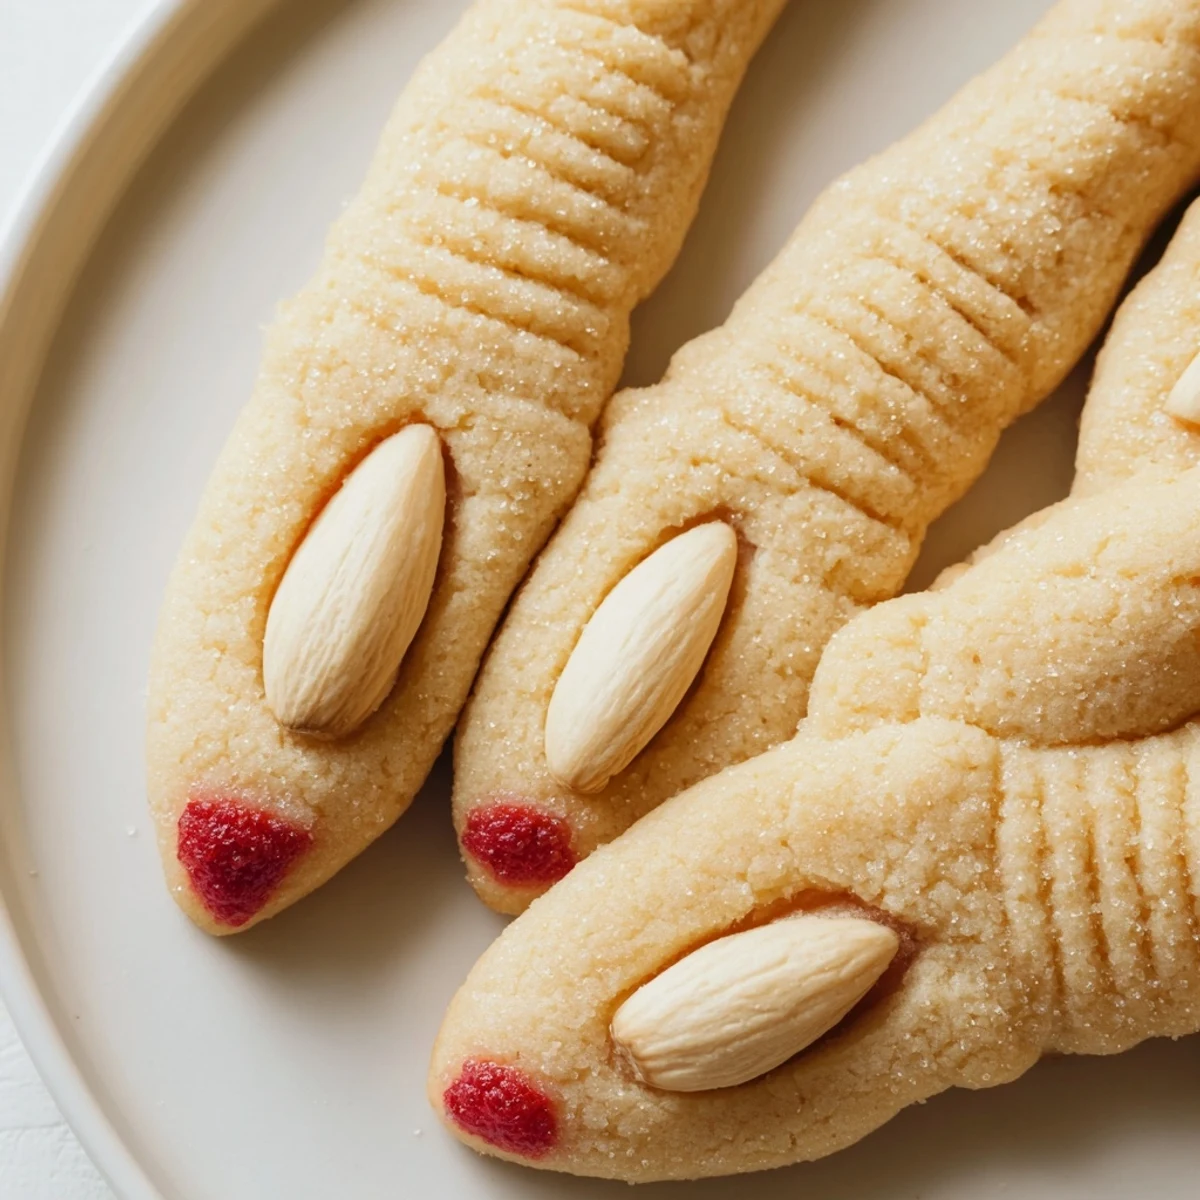
 These creepy witch finger cookies combine buttery almond-flavored dough with spooky visual details. Each finger-shaped treat features knuckle markings and a blanched almond fingernail, enhanced with red gel or jam for a gory effect. The easy-to-work dough rolls smoothly into 3-4 inch fingers, bakes to golden perfection in 20 minutes, and yields 24 hauntingly delicious treats. Perfect for Halloween parties, school events, or frightening friends and family.
My college roommate threw a Halloween party that was dying for something memorable, so I spent an entire Saturday shaping these witch fingers while watching horror movies. Every time the doorbell rang, I had to wipe flour off my hands before answering, which led to some hilarious costume mishaps. The cookies disappeared faster than the cheap punch, and I learned that nothing brings a room together like food that looks vaguely threatening.
Last year my niece helped me make them and kept shrieking with genuine delight every time we pressed an almond fingernail into place. We arranged them on a platter reaching toward the center like a creepy crawly pile, and her friends actually hesitated before grabbing one. That moment of uncertainty followed by the realization that these are delicious cookies is exactly why I keep making them year after year.
Ingredients
- Unsalted butter: Room temperature butter is non negotiable here, so take it out at least an hour before you plan to start mixing
- Granulated sugar: Cream this thoroughly with the butter until it looks pale and fluffy, which creates that tender shortbread texture
- Large egg: Bring this to room temperature too so it incorporates smoothly without making the dough seize up
- Vanilla and almond extract: The almond flavor is what makes these taste special, but you can swap it for lemon if you are not a fan
- All purpose flour: Measure by weight if you can for consistent results, as too much flour makes the fingers tough instead of tender
- Baking powder and salt: These give the cookies a slight rise and balance the sweetness without being detectable
- Blanched almonds: Look for whole blanched almonds without skins, which look remarkably like fingernails when pressed into the dough
- Red gel or jam: This creates the bloody effect that takes these from cute to genuinely unsettling, though strawberry jam works beautifully
Instructions
- Preheat and prepare:
- Set your oven to 325°F and line two baking sheets with parchment paper so you are not scrambling later
- Cream the butter and sugar:
- Beat the softened butter and sugar together until the mixture is light, pale, and fluffy, which takes about 3 minutes with an electric mixer
- Add the egg and extracts:
- Crack in the egg and pour in both extracts, beating until everything is completely incorporated and the mixture looks glossy
- Whisk the dry ingredients:
- In a separate bowl, combine the flour, baking powder, and salt so they are evenly distributed before you add them to the butter mixture
- Form the dough:
- Gradually mix in the flour mixture just until a dough forms, being careful not to overwork it or the cookies will be tough
- Shape the fingers:
- Scoop about a tablespoon of dough and roll it between your palms into a finger shape about 3 to 4 inches long, making them slightly uneven for realism
- Add knuckles and nails:
- Use a knife to gently score knuckle lines, then press a blanched almond into one end to create the fingernail
- Bake until golden:
- Arrange the fingers on your prepared baking sheets about 2 inches apart and bake for 18 to 20 minutes until they are just starting to turn golden
- Create the bloody effect:
- Carefully remove the almond fingernails, dab some red food coloring or jam into the indent, then press the almond back in place
- Cool completely:
- Let the cookies finish cooling on a wire rack so they firm up completely, which makes them easier to handle and serve
 Save to Pinterest
 I once brought these to a potluck and watched grown men do an actual double take before slowly reaching for one, unsure if they were actually supposed to eat them. The best part was seeing their faces light up when they realized these creepy fingers were actually buttery, almond scented cookies worth fighting over. That is the moment these treats go from novelty baking to something people request year after year.
Making Them Extra Creepy
You can tint small portions of dough with green or gray food coloring to create witches hands that look like they have seen better days. The trick is using gel colors rather than liquid so you do not throw off the dough consistency, and a little goes a long way toward creating that undead effect.
Shaping Secrets
Do not stress about making every finger look perfect, because the slightly misshapen ones actually look more realistic and unsettling. I have found that making some fingers curved or crooked adds personality, and varying the length makes the final platter look genuinely disturbing in the best way.
Serving Ideas
These cookies shine when served alongside hot apple cider or paired with dark cocktails for a Halloween party that feels thoughtfully curated rather than thrown together. I have also arranged them in a circle pointing inward like a seance gone wrong, which never fails to get a laugh before people dive in.
- Stack them upright in a shallow bowl filled with black jelly beans for a graveyard effect
- Serve them alongside a bowl of red fruit punch labeled witches brew for maximum impact
- Package individual fingers in clear treat bags tied with black ribbon for party favors
 Save to Pinterest
 There is something deeply satisfying about serving food that makes people gasp before they laugh, and these witch fingers deliver that moment every single time. Hope your Halloween is appropriately spooky and delicious.
Recipe Questions & Answers
- → How do I make the cookies look more realistic?
-
Create deep knuckle lines using a knife handle or toothpick. Press almonds firmly into one end, then add red food coloring or strawberry jam underneath for the bloody effect. You can also tint portions of dough green or gray for undead variations.
- → Can I make the dough ahead of time?
-
Yes, refrigerate the dough for up to 3 days before shaping and baking. Let it soften slightly at room temperature for easier rolling. You can also freeze shaped, uncooked fingers for up to a month.
- → What can I use instead of almonds for the fingernails?
-
Try slivered almonds for a different nail shape, or use cashew halves for wider nails. For nut-free versions, shape dough into nail points or use candy melts piped into nail shapes.
- → How should I store these Halloween treats?
-
Keep in an airtight container at room temperature for up to 5 days. Layer with parchment paper to prevent sticking. The jam may soften the cookies slightly over time, so add the bloody effect just before serving if making days ahead.
- → Can I double this batch for a large party?
-
Absolutely—this recipe scales easily. Double all ingredients for 48 fingers. You may need to bake in batches or use additional baking sheets. The mixing time increases slightly but shaping remains quick and simple.
