 Save to Pinterest
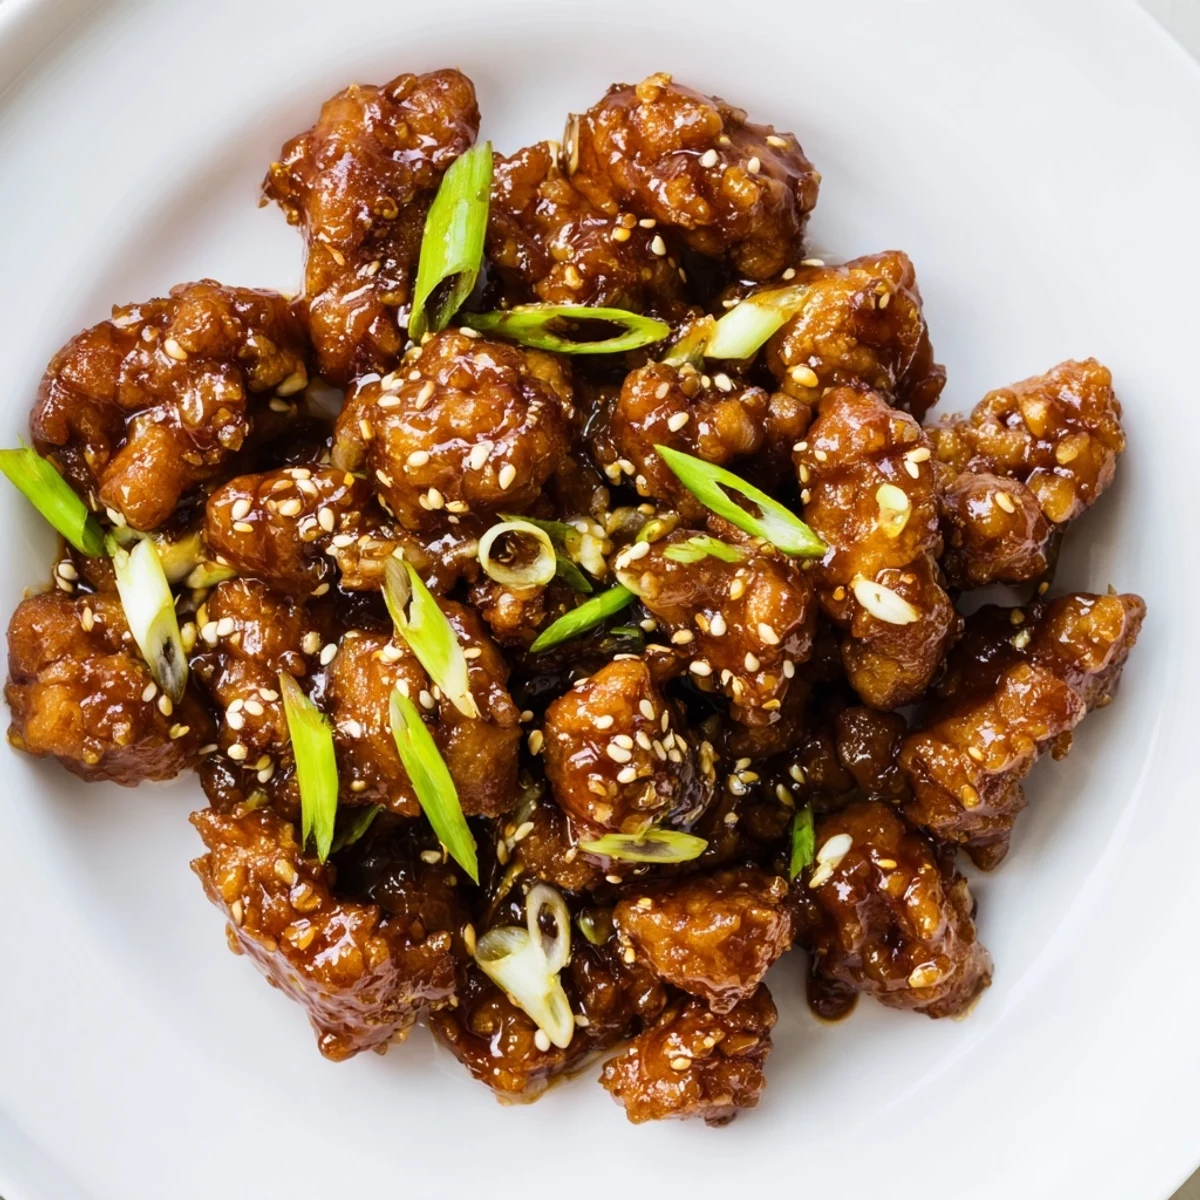
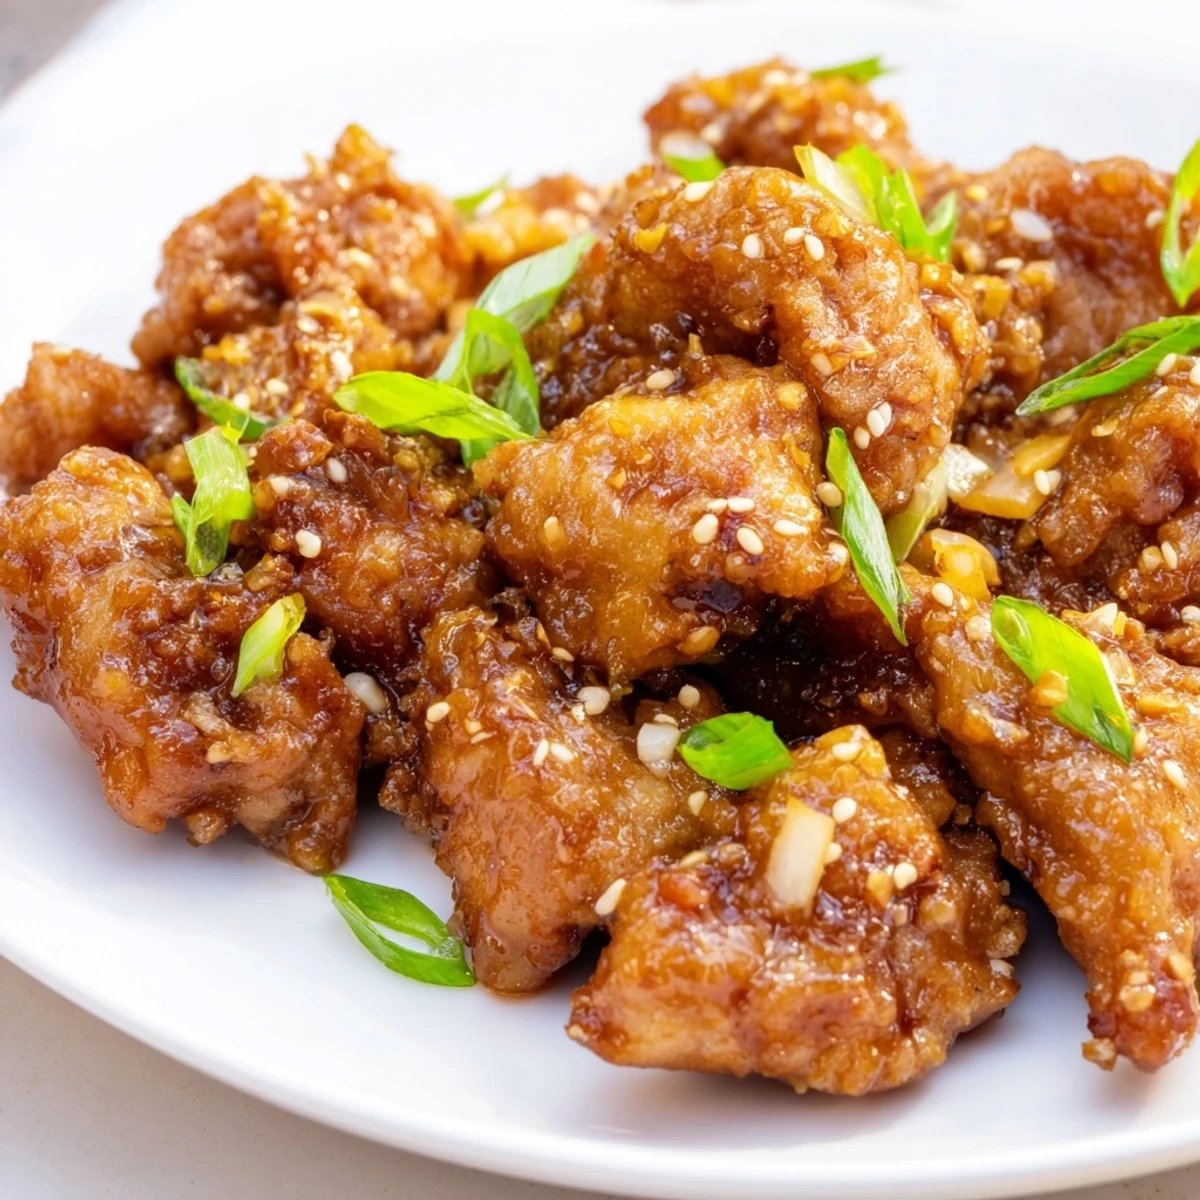
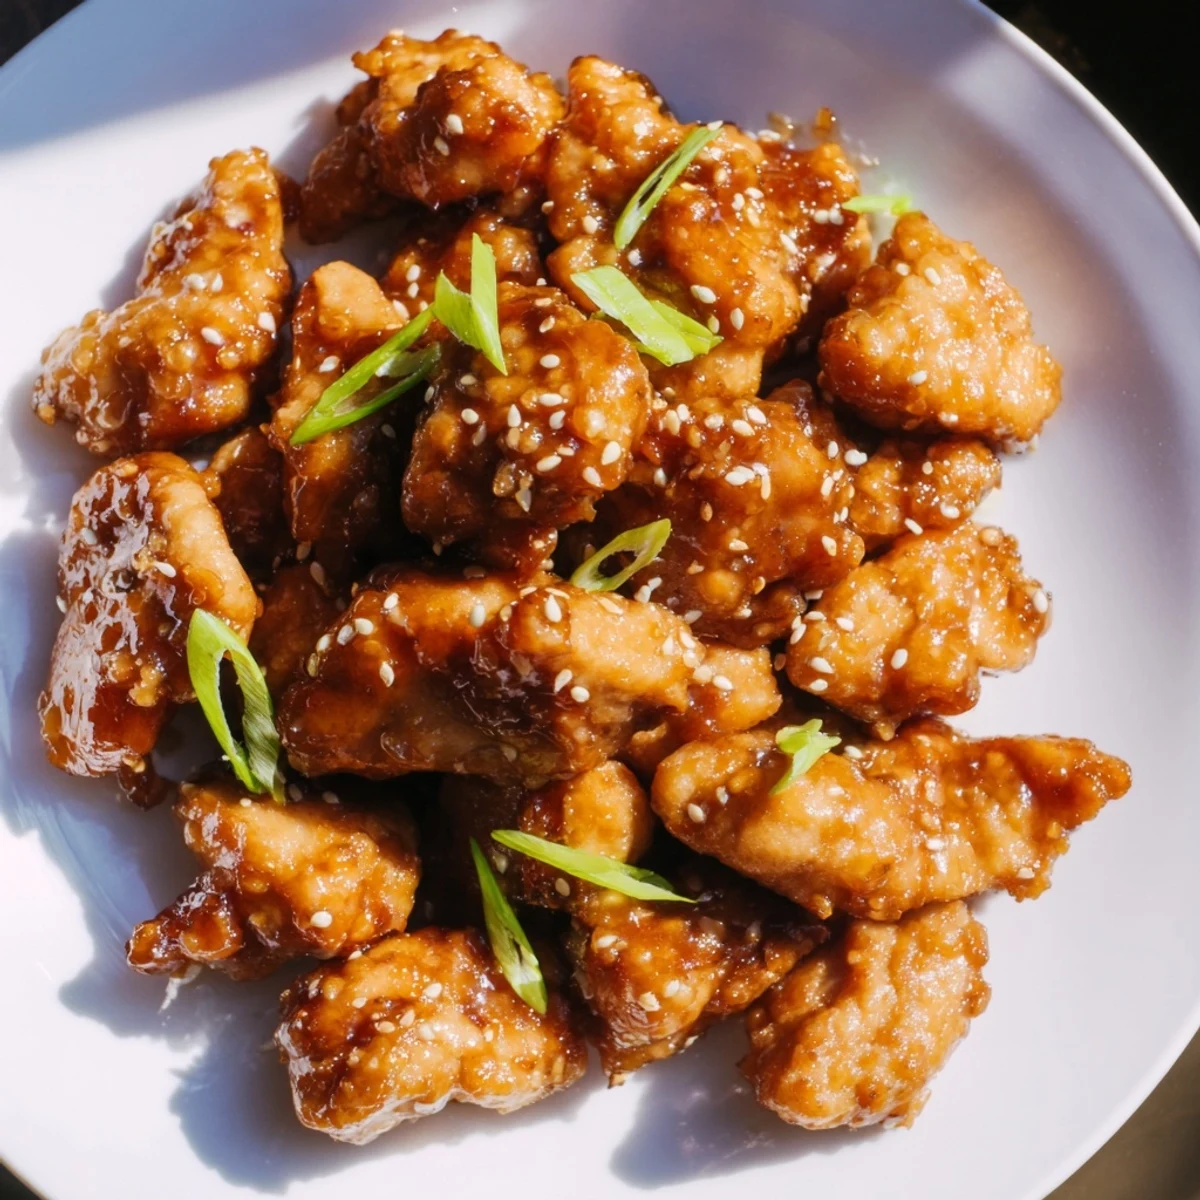
 Prepare crispy, golden chicken thighs coated in cornstarch and pan-fried until perfectly crunchy. The sauce combines soy sauce, brown sugar, hoisin, rice vinegar, and aromatics like fresh ginger and garlic for that signature Mongolian flavor profile. Once the sauce thickens, toss the chicken back in until every piece is glazed and clinging with the sweet and savory mixture. Serve over fluffy steamed white rice and garnish with fresh green onions and toasted sesame seeds for extra texture and visual appeal.
The first time I made Mongolian Chicken, my kitchen smelled like a takeout restaurant but better, because I could control exactly what went into that sticky, glossy sauce. I'd been craving that perfect balance of sweet and savory that makes you want to lick your plate, but I wanted it fresh and hot from my own stove. Now it's become our Friday night tradition, the kind of meal that makes everyone linger at the table a little longer.
Last month, my neighbor caught the aroma wafting through our shared wall and knocked on my door with an empty takeout container, asking if I'd figured out the secret to good Mongolian chicken. We ended up eating together at my kitchen table, and she admitted she'd been ordering from the same place for years but never felt satisfied. Now we text each other every time we make it, comparing whose sauce turned out glossier.
Ingredients
- Chicken thighs: Thighs stay juicier than breasts through the high-heat cooking process and stand up better to the heavy sauce coating
- Cornstarch: This creates the light crispy exterior that helps the sauce cling to every piece
- Soy sauce: Use low-sodium so you can control the salt level while still getting that deep umami flavor
- Brown sugar: The molasses in dark brown sugar gives the sauce its signature rich color and caramel notes
- Hoisin sauce: This is the secret ingredient that adds depth and that authentic restaurant taste you cant quite place
- Fresh ginger: Dont use powdered ginger here, fresh brings a bright, spicy warmth that cuts through the sweetness
- Sesame oil: Toasted sesame oil adds a nutty finish at the end that makes the whole dish taste complete
Instructions
- Coat the chicken:
- Toss your chicken pieces in a bowl with cornstarch, salt, and pepper until they're evenly dusted and no white spots remain
- Crisp it up:
- Heat oil in your wok or skillet and cook chicken in batches, letting each piece develop a golden crust before flipping, about 6 to 8 minutes total
- Whisk the sauce:
- Combine soy sauce, brown sugar, water, hoisin, rice vinegar, and sesame oil in a bowl until the sugar dissolves completely
- Wake up the aromatics:
- Sauté minced ginger and garlic in the same pan for just 1 minute until fragrant but not brown
- Build the sauce:
- Pour in your whisked sauce and let it bubble for 2 to 3 minutes, stirring constantly until it coats the back of a spoon
- Bring it together:
- Add chicken back to the pan and toss until every piece is glossy and coated, then simmer 2 more minutes until the sauce clings tightly
 Save to Pinterest
 My daughter now requests this for her birthday dinner every year instead of going out to eat. She claims my version is better than any restaurant, but I think it might just be that she loves helping me garnish with the green onions and watching the sesame seeds sprinkle down like edible confetti.
Getting That Perfect Crisp
The cornstarch coating is what makes restaurant-style Mongolian chicken so addictive. Don't shake off the excess coating, and let the pieces sit undisturbed in the hot oil for at least 2 minutes before you even think about flipping them.
Sauce Secrets
Your sauce should bubble vigorously when you add it to the pan, that's how you know the heat is right. If it seems too thick immediately, splash in a tablespoon of water, and if it's too thin after 3 minutes of simmering, let it go another minute longer.
Make It Your Own
This recipe is incredibly forgiving once you understand the basic sauce-to-chicken ratio. I've made countless variations based on what's in my fridge or who's coming over for dinner.
- Add broccoli florets during the last 2 minutes of cooking for a complete meal
- Double the red chili flakes if your family loves serious heat
- Try pineapple juice instead of water for a Hawaiian-inspired twist
 Save to Pinterest
 There's something deeply satisfying about making a dish that tastes like it came from a professional kitchen but only took you 45 minutes on a Tuesday night. Plus, the leftovers reheat beautifully for lunch the next day.
Recipe Questions & Answers
- → What cut of chicken works best for this dish?
-
Boneless, skinless chicken thighs are ideal because they stay juicy and tender during cooking. You can substitute chicken breasts, though thighs provide better texture and flavor retention.
- → How can I make the chicken extra crispy?
-
Double-fry the chicken pieces by frying them initially, removing from the pan, then frying again for 2-3 minutes before adding to the sauce. This technique creates a crunchier exterior that holds up well against the glossy sauce.
- → Can I adjust the spice level?
-
Absolutely. The red chili flakes are optional, so omit them for a milder version. For more heat, increase to 1-2 teaspoons or add fresh sliced chilies along with the ginger and garlic.
- → Is this dish gluten-free?
-
Traditional soy sauce and hoisin contain gluten, but you can easily make this gluten-free by using tamari or gluten-free soy sauce along with gluten-free hoisin. The cornstarch coating is naturally gluten-free.
- → What vegetables can I add?
-
Stir-fried bell peppers, snap peas, broccoli, or carrots work beautifully. Add them during the final simmer so they stay tender-crisp and don't become mushy.
- → How long does the sauce keep?
-
The sauce can be prepared up to 3 days in advance and stored in an airtight container in the refrigerator. Reheat gently before tossing with the cooked chicken.
