 Save to Pinterest
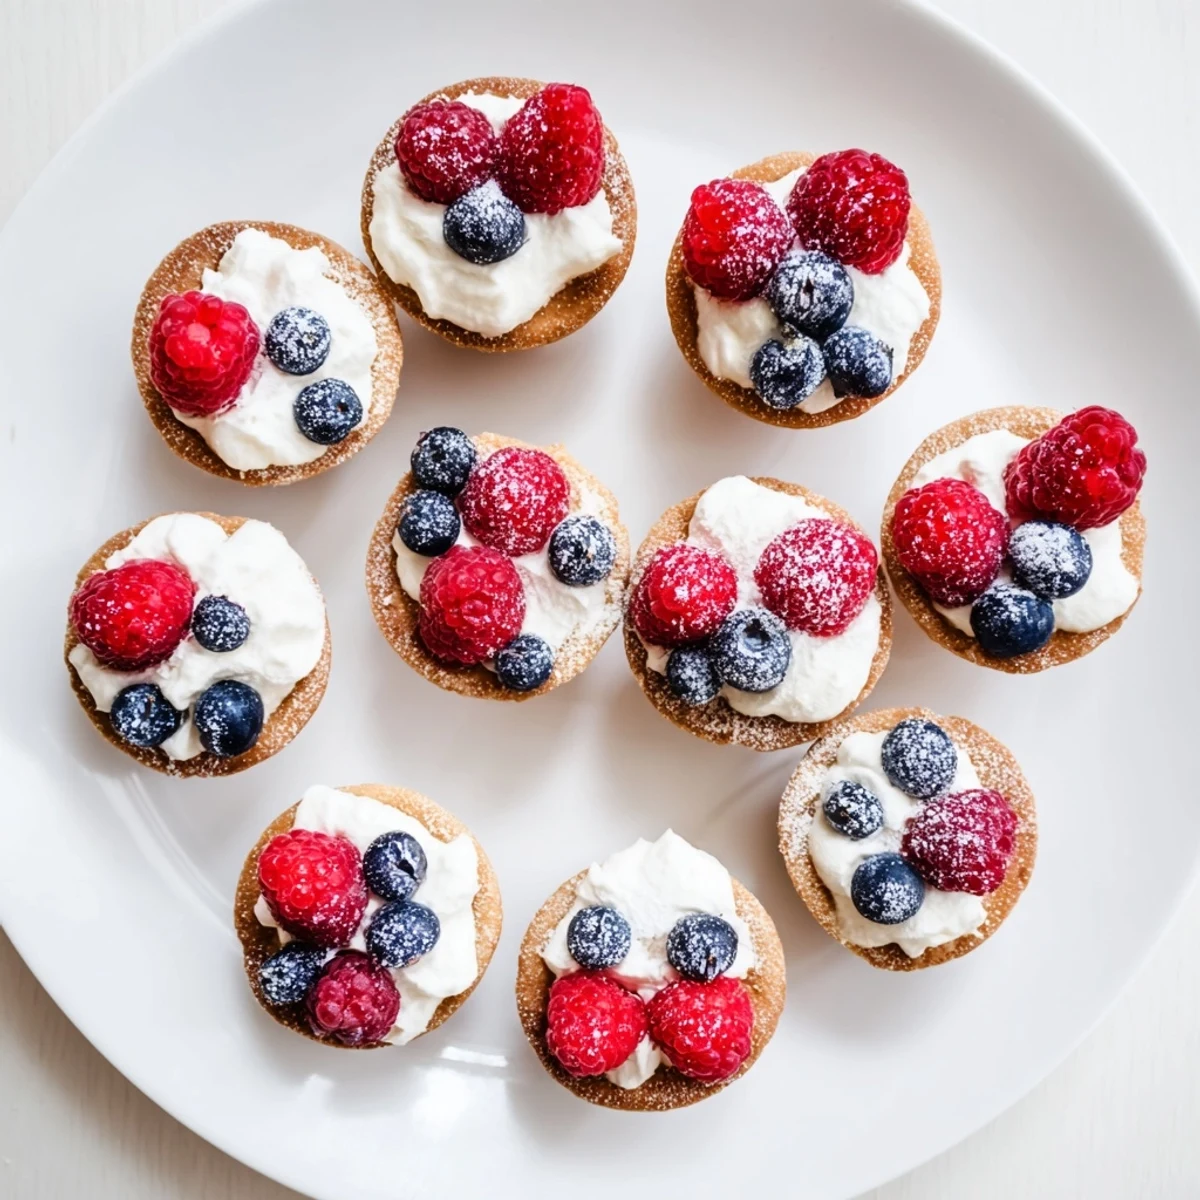
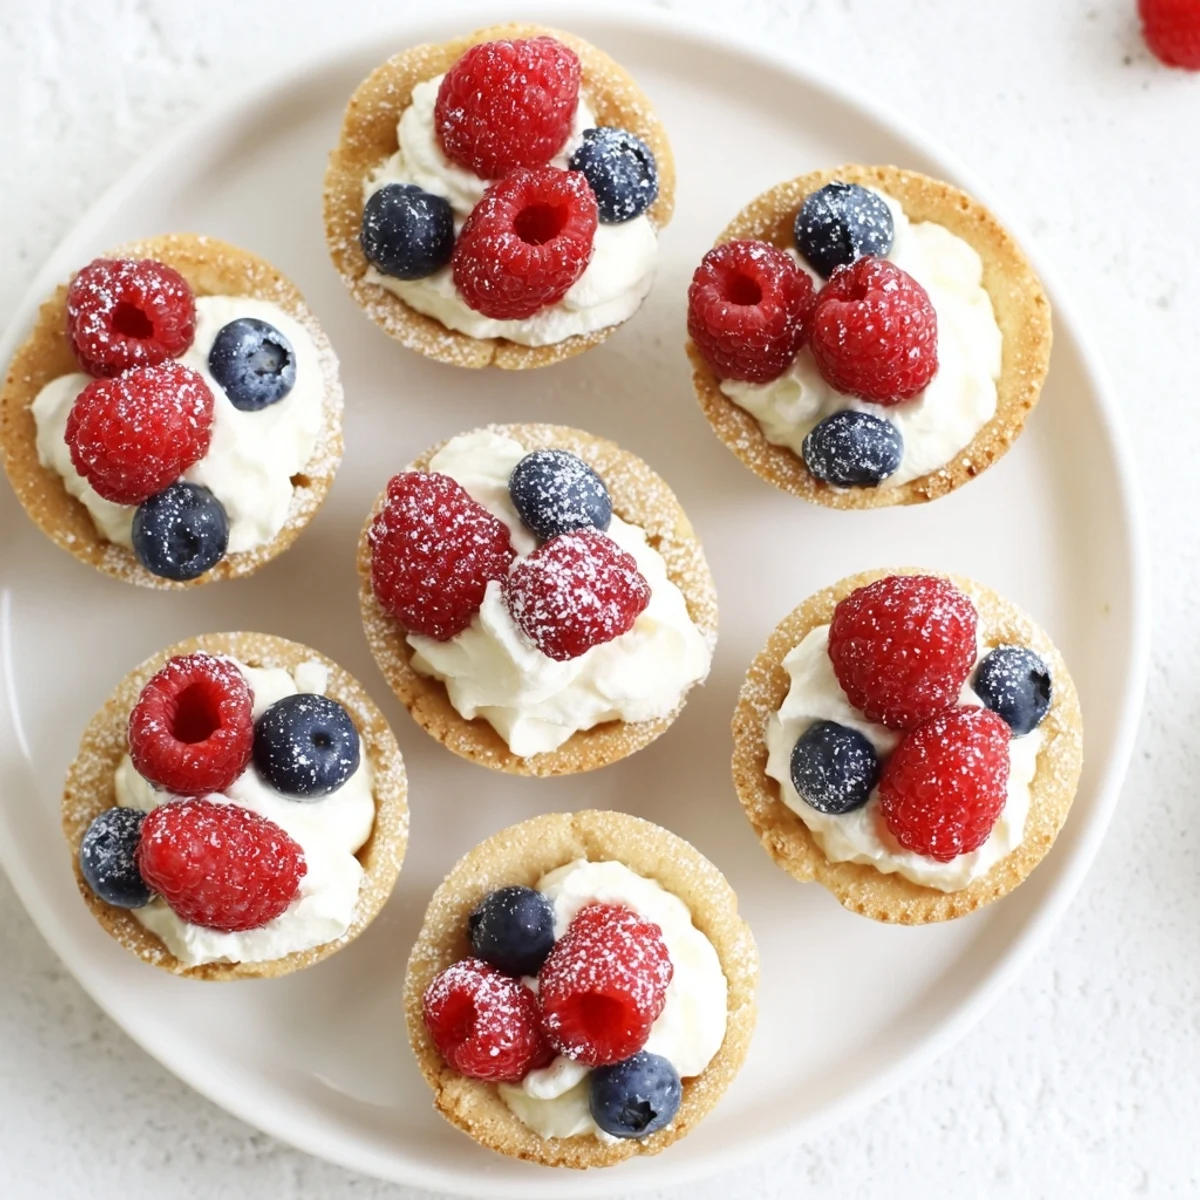
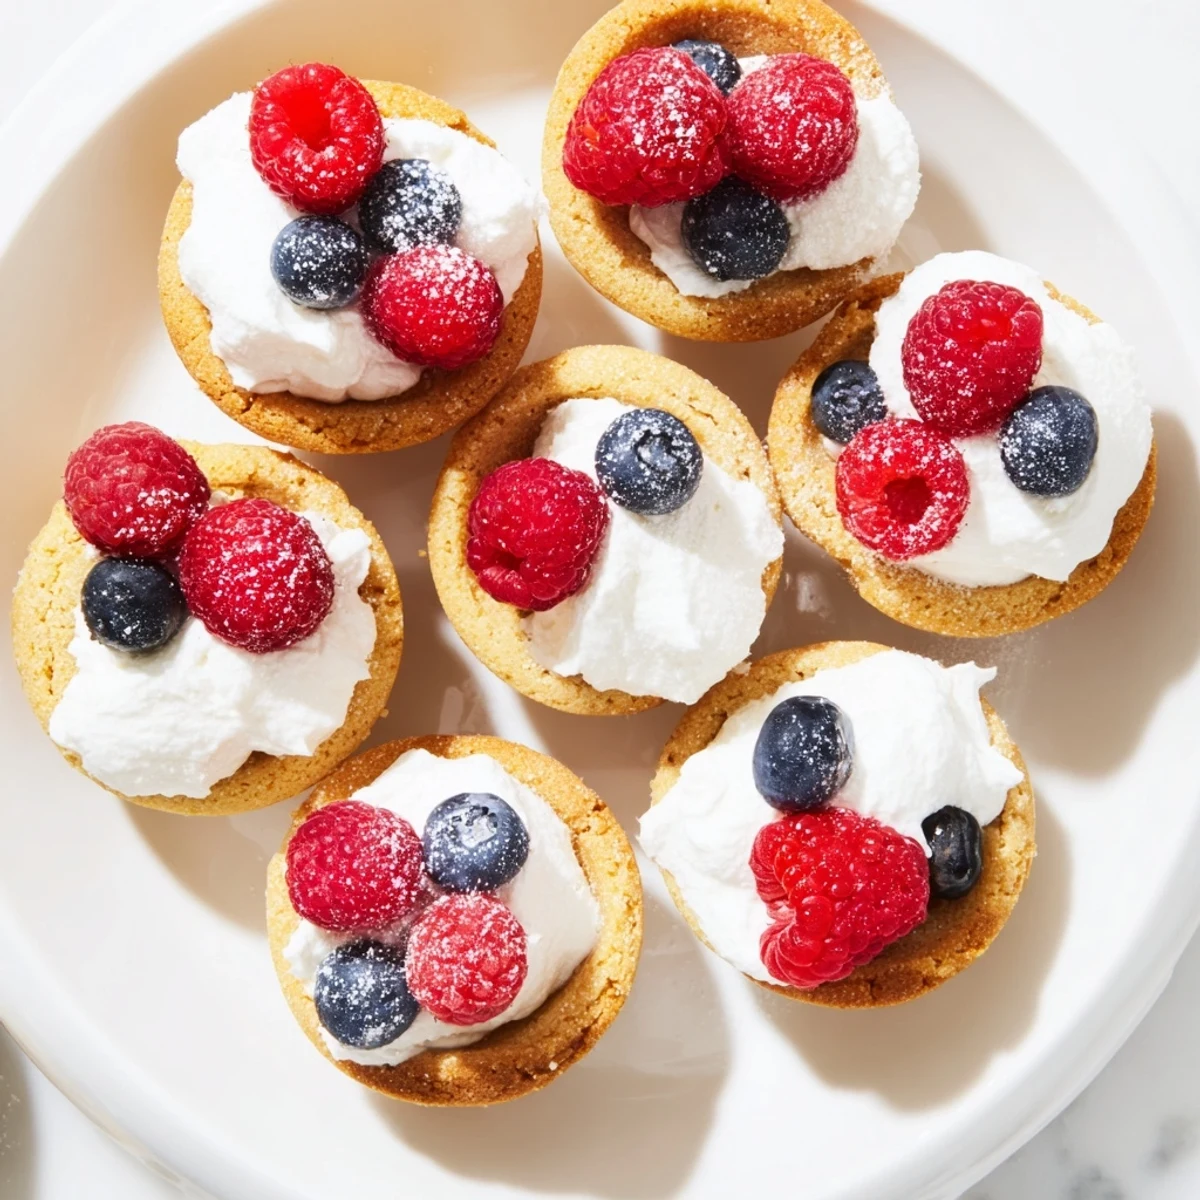
 These charming sugar cookie cups combine the classic taste of homemade sugar cookies with a fun twist—baked in mini muffin tins to create edible vessels perfect for holding sweet fillings. The process involves preparing a simple buttery dough, pressing it into muffin cups, and baking until golden edges form. Once cooled, the centers transform into perfect cups for whipped cream, lemon curd, chocolate ganache, or fresh seasonal berries.
The versatility makes these ideal for entertaining—customize the fillings and toppings to match any occasion or season. Kids love helping with the decorating, and adults appreciate the elegant presentation. Prepare the cups ahead and store them unfilled, then add fresh whipped cream just before serving for optimal texture and presentation.
Last summer my neighbor asked if I could bring something bite-sized for the block party and I had zero ideas until I spotted my lonely mini muffin tin. I threw together these cookie cups on a whim and watched three kids fight over the last one. Now that tin gets more use than my actual baking sheets.
My sister called me in a panic last month because she needed something impressive but simple for her office potluck. I talked her through these over the phone and she sent me a picture of an empty platter twenty minutes later. Sometimes the easiest recipes become the biggest crowd pleasers.
Ingredients
- All-purpose flour: The structure that keeps these cups from collapsing while baking
- Baking soda: Just enough lift to create the perfect cup shape without spreading
- Salt: A pinch makes all that sugar taste intentional and balanced
- Unsalted butter: Room temperature is nonnegotiable here for proper creaming
- Granulated sugar: Creates that crisp edge while keeping centers tender
- Egg: Binds everything together into a workable dough
- Pure vanilla extract: Never skip this even if you plan to add other flavors
- Heavy cream: Cold cream whips into the most stable filling you can imagine
- Powdered sugar: Sweetens the cream without making it grainy or heavy
Instructions
- Preheat and prep your pan:
- Get your oven to 350°F and give that mini muffin tin a light coating of grease even if it is nonstick
- Mix the dry team:
- Whisk flour baking soda and salt in a medium bowl so you do not have to measure twice
- Cream butter and sugar:
- Beat softened butter and granulated sugar for about two minutes until the mixture looks pale and fluffy
- Add egg and vanilla:
- Crack in the egg and pour in the vanilla then beat until everything is fully incorporated
- Bring it all together:
- Gradually mix in the dry ingredients just until the flour disappears overmixing makes tough cookies
- Form the cups:
- Scoop one tablespoon of dough into each muffin cup and gently press it up the sides creating a little well in the center
- Bake to golden perfection:
- Bake for 10 to 12 minutes until the edges turn light golden but centers still look slightly soft
- Reshape while warm:
- Use the back of a spoon to gently deepen the center wells while the cups are still warm then let them cool in the tin for 10 minutes
- Whip the filling:
- Beat cold heavy cream with powdered sugar and vanilla until stiff peaks form
- Fill and finish:
- Pipe or spoon whipped cream into each cooled cup and top with berries sprinkles or chocolate chips
 Save to Pinterest
 My daughter insisted we make rainbow versions for her birthday and we spent two hours with food coloring and sprinkles all over the kitchen counter. The picture of her grinning with purple stained teeth holding a confetti topped cup is now my phone wallpaper.
Make Ahead Magic
I learned the hard way that filled cups get soggy after a few hours but the unfilled shells keep perfectly in an airtight container for three days. Now I bake a double batch on Sunday and whip fresh cream whenever we have surprise guests or a random craving.
Filling Adventures
Vanilla cream is classic but lemon curd transforms these into something elegant and chocolate ganache makes them absurdly rich. I have even used them as tiny vehicles for fresh berries and a dollop of mascarpone when I want to feel fancy.
Storage Secrets
The unfilled cups freeze beautifully for up to two months and thaw on the counter in about twenty minutes. I keep a stash in the freezer for emergency dessert situations and they have saved me more times than I care to admit.
- Place cups in a single layer with wax paper between stacks
- Fill frozen cups immediately after they thaw for best texture
- Never store filled cups or they will lose their crisp edges
 Save to Pinterest
 These little cups have become my go to for everything from school bake sales to elegant dinner parties. Sometimes the smallest desserts leave the biggest impressions.
Recipe Questions & Answers
- → Can I make the cookie dough ahead of time?
-
Yes, the cookie dough can be prepared up to 2 days in advance and stored refrigerated in an airtight container. Let it come to room temperature for about 15 minutes before pressing into the muffin tins for easier handling.
- → What other fillings work well in these cups?
-
Beyond vanilla cream, try lemon curd for a bright citrus twist, chocolate ganache for rich indulgence, fruit preserves like raspberry or strawberry, or even Nutella. Cream cheese frosting and peanut butter filling also make excellent choices.
- → How should I store the filled versus unfilled cups?
-
Store unfilled cookie cups in an airtight container at room temperature for up to 3 days. Once filled with cream-based toppings, they should be refrigerated and consumed within 24 hours for the best texture and freshness.
- → Can I freeze these cookie cups?
-
Freeze the baked, unfilled cups in a freezer-safe container for up to 2 months. Thaw at room temperature for about an hour, then fill with your chosen topping. Do not freeze filled cups as the texture will suffer.
- → Do I need a mini muffin tin, or can I use a regular size?
-
A mini muffin tin is essential for achieving the proper bite-sized cup shape. Regular muffin tins would create oversized cups that lose their delicate charm and appealing proportion. The 24-cup mini tin yields the ideal size for serving.
- → Why do I need to press the centers again after baking?
-
The dough naturally puffs up during baking, slightly reducing the cup depth. Gently pressing the warm centers with a spoon ensures you have enough space to hold generous fillings without overflow, creating that perfect edible vessel shape.
