 Save to Pinterest
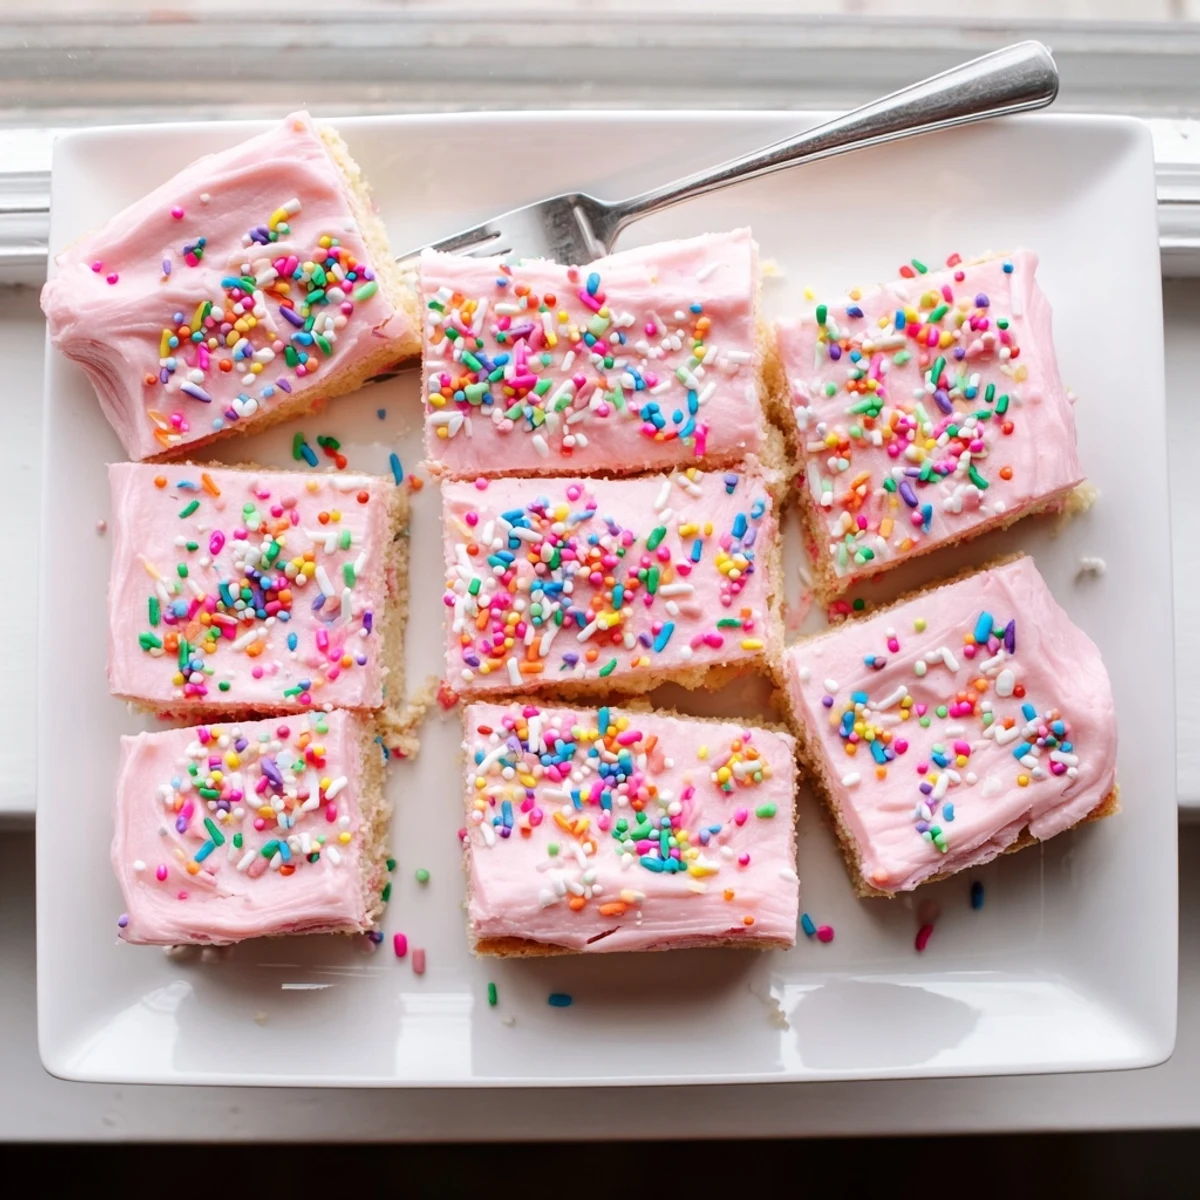
 These soft, buttery sugar cookie bars combine the classic taste of traditional sugar cookies with the ease of a bar format. The tender, vanilla-scented base bakes up golden around the edges while remaining moist and pillowy in the center. Topped with a luscious cream cheese-style buttercream frosting that can be customized with any color of food coloring and finished with festive sprinkles, these bars are designed for sharing at birthday parties, holiday gatherings, and casual get-togethers. The simple preparation comes together in just 20 minutes of active time, making them accessible for bakers of all skill levels.
The smell of butter and sugar creaming together is one of those things that immediately pulls me into a kitchen, no invitation needed. My neighbor Mrs. Calloway used to make sheet pan sugar cookies every December, and she would hand me a warm square still slightly soft in the middle before I even had my coat off. These frosted sugar cookie bars are my attempt at recreating that feeling of showing up somewhere and being handed something sweet.
I brought a tray of these to a friends backyard birthday last summer, and they vanished before the cake was even cut. Three people texted me that week asking for the recipe, which is honestly the highest compliment a home baker can receive.
Ingredients
- All-purpose flour (2 1/4 cups, 280 g): The backbone of these bars, and measuring by weight rather than cups is the trick to avoiding a dense, leaden result.
- Baking powder (1/2 teaspoon): Just enough lift to keep the bars soft without turning them cakey.
- Salt (1/2 teaspoon): Don't skip this, because salt is what makes sugar cookies taste like something instead of just sweet.
- Unsalted butter, softened (3/4 cup, 170 g for the cookie base): Room temperature butter incorporates air when creamed with sugar, and that air is your secret to tenderness.
- Granulated sugar (1 cup, 200 g): Standard white sugar gives the edges that slight crunch while the center stays chewy.
- Large egg plus one egg yolk: The extra yolk adds richness and a slight chew that makes these bars feel indulgent.
- Pure vanilla extract (2 teaspoons for cookie, 1 teaspoon for frosting): Use the real stuff here, not imitation, because vanilla is the quiet flavor holding everything together.
- Whole milk (1/4 cup, 60 ml for cookie, 2 tablespoons for frosting): Whole milk adds moisture and fat that water or low fat milk simply cannot replicate.
- Unsalted butter, softened (1/2 cup, 115 g for frosting): This becomes the silky base of your frosting, so make sure it is truly soft but not melting.
- Powdered sugar, sifted (2 cups, 240 g): Sifting is not optional here, because even tiny lumps will show up as gritty streaks in your frosting.
- Food coloring and sprinkles (optional): These are where you get to play and make the bars yours.
Instructions
- Prep the pan and oven:
- Heat your oven to 350 degrees F and line a 9 by 13 inch pan with parchment, leaving the paper hanging over the sides like handles. This trick saves you from ever wrestling stuck bars out of a pan.
- Whisk the dry ingredients:
- In a medium bowl, whisk the flour, baking powder, and salt together until evenly blended, then set it aside so it is ready when you need it.
- Cream butter and sugar:
- Beat the softened butter and granulated sugar on medium speed for two to three minutes until the mixture looks pale, fluffy, and almost whipped. You should see a visible change in color and texture before moving on.
- Add the eggs and vanilla:
- Drop in the whole egg, the extra yolk, and vanilla, then beat until everything is smooth and cohesive. Scrape down the bowl once to catch anything hiding at the bottom.
- Combine wet and dry:
- On low speed, add the flour mixture and milk in alternating batches, starting and ending with the flour. Stop mixing the moment everything is just incorporated, because overmixing builds gluten and makes bars tough.
- Spread and bake:
- Press the thick dough evenly into your prepared pan using an offset spatula or your lightly floured hands. Bake for eighteen to twenty two minutes, pulling them out when the edges are just golden and a toothpick comes out with moist crumbs clinging to it.
- Cool completely:
- Leave the bars right in the pan on a wire rack until they reach room temperature. Frosting warm bars is a fast track to a melted mess.
- Make the frosting:
- Beat the butter until creamy, then gradually add powdered sugar, milk, and vanilla, whipping until the frosting is light and spreadable. Add food coloring now if you want a pop of color, and beat until uniform.
- Frost, slice, and serve:
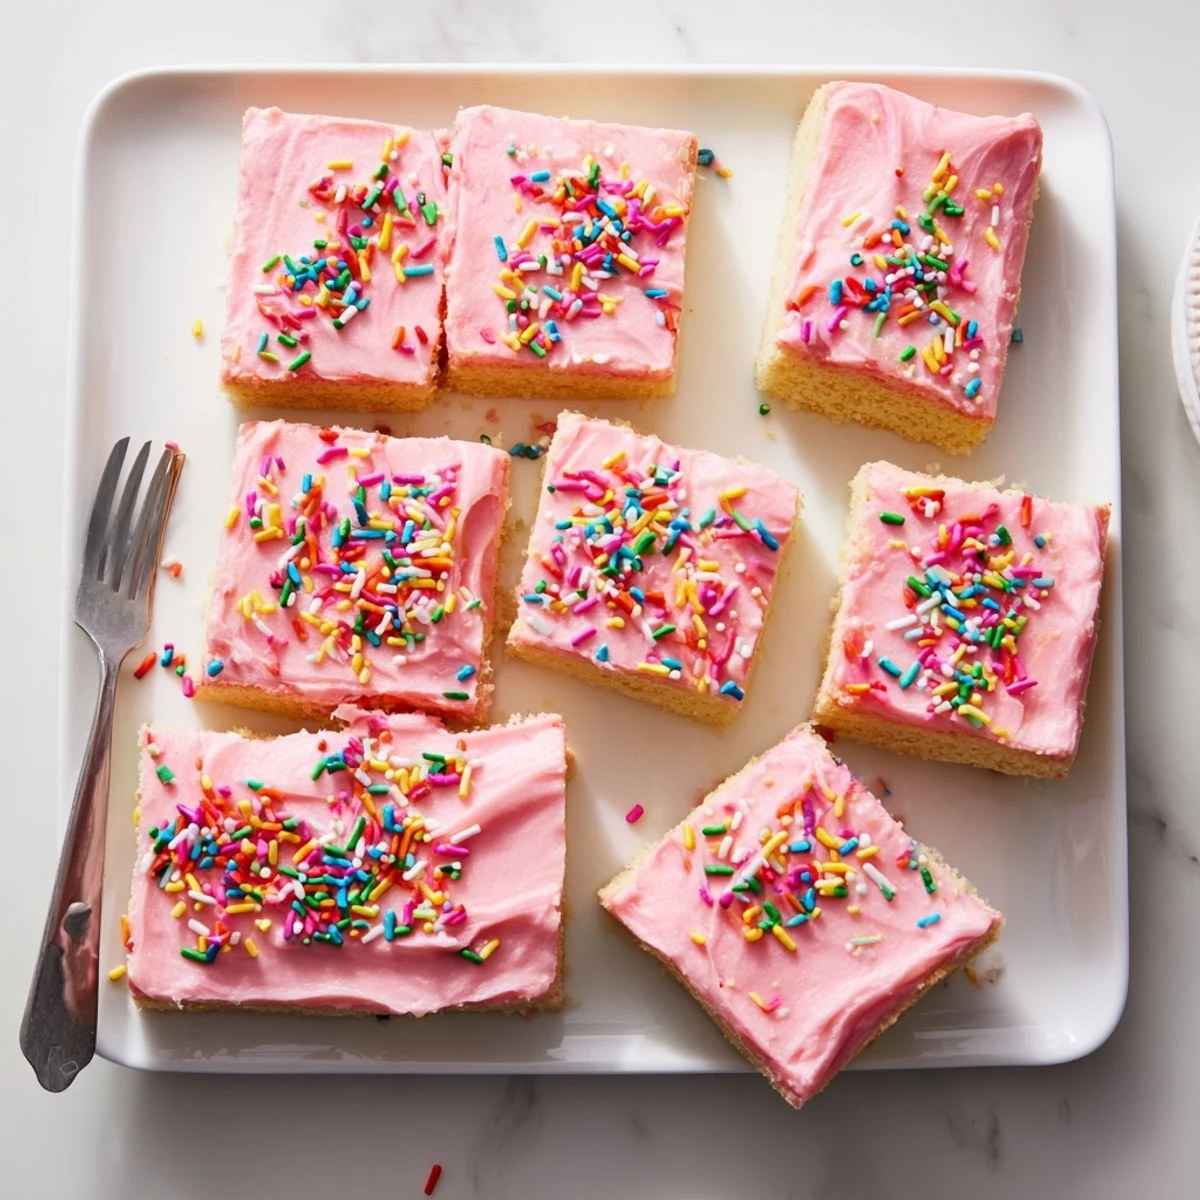
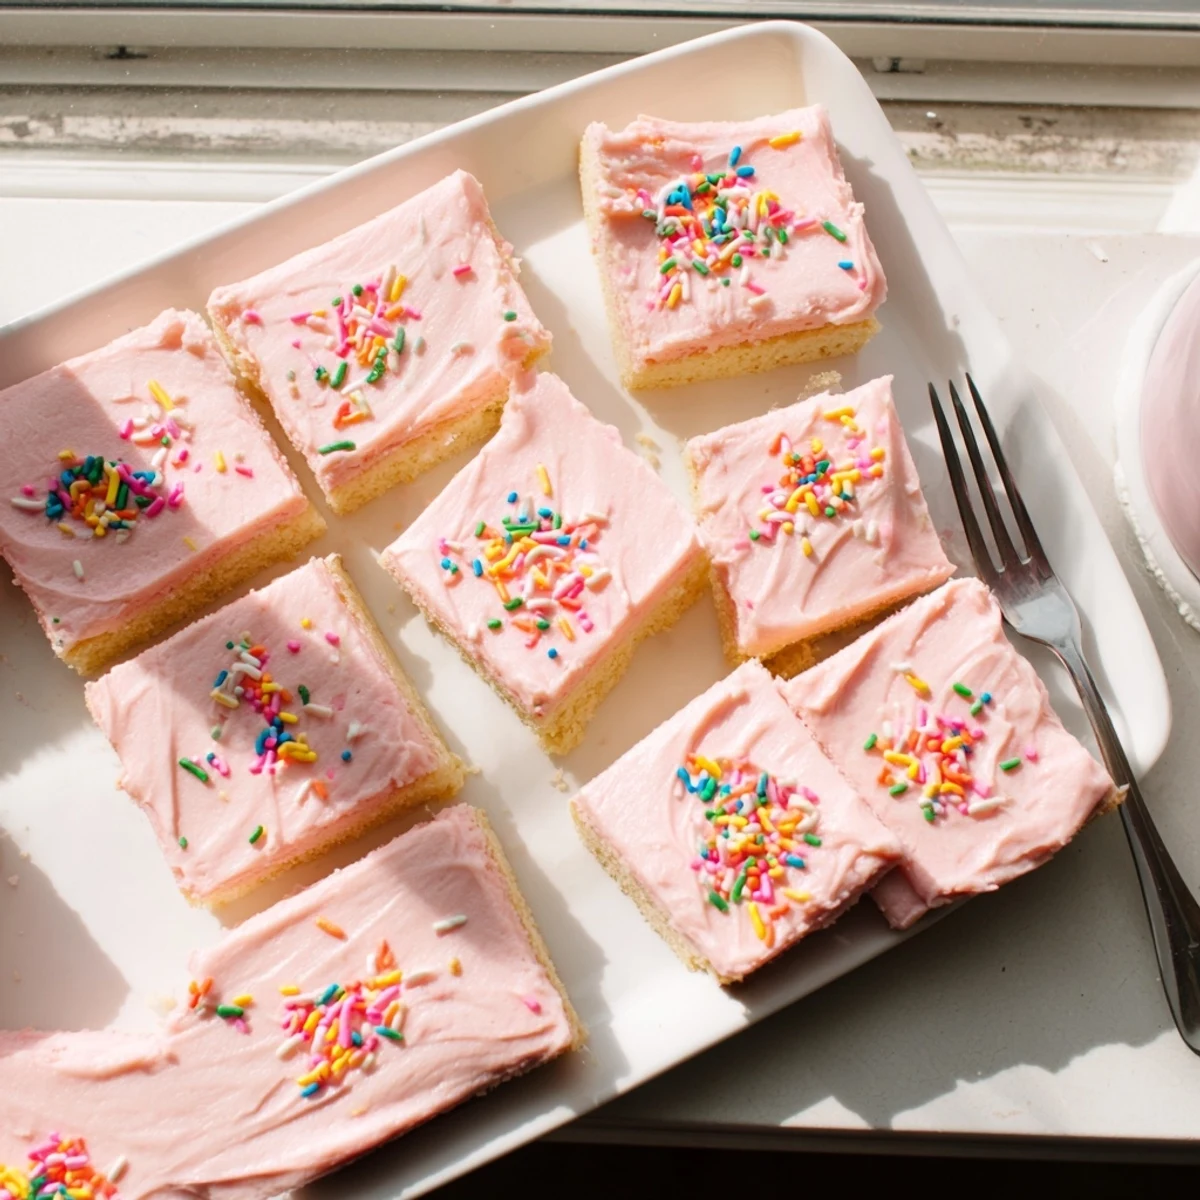
- Spread the frosting in an even layer over the cooled bars, scatter sprinkles on top if using, then lift the whole slab out by the parchment handles and cut into sixteen squares.
 Save to Pinterest
 One rainy Saturday my daughter and I spent an afternoon dyeing the frosting three different pastel shades and swirling them together with a butter knife. She ate the corner piece, the one with the most frosting, standing barefoot at the counter before I had even finished cutting the rest.
Storing and Making Ahead
These bars store beautifully in an airtight container at room temperature for up to three days, and honestly I think the texture improves after the first day as the cookie and frosting meld together. You can bake the cookie base a day ahead, cover it tightly, and frost the next morning when you are less rushed.
Flavor Variations Worth Trying
Swapping the vanilla extract in the frosting for almond or lemon extract completely changes the personality of these bars without any extra effort. During the holidays I like to add a teaspoon of grated lemon zest to the cookie dough itself, which gives a brightness that cuts through all that buttery richness.
Tools That Make This Easier
An offset spatula is the single tool I reach for most with this recipe, because it lets you spread both the thick dough and the soft frosting into an even, professional looking layer. A wire rack prevents the bottom from steaming and turning soggy as the bars cool.
- Parchment paper overhangs are your best friend for clean removal every single time.
- An electric mixer saves your arm from the effort of creaming butter properly by hand.
- Always check your baking powder for freshness if it has been sitting in the pantry for months.
 Save to Pinterest
 These frosted sugar cookie bars are proof that you do not need complicated techniques to make something people will remember. Share them generously, and watch how quickly an ordinary afternoon turns into a small celebration.
Recipe Questions & Answers
- → How should I store these sugar cookie bars?
-
Store frosted bars in an airtight container at room temperature for up to 3 days. If you need to store them longer, place in the refrigerator for up to a week, though bring to room temperature before serving for the best texture.
- → Can I make these bars ahead of time?
-
Yes! Bake the cookie base up to 2 days in advance, wrap tightly in plastic wrap, and store at room temperature. Frost and add sprinkles the day you plan to serve for the freshest appearance and texture.
- → What if I don't have a 9x13-inch pan?
-
You can use a similar sized pan, though baking time may need adjustment. A square 9x9-inch pan will create thicker bars and require 5-8 minutes additional baking time. A 15x10-inch jelly roll pan will make thinner bars that bake faster.
- → Can I freeze these frosted cookie bars?
-
It's best to freeze the unfrosted baked bars. Wrap tightly in plastic wrap and foil, then freeze for up to 3 months. Thaw overnight at room temperature, then frost and decorate when ready to serve.
- → How do I know when the bars are done baking?
-
The bars are done when the edges are lightly golden and a toothpick inserted into the center comes out with moist crumbs (not completely clean). The center should still feel slightly soft—it will firm up as it cools. Overbaking leads to dry, crumbly bars.
