 Save to Pinterest
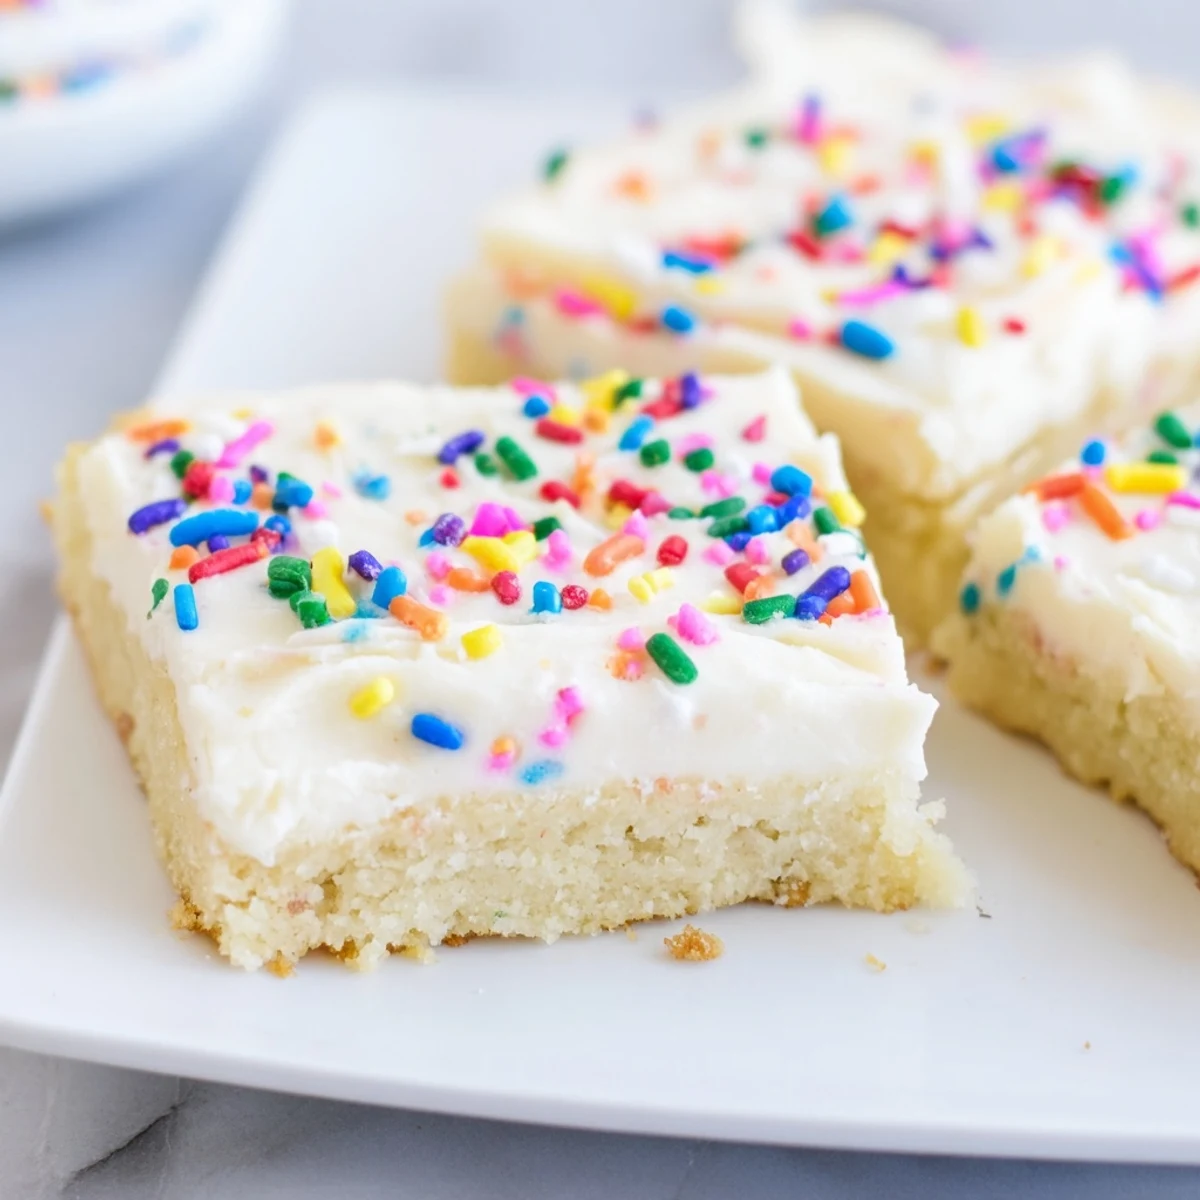
 These soft, buttery sugar cookie bars feature a tender base topped with silky vanilla frosting. The dough comes together quickly with basic pantry ingredients, then bakes until lightly golden with a soft center. Once cooled, spread the smooth buttercream frosting evenly across the surface for a perfect sweet finish.
The bars cut neatly into squares, making them ideal for parties, bake sales, or casual gatherings. You can customize the frosting with food coloring for holidays or add sprinkles for festive occasions. Store in an airtight container at room temperature for up to three days.
My youngest daughter came home from school last spring insisting she needed to bring something special for the class bake sale, but regular cookies felt like too much work for a Wednesday night. These bars were our midnight solution, and the funny thing is, they sold out faster than the elaborately decorated cupcakes. Sometimes the simplest pleasures are the ones people remember most.
I made these again last weekend for a neighborhood potluck, and watched three different people ask for the recipe within ten minutes of arriving. There is something about that bar format that feels more approachable, more finger food friendly, like you are not committing to a whole cookie but somehow ending up with three anyway.
Ingredients
- Unsalted butter (softened): Room temperature butter incorporates air into the dough, creating those tender crumbs that distinguish bakery quality bars from homemade ones that feel dense
- Granulated sugar: Creaming this with the butter is the foundation of the texture, so take the full two to three minutes to get it light and fluffy
- Large eggs (room temperature): Cold eggs can seize up melted butter and ruin your emulsion, while room temperature ones blend seamlessly into the batter
- Vanilla extract: This is the backbone of the flavor profile, so use pure extract rather than imitation for that warm comforting taste
- All purpose flour: Measuring by weight is ideal here, but if you must use cups, spoon the flour lightly into the measuring cup and level it off
- Baking powder and salt: The small amount of leavening gives the bars just enough lift without making them cakey or dry
- Unsalted butter for frosting: Again, room temperature is non negotiable for that silky smooth spreading consistency
- Powdered sugar (sifted): Sifting prevents lumps in your frosting that will tear the surface of your bars and create marbled streaks
- Milk: Start with one tablespoon and add more only if needed, since different brands of butter absorb liquid differently
Instructions
- Prep your pan and oven:
- Line your 9x13 inch pan with parchment paper, leaving those overhangs like handles on each side because you will thank yourself later when lifting out the whole slab
- Cream the butter and sugar:
- Beat the softened butter and granulated sugar together for at least two minutes, scraping down the bowl halfway through, until the mixture looks pale and feels aerated
- Add eggs and vanilla:
- Drop in the eggs one at a time, letting each fully incorporate before adding the next, then pour in the vanilla and give it one more beat to combine
- Whisk the dry ingredients:
- In a separate bowl, combine the flour, baking powder, and salt so they are evenly distributed before they hit the wet mixture
- Combine the mixtures:
- Turn the mixer to low and gradually add the dry ingredients, stopping the moment the last streak of flour disappears because overmixing develops gluten and makes bars tough
- Spread and smooth:
- Press the dough into your prepared pan using the back of a spatula or damp fingers, working to get it perfectly level so the bars bake evenly
- Bake until just set:
- Slide the pan into the oven and check at eighteen minutes, looking for lightly golden edges while the center still has a tiny bit of softness to it
- Cool completely:
- Let the bars rest in the pan on a wire rack until they are completely cool to the touch, which takes about an hour but is worth every minute
- Make the frosting:
- Beat the softened butter until creamy, then gradually add the sifted powdered sugar, mixing in the milk one tablespoon at a time and vanilla until smooth
- Frost and decorate:
- Spread the frosting evenly over the cooled bars and immediately add sprinkles if using, since they stick best before the frosting forms a skin
- Slice and serve:
- Use the parchment handles to lift the entire slab onto a cutting board, then cut into squares with a sharp knife wiped clean between each slice
 Save to Pinterest
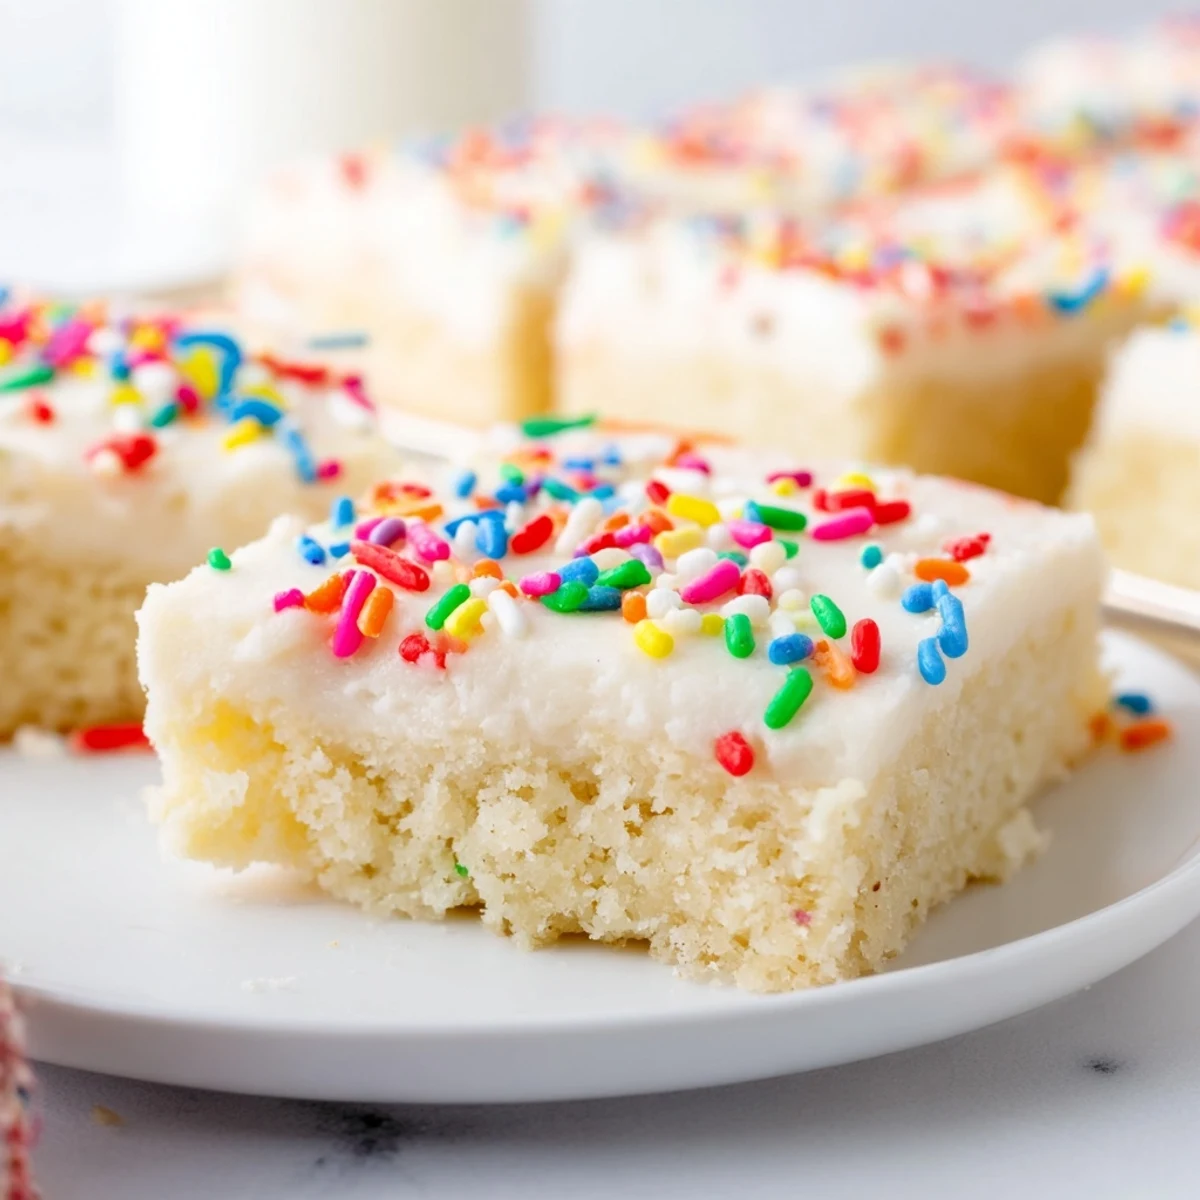
 My grandmother kept a tin of these on her counter during the holidays, and I swear half the neighborhood found reasons to stop by during baking week. There is something about a frosted bar that feels more forgiving than a cookie, more casual, like you are welcome to have seconds without anyone counting.
Making Them Ahead
You can bake the bars up to two days in advance, wrap them tightly in plastic wrap while still in the pan, and frost them the morning you need them. The frosting actually sets up better after an hour or two at room temperature, making them easier to stack and transport.
Frosting Variations
Swap the vanilla for almond extract in both the bars and frosting for a completely different flavor profile that feels elegant and unexpected. A tablespoon of cocoa powder worked into the frosting creates a chocolate vanilla swirl that looks impressive with minimal effort.
Storage Secrets
These bars actually taste better on day two as the flavors meld and the frosting softens into the surface just a bit. Store them in an airtight container with parchment paper between layers, and they will stay perfectly soft for up to three days at room temperature.
- Never refrigerate these bars unless absolutely necessary, as cold temperatures make the butter seize and the texture turns unpleasantly firm
- If freezing for later, frost the bars first, freeze them uncovered until solid, then wrap individually in plastic and store in a freezer bag
- Let frozen bars thaw at room temperature still wrapped to prevent condensation from making the frosting weep
 Save to Pinterest
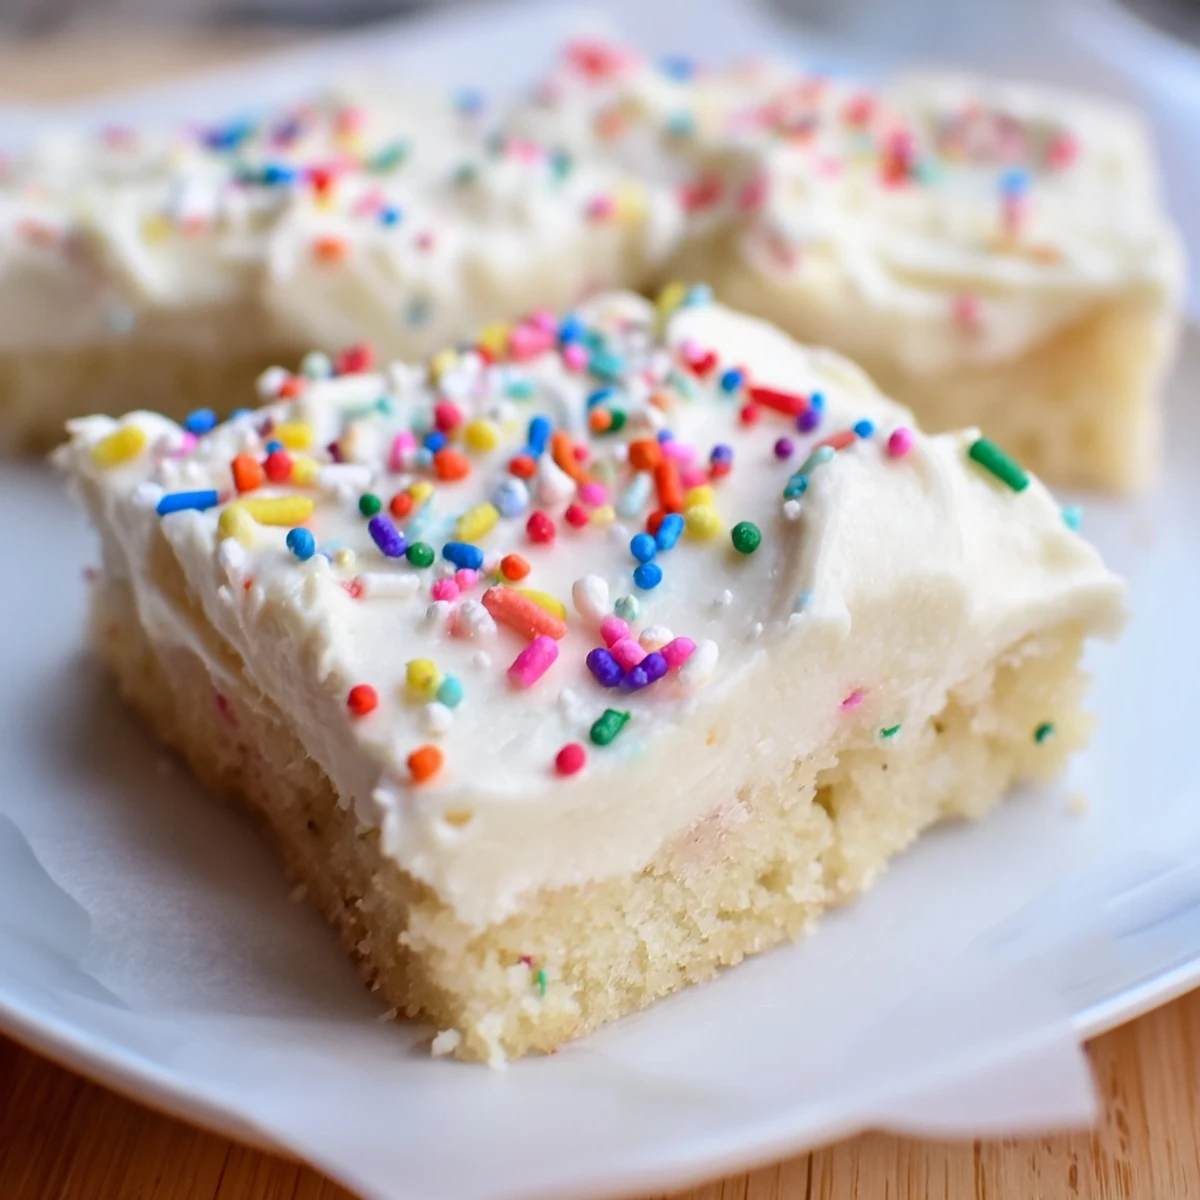
 These have become my go to for every occasion because they never fail to make people smile. Hope they become your favorite too.
Recipe Questions & Answers
- → Why did my bars turn out hard?
-
Overbaking is the most common cause. Remove from the oven when edges are lightly golden but the center still appears soft—the bars continue setting as they cool.
- → Can I make these ahead of time?
-
Yes. Bake the bars up to two days in advance, store unfrosted in an airtight container, then frost on the day you plan to serve. Frosted bars keep well for three days at room temperature.
- → How do I get smooth frosting?
-
Beat the butter until creamy before gradually adding sifted powdered sugar. Scrape the bowl frequently, then add milk one tablespoon at a time until you reach spreadable consistency.
- → Can I freeze these bars?
-
Freeze unfrosted bars wrapped tightly in plastic and foil for up to three months. Thaw overnight at room temperature before frosting and serving.
- → What size pan should I use?
-
A standard 9x13 inch pan yields 24 bars. Using a smaller pan will create thicker bars that need longer baking time, while a larger pan makes thinner ones that bake faster.
- → Can I substitute the butter?
-
For best results, use real butter. Margarine or oil substitutes will alter the texture and flavor significantly, affecting the soft, buttery quality that makes these bars special.
