 Save to Pinterest
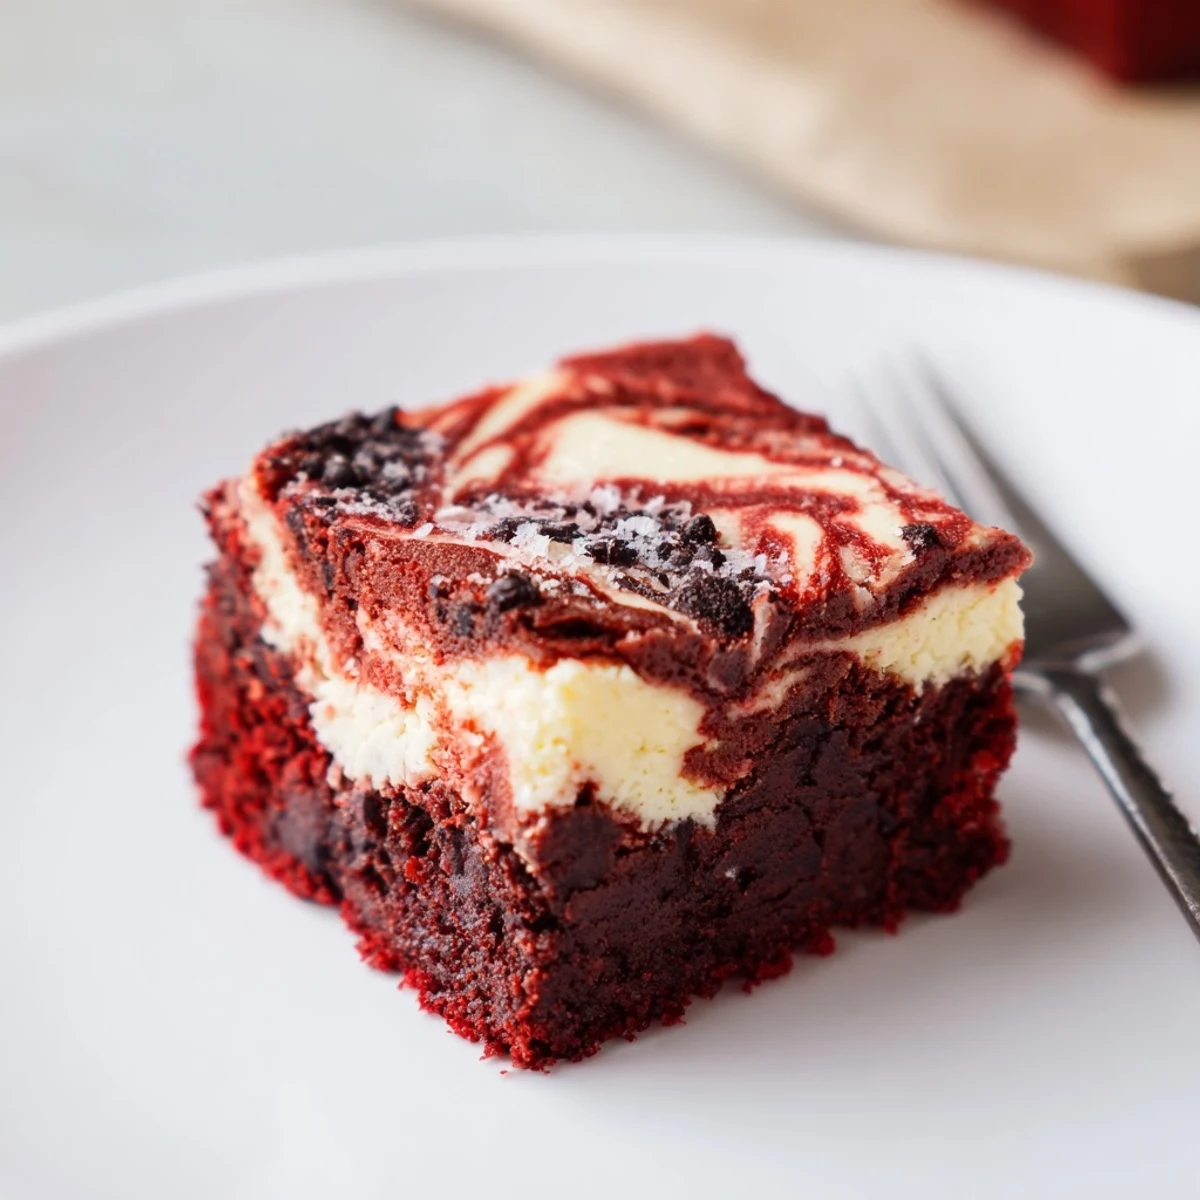
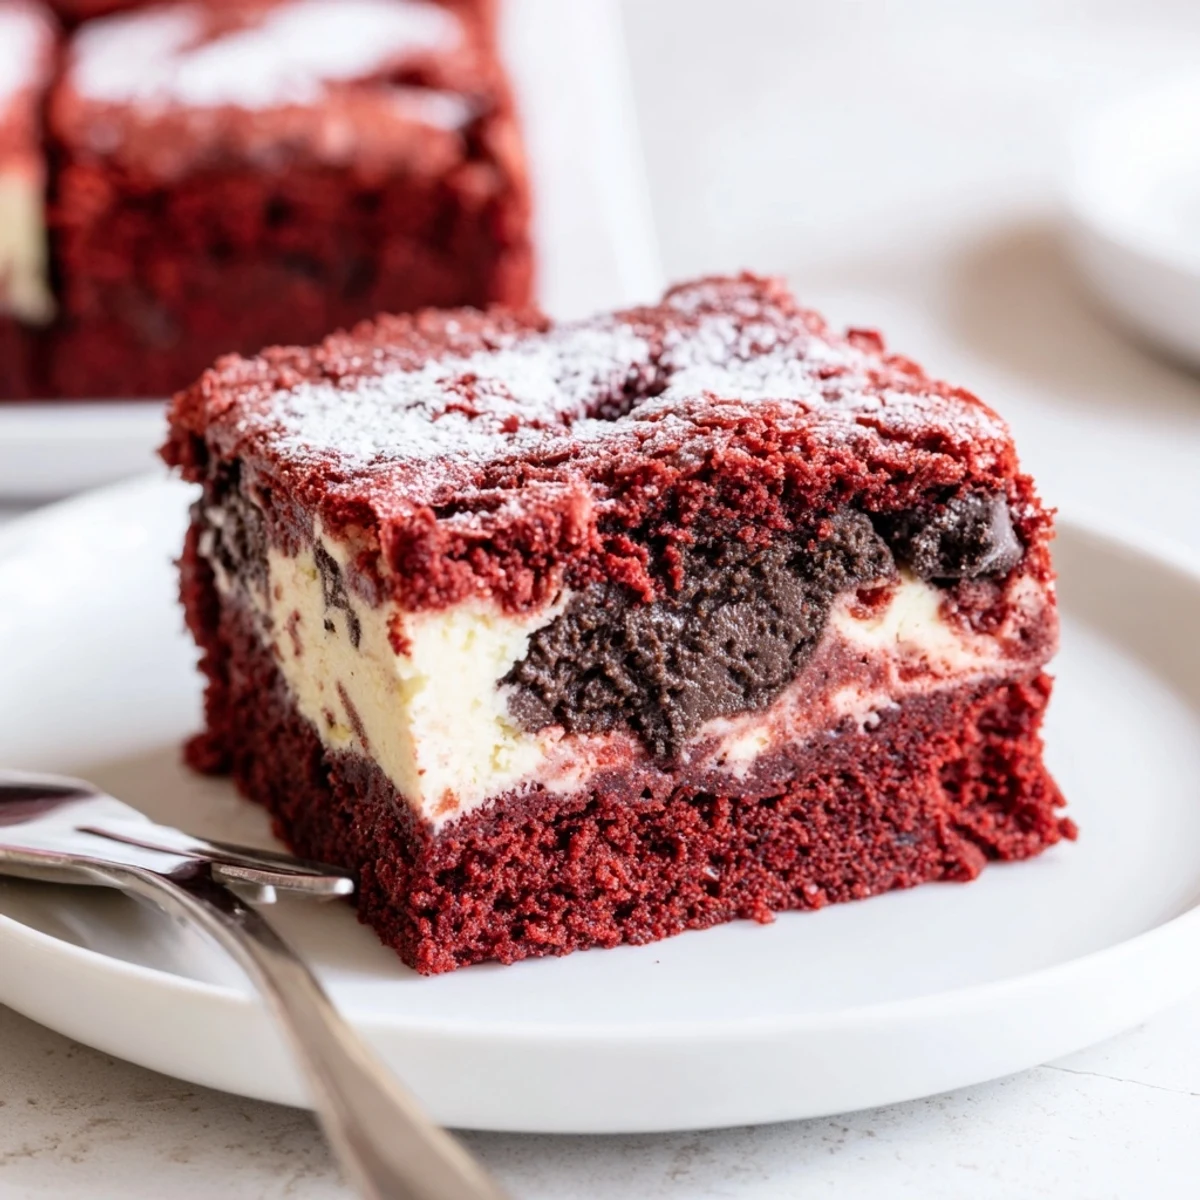
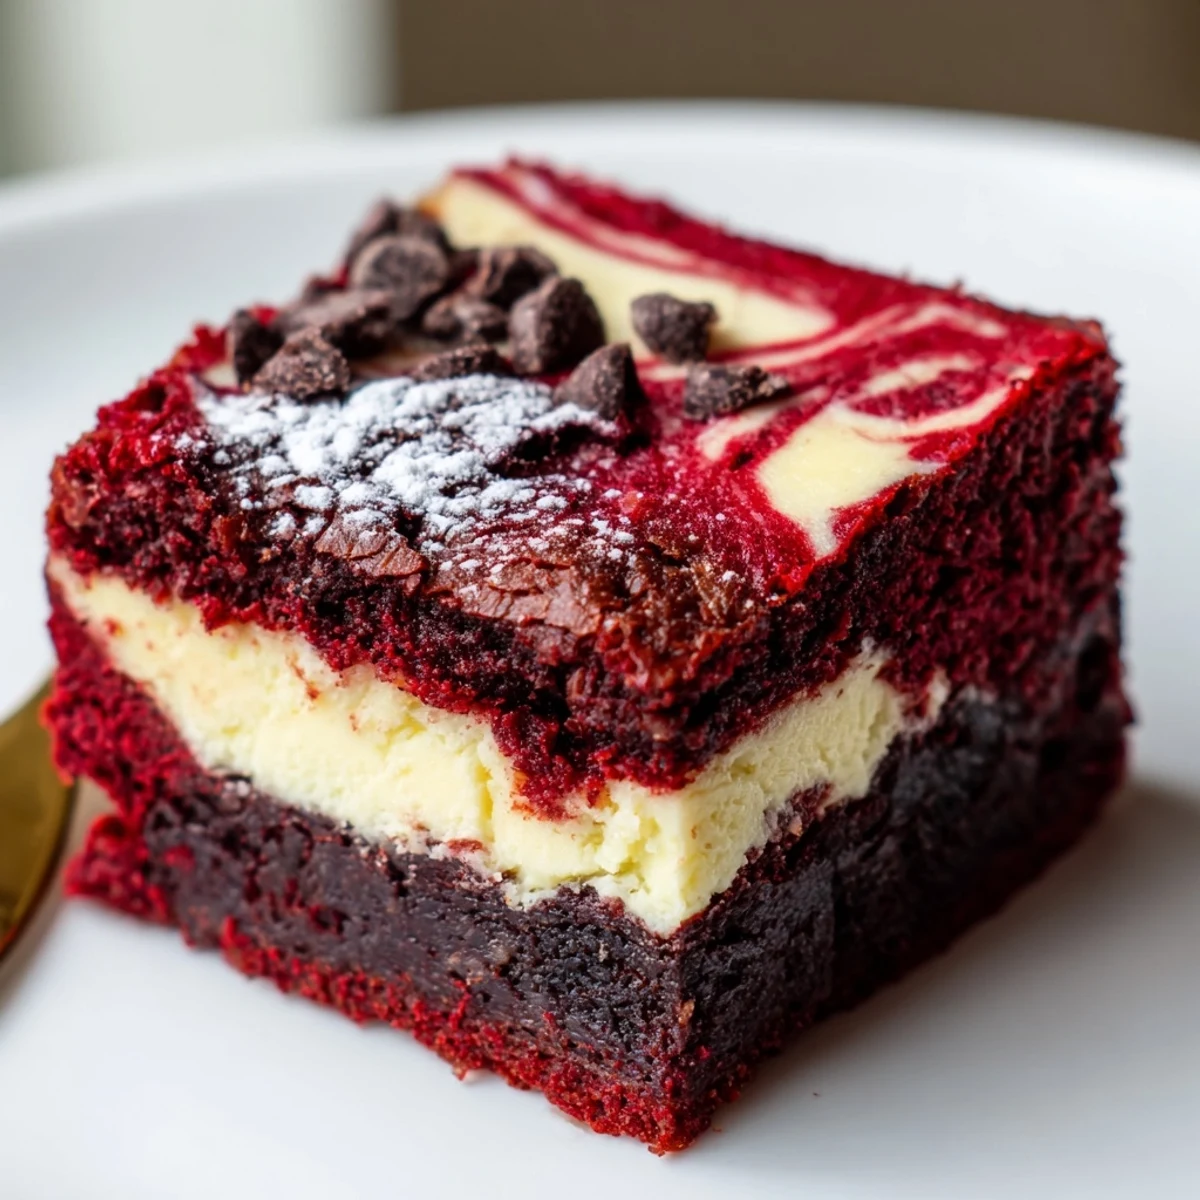
 These red velvet brownies combine a fudgy, cocoa-tinged base with a silky, tangy cheesecake layer for a show-stopping marbled bar. Spread most of the brownie batter, pour the cheesecake mixture, dollop remaining batter and swirl gently. Bake at 175°C (350°F) until set, cool fully and chill to firm the cheesecake. Slice into 16 squares and serve chilled; optional chocolate chips or fresh berries add contrast.
A gentle sizzle from the oven fills the kitchen as the scent of chocolate and cream cheese starts to mingle—a sure sign that these red velvet brownies with cheesecake layer are almost ready. I stumbled upon this recipe when hunting for something impressive but not finicky for a potluck, hoping for that elusive middle ground between fuss-free and show-stopping. The first batch surprised me with its ruby hue and marbled top, looking like a culinary work of art straight from my own hands. Now, I reach for this recipe whenever I want something that dazzles without demanding hours.
One rainy evening, I baked these brownies while chatting with my sister across the kitchen island, swapping stories between dolloping spoonfuls of batter. We ended up swirling the tops together, and her laughter over my not-so-perfect marble effect made the brownies taste even sweeter. That spontaneous swirl became our new tradition. I swear the marbling looks better the less you think about it.
Ingredients
- Unsalted butter: Using melted butter makes the brownie base extra fudgy and dense—a treat for texture lovers.
- Granulated sugar: I've learned that whisking it well with the butter gives the brownies their signature glossy top.
- Large eggs: Let them come to room temperature so everything mixes smoothly and the brownies rise just right.
- Vanilla extract: Splash in a little extra if you're a fan of deeper flavors—it really perfumes the batter beautifully.
- Red food coloring: Gel gives the most vibrant color, though liquid works if you use a touch more for dramatic effect.
- All-purpose flour: Measure with a light hand; packing it down can lead to cakey squares instead of chewy ones.
- Unsweetened cocoa powder: Opt for a good-quality cocoa for real chocolate backbone under all that color.
- Salt: A pinch rounds everything out and keeps things from veering into too-sweet territory.
- Cream cheese: Soften it completely to avoid stubborn little lumps in your cheesecake layer.
Instructions
- Ready the Pan:
- Line your baking pan with parchment, corners creased, so you can lift the bars out without worry later.
- Mix the Brownie Layer:
- Whisk melted butter and sugar until thick and creamy, then blend in eggs, vanilla, and food coloring for a silky, scarlet base.
- Dry Ingredients In:
- Sift in the flour, cocoa, and salt, folding gently just until the last streak vanishes.
- First Layer Down:
- Scoop about three-quarters of the red velvet batter into the pan and smooth it with your spatula—save the rest for marbling on top.
- Cheesecake Swirl:
- Beat cream cheese and sugar until completely smooth, then add egg and vanilla for a glossy, rich layer.
- Layer and Marble:
- Pour cheesecake mixture over brownie layer, spread gently, then dollop reserved red velvet batter and use a skewer to swirl extravagant red-and-white patterns.
- Bake to Perfection:
- Let the oven work its magic, pulling out your brownies when the center wobbles just slightly and a toothpick has a few moist crumbs.
- Cool and Chill:
- Wait for the pan to cool, then chill before slicing, even if patience is hard—you want those clean lines and creamy bites.
 Save to Pinterest
 There was a party where someone mistook these for bakery brownies and asked which pastry shop brought them—I grinned, letting them savor another bite before revealing the recipe card in my own handwriting. Serving these always sparks a conversation, and leftovers rarely make it past the second day. For a moment, the whole room seems to pause around that perfect marbled square.
Swirl It Your Own Way
Some days, my marble swirls are bold streaks, and others they’re soft ripples—a sliding butter knife or even a chopstick will do. The pattern never comes out quite the same way twice, and that's part of the fun. If your swirls blend a bit, don’t worry—contrasts in each piece are still stunning, and truly, nobody complains when chocolate and cheesecake decide to mingle.
Cheesecake Layer Secrets
I've learned that using cold cream cheese is a sure path to lumps, so leaving it out while you prep the other ingredients pays off. Beat it until satiny before adding sugar, then mix gently for a truly creamy finish. Even if the top cracks a little while baking, chilling will smooth soft edges, keeping every bite dreamy and rich.
Making It Your Signature
Sometimes I toss in a handful of mini chocolate chips or add a sea salt sprinkle before baking for an upgraded twist. For gatherings, a quick dusting of powdered sugar or a pile of fresh berries really dresses up the plate and makes serving special. The more you bake these, the more ways you'll find to make them your own.
- Use an offset spatula for the smoothest cheesecake layer.
- Wipe your knife clean between each cut for sharp, bakery-style squares.
- Let each layer cool before adding the next if your kitchen is hot.
 Save to Pinterest
 These brownies never last long in my house, and they always bring smiles at gatherings. Here’s to swirling, sharing, and finding a new favorite every time you bake them.
Recipe Questions & Answers
- → What temperature and baking time work best?
-
Bake at 175°C (350°F) for about 33–37 minutes. The center should be mostly set with a few moist crumbs; overbaking dries the cheesecake layer, so start checking at 33 minutes.
- → How do I achieve a clean marbled swirl?
-
Reserve about a quarter of the red velvet batter and dollop it over the cheesecake layer. Use a knife or skewer to drag gentle swirls—avoid overmixing to keep distinct red and cream streaks.
- → Can I use gel food coloring instead of liquid?
-
Yes. Gel color is more concentrated, so add it sparingly until you reach the desired hue. It gives a deeper color without thinning the batter.
- → How should I cool and store the bars?
-
Cool completely in the pan, then chill for at least 1 hour before slicing to firm the cheesecake. Store covered in the refrigerator for up to 4–5 days, or freeze cut portions for longer storage.
- → Any tips to keep the cheesecake layer smooth?
-
Beat cream cheese and sugar until smooth and lump-free, and add the egg last with minimal mixing. Strain any curdled bits or beat until glossy to prevent graininess after baking.
- → Can I add mix-ins like chocolate chips or berries?
-
Yes—sprinkle chocolate chips over the brownie layer before pouring the cheesecake for pockets of melt, or top with berries after chilling for brightness and contrast.
