 Save to Pinterest
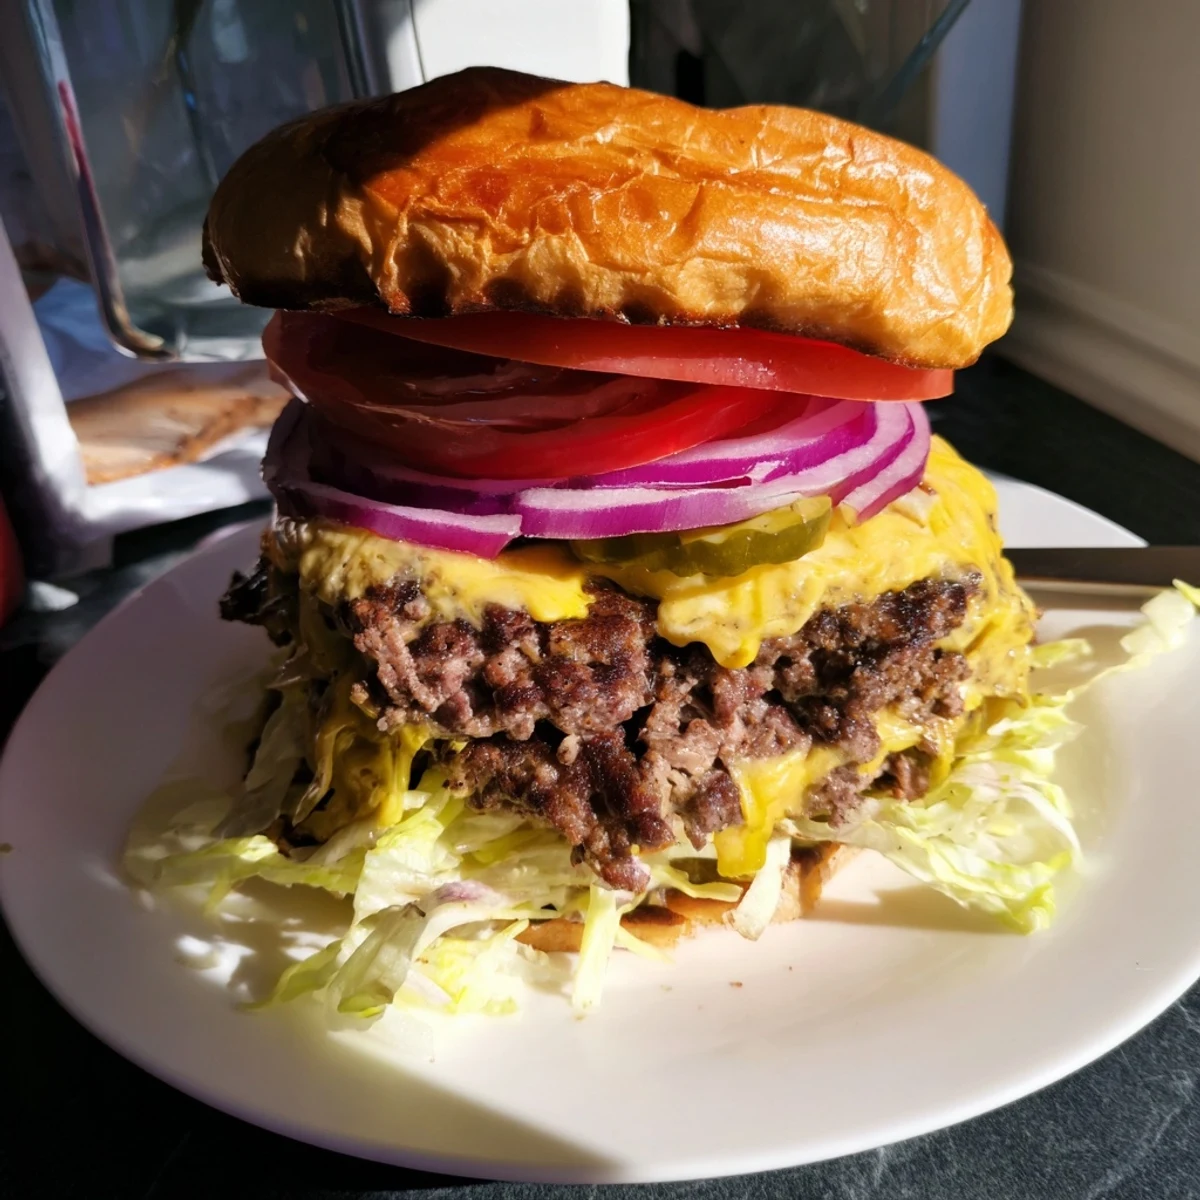
 Master the art of the perfect smash burger with this simple technique that delivers maximum crispy edges and juicy interior. The secret lies in pressing fresh beef balls onto a scorching hot griddle, creating those sought-after lacy edges while locking in juices. Toasted brioche buns provide buttery contrast, while classic toppings like crisp lettuce, ripe tomatoes, tangy pickles, and red onion complete this American favorite. The entire process takes just 20 minutes from start to finish, making it ideal for quick weeknight dinners or weekend gatherings with friends.
The sound of beef hitting a screaming hot cast iron skillet still stops me in my tracks every single time. I learned about smash burgers during a late-night kitchen experiment with my brother, frustrated by another dry, hockey puck of a burger. That first press of the spatula, watching the edges lace up with crispy brown bits, changed everything about how I approach burgers at home.
Last summer, I made these for a backyard cookout and watched my skeptical father-in-law go back for thirds. Someone actually said these were better than the famous spot downtown, and that might be the highest kitchen compliment Ive ever received.
Ingredients
- 1 lb ground beef (80/20 blend): The fat ratio matters here. Lean beef dries out when smashed, while too much fat causes flare-ups and greasy burgers.
- 1 tsp kosher salt: Use kosher salt because the larger flakes distribute more evenly and taste less harsh than table salt.
- ½ tsp freshly ground black pepper: Grind it right before you start cooking for the most aromatic punch.
- 4 slices American cheese: American cheese melts like nothing else, but sharp cheddar works if you want more bite.
- 2 tbsp unsalted butter: For toasting the buns until they are golden and just starting to crisp.
- 4 brioche or potato burger buns: These sturdy buns hold up against juicy patties without falling apart.
- ¼ cup mayonnaise and 1 tbsp yellow mustard: Mixed together, this becomes the perfect tangy spread that cuts through the rich beef.
- 1 small red onion, 1 large dill pickle, 1 cup shredded lettuce, 2 tomatoes: Fresh, cold toppings provide contrast to the hot, crispy beef.
Instructions
- Prep your beef balls:
- Gently divide the ground beef into 4 equal portions, rolling them lightly between your palms. The key here is handling the meat as little as possible to keep it tender.
- Get your skillet screaming hot:
- Heat a cast iron skillet or heavy griddle over high heat for at least 5 minutes. You want it hot enough that a drop of water sizzles and dances across the surface.
- Toast your buns:
- Butter the cut sides of your buns and place them butter-side down on the hot skillet. Watch them carefully and remove once they are golden brown and fragrant.
- The smash moment:
- Place your beef balls onto the hot skillet, leaving space between each one. Using a sturdy metal spatula, press down firmly and quickly on each ball until it is about ½ inch thick. Do this immediately so they start crisping right away.
- Season and sear:
- Sprinkle salt and pepper over the exposed side of each patty. Let them cook undisturbed for 2 to 2½ minutes until you see the edges turn brown and crispy.
- Flip and melt:
- Flip each patty and immediately place a slice of cheese on top. Cook for another 1 to 1½ minutes until the cheese is melted and bubbling down the sides.
- Build your masterpiece:
- Mix the mayonnaise and mustard in a small bowl. Spread this on both sides of each toasted bun, then layer with lettuce, tomato, the cheesy patty, onion slices, and pickles.
 Save to Pinterest
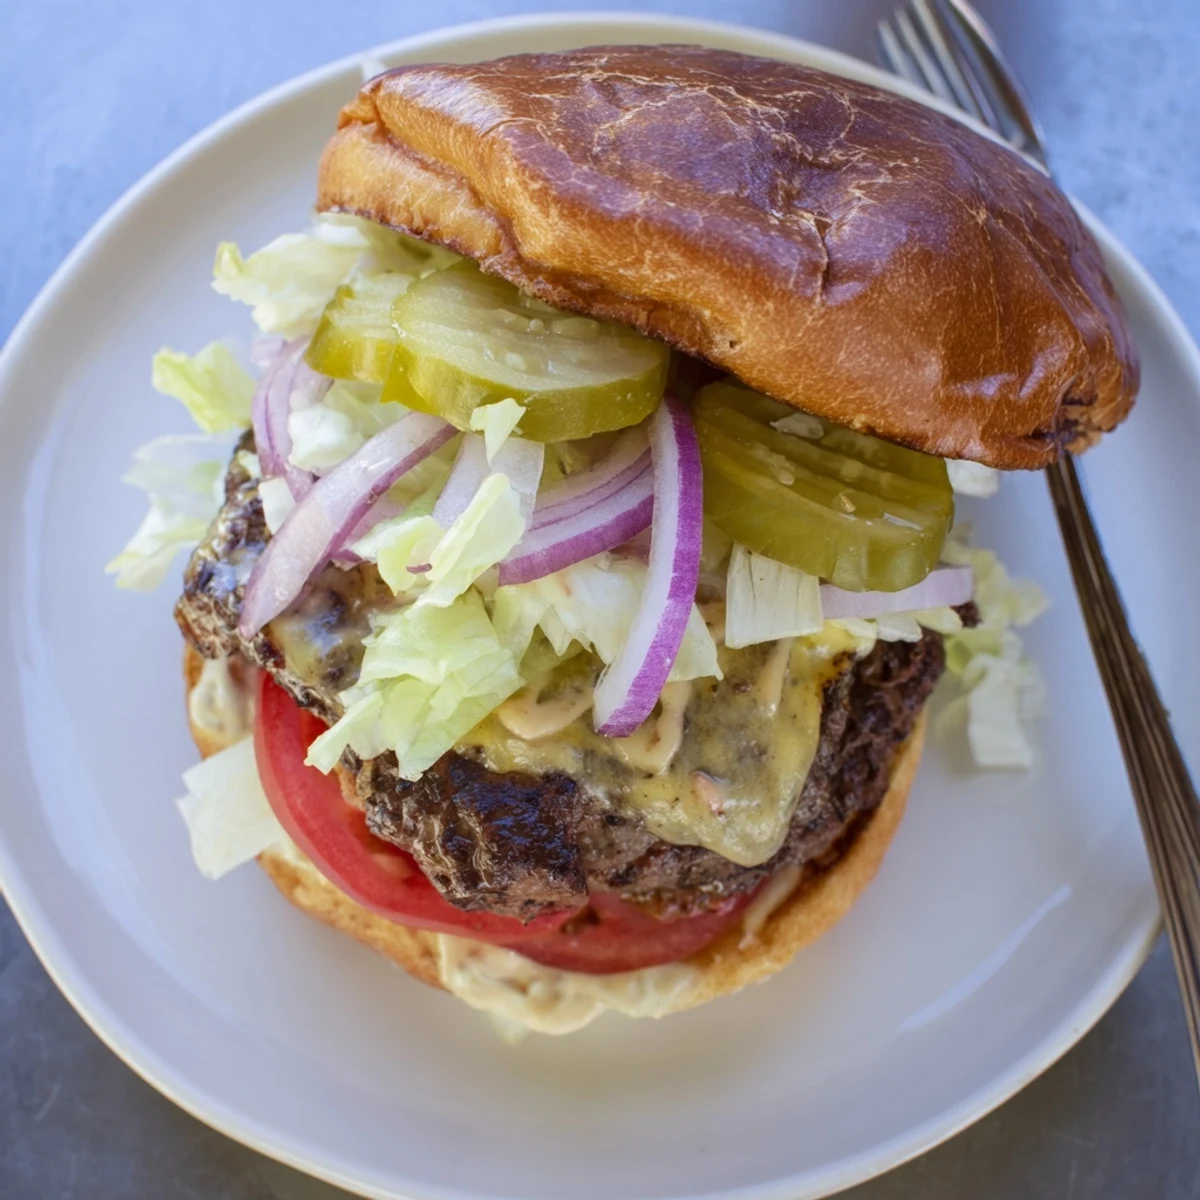
 These burgers have become my go-to for quick weeknight dinners when comfort food is calling. Something about the combination of crispy edges, melting cheese, and cold toppings just hits different.
Getting That Perfect Crust
The crust forms because you are maximizing contact between the meat and the hot surface. Do not overcrowd your skillet or the temperature will drop too much. Work in batches if you need to, because that sizzle and sear is non-negotiable.
Bun Selection Secrets
I have tried every bun imaginable, and brioche or potato buns win every single time. They are soft enough to be pleasant but sturdy enough to hold up against all those juices. Regular hamburger buns often turn into a sad, soggy mess halfway through eating.
Make It Your Own
Once you master the basic technique, the variations are endless. I have added bacon jam, caramelized onions, and even a fried egg on top.
- Try spreading some garlic aioli instead of the mayo mustard mix
- Crumble some cooked bacon onto the cheese while it melts
- Sauté mushrooms in butter until golden and pile them high
 Save to Pinterest
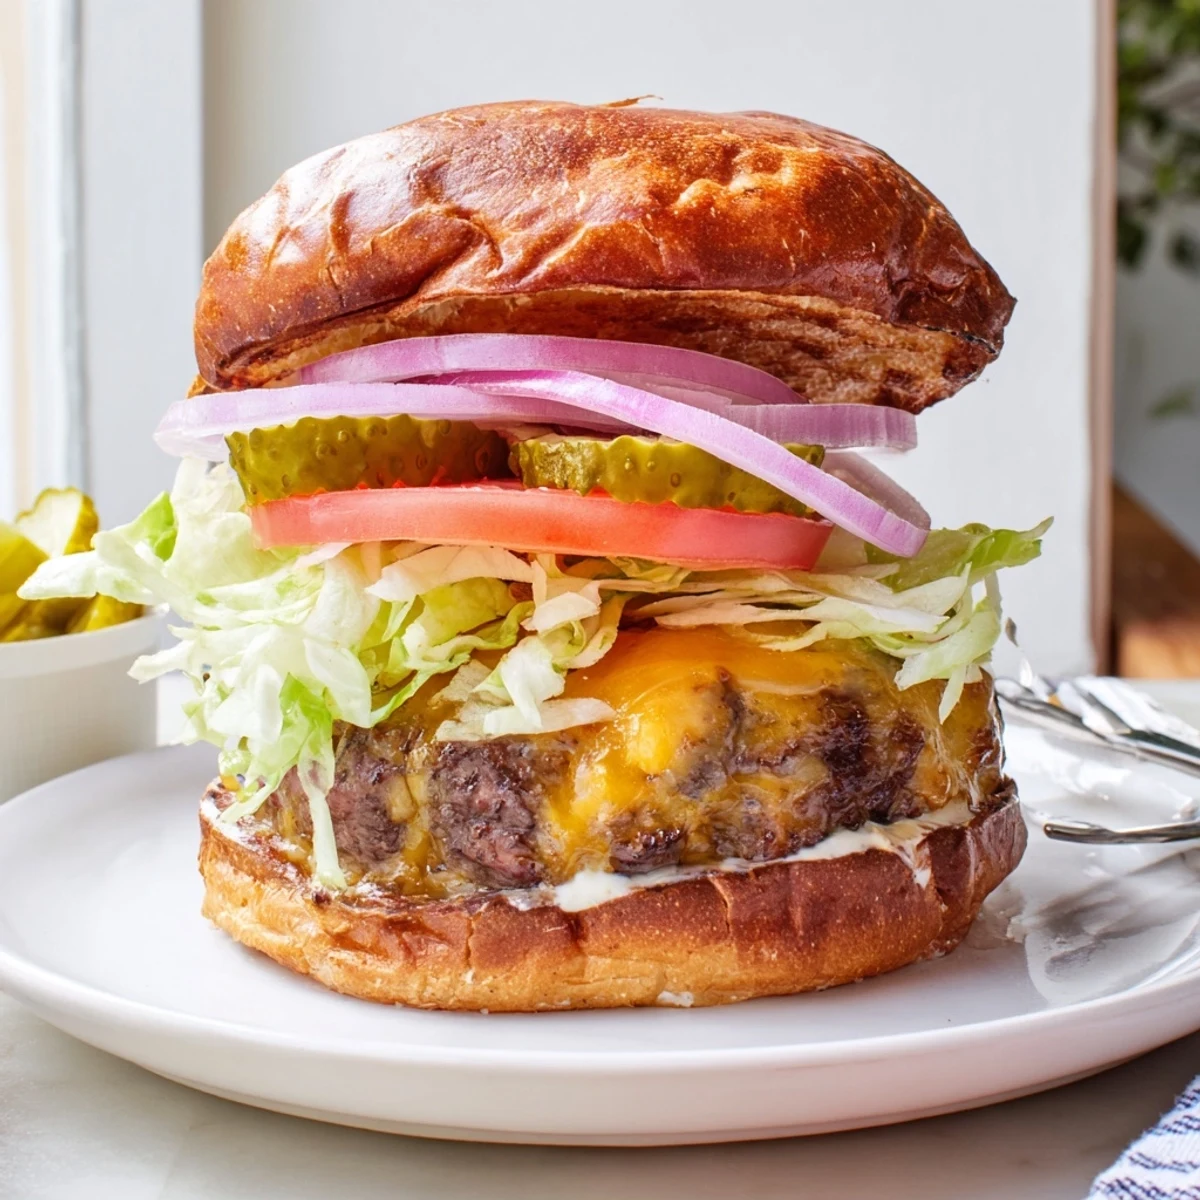
 Grab some napkins and serve these immediately. The contrast between that hot, crispy edge and the cold, crisp toppings is exactly what a great burger should be.
Recipe Questions & Answers
- → What makes a smash burger different from a regular burger?
-
Smash burgers are pressed flat onto a hot griddle, creating crispy, lacy edges while cooking quickly. This technique develops more crust surface area and flavor compared to thicker grilled patties.
- → Why is 80/20 ground beef recommended?
-
The 80% lean to 20% fat ratio provides optimal juiciness and flavor. The fat renders during cooking, keeping the patty moist while creating those desirable crispy edges.
- → Can I use a regular pan instead of a griddle?
-
Yes, a cast iron skillet works excellently. The key is ensuring it's thoroughly preheated over high heat before adding the beef to achieve proper searing and crispy edges.
- → How do I prevent the meat from sticking to the spatula?
-
Wait until the edges naturally release from the cooking surface before flipping. This usually takes 2-2½ minutes and indicates a proper crust has formed.
- → What's the purpose of toasting the buns in butter?
-
Butter-toasting creates a crispy, golden surface that prevents soggy buns from juices and condiments. It adds rich flavor and structural integrity to the finished burger.
- → Can I make these ahead of time?
-
Smash burgers are best enjoyed immediately while hot and crispy. However, you can prep toppings and form the beef balls ahead, then cook just before serving.
