 Save to Pinterest
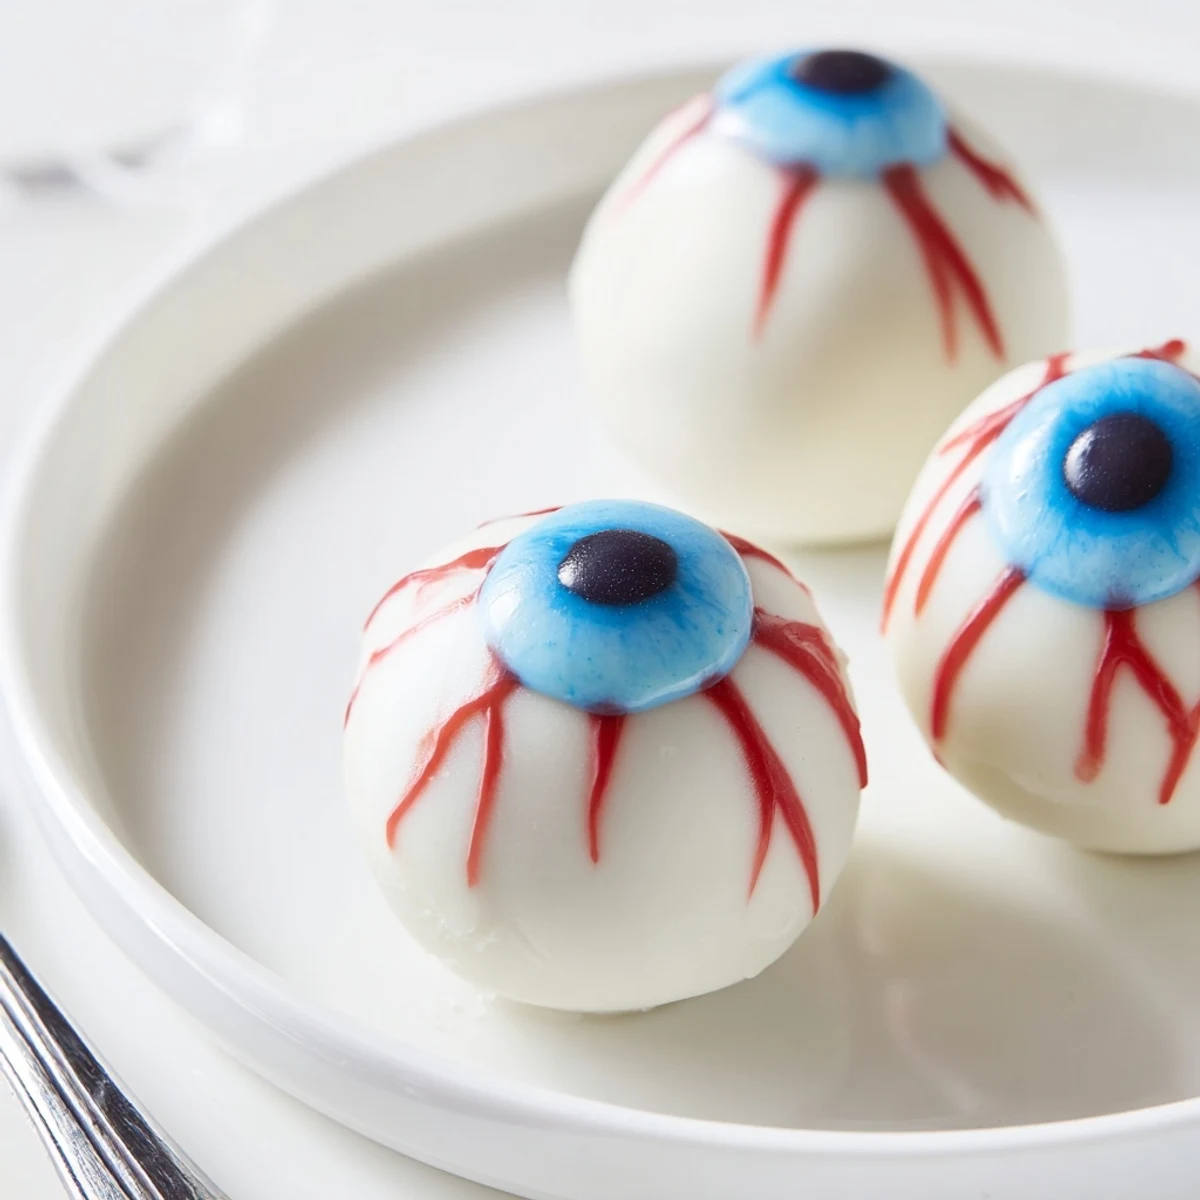
 These Halloween cake eyeballs combine crumbled vanilla cake with cream cheese frosting, formed into balls and coated in white chocolate. Each eyeball gets a colorful iris made from blue or green candy melts, a dark chocolate pupil, and spooky red gel veins for that authentic eerie look. The moist cake interior pairs perfectly with the smooth chocolate coating, creating a treat that's both delicious and delightfully creepy.
The process involves baking a vanilla cake, crumbling it, mixing with frosting, rolling into balls, chilling, then dipping and decorating. Total hands-on and chilling time takes about 1 hour 15 minutes. These spooky treats are ideal for Halloween parties, especially when served chilled for firm texture.
Last year my niece grabbed a cake eyeball off the platter and actually asked if she could really eat it, turning it around in her tiny hands like she was examining a real specimen. The room erupted in delighted shrieks when I told her to take a bite, and honestly, watching kids squirm over food that looks genuinely creepy but tastes absolutely delicious has become my favorite Halloween tradition. These took me three attempts to get right, but now they are the one thing my friends actually request months in advance.
I brought these to a potluck last October and watched my coworker literally jump back when she walked past the dessert table. Someone had arranged them all staring in the same direction, which apparently was enough horror for one Tuesday afternoon. Now I make them just to see that moment of genuine confusion on peoples faces before they realize what they are actually looking at.
Ingredients
- Vanilla cake mix: A quality box mix saves time and bakes up tender, or use your favorite homemade vanilla cake recipe if you prefer
- Eggs: Three large eggs provide structure and richness to the cake base
- Vegetable oil: Oil keeps the cake moist and tender without interfering with the flavor
- Water: Simple liquid brings the batter together, though milk makes an even richer cake
- Cream cheese: Full fat cream cheese creates a tangy, creamy frosting that binds the cake pops beautifully
- Unsalted butter: Room temperature butter creams perfectly smooth and balances the cream cheese flavor
- Powdered sugar: Sweetens the frosting and helps create that fudge-like texture we need for rolling
- Vanilla extract: Pure vanilla adds warmth and depth that makes these taste homemade
- White chocolate: White candy melts work best for coating because they set up firm and smooth
- Dark chocolate: Black candy melts or dark chocolate create perfect pupils that stand out dramatically
- Blue or green candy melts: Colored melts make the iris pop and give that realistic eye effect
- Red gel food coloring: Gel rather than liquid gives you those squiggly spooky veins without making the coating runny
Instructions
- Bake your base cake:
- Preheat that oven to 180°C and bake your vanilla cake until a tester comes out clean, then let it cool completely before touching it
- Create the crumble:
- Break the cooled cake into a large bowl and work it with your hands until you have fine, even crumbs throughout
- Make the creamy filling:
- Beat softened cream cheese, butter, powdered sugar, and vanilla together until the mixture is smooth and fluffy
- Combine everything:
- Pour the frosting over your cake crumbs and mix with your hands until the mixture holds together when squeezed gently
- Shape the eyeballs:
- Scoop tablespoons of the mixture and roll them into 24 even balls, placing them on a parchment-lined tray
- Chill thoroughly:
- Freeze the shaped balls for 20 minutes so they are firm enough to dip without falling apart
- Coat with white:
- Melt the white chocolate gently and dip each chilled ball until fully covered, tapping off any excess coating
- Add the iris:
- While the white coating is still wet, add a small circle of blue or green candy melt to create the colored portion of the eye
- Create the pupil:
- Once the colored iris has set, add a small dot of dark chocolate right in the center for that dramatic effect
- Draw the veins:
- Use red gel or decorating gel to draw squiggly lines radiating from the colored part toward the edges
- Set completely:
- Let all the decorations harden completely before moving them to your serving platter
 Save to Pinterest
 My daughter helped me decorate a batch last year and decided some of the eyeballs should be looking in different directions, which honestly made them even creepier. We stood them up on little cake pop sticks and stuck them in a pumpkin like they were growing out of it, and that decoration ended up being the hit of the entire party.
Making Them Ahead
You can prepare the cake balls through the shaping step up to three days in advance if you keep them tightly wrapped in the refrigerator. The coating step is best done the day of serving because chocolate can develop those grayish streaks over time, though they still taste perfectly fine if you need to decorate earlier.
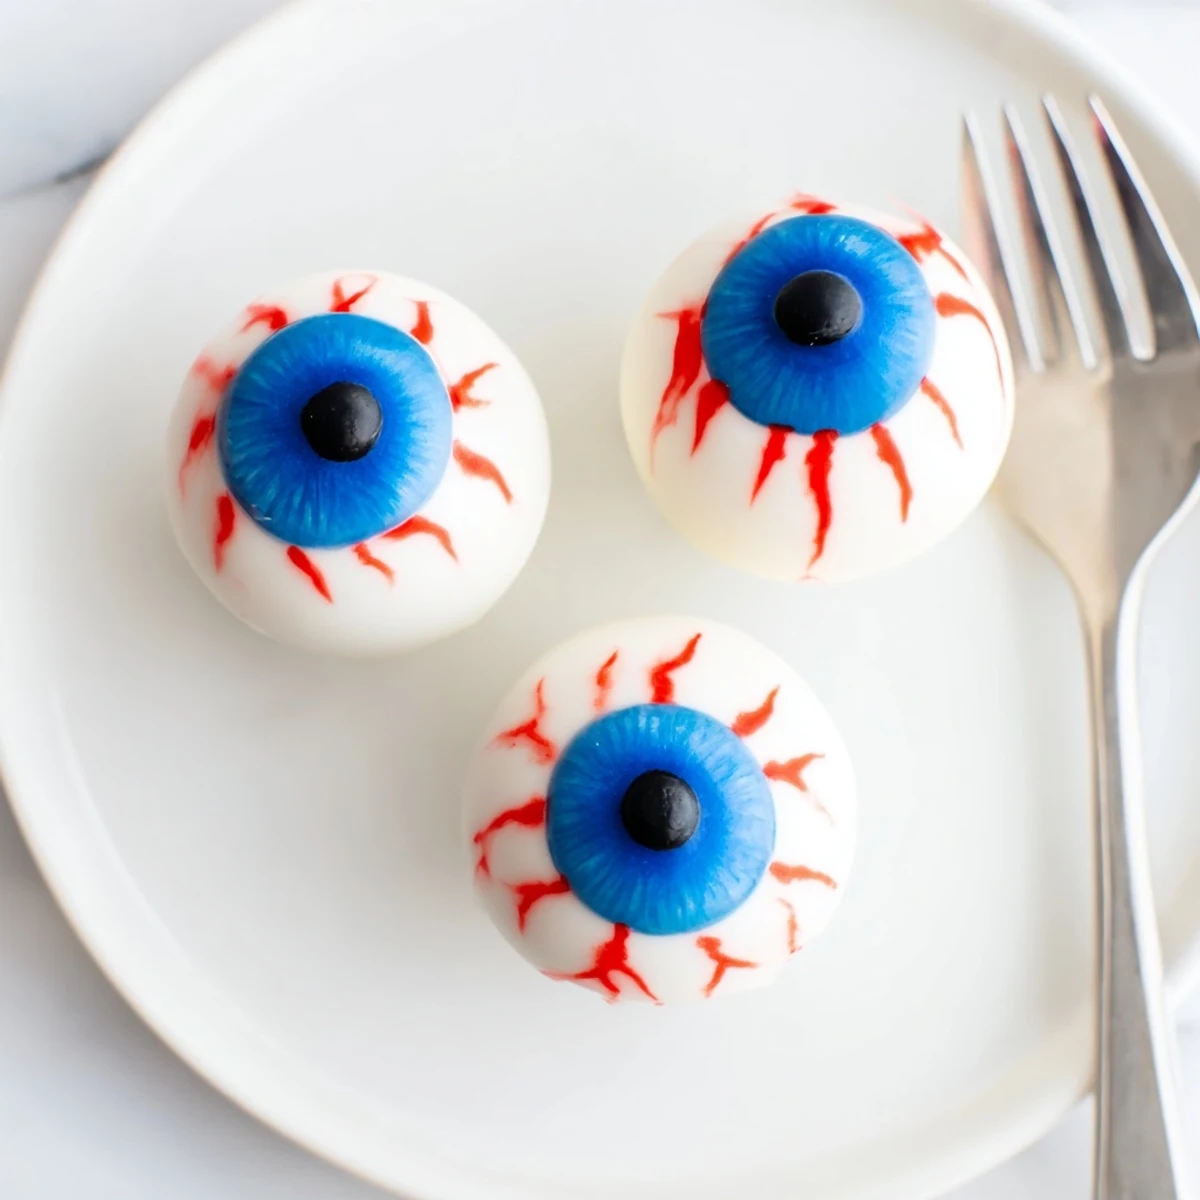
Getting Spooky Veins
The red gel food coloring works better than liquid because it stays where you put it instead of running all over the white coating. I like to use a toothpick dipped in the gel to drag tiny lines outward from the iris, creating those creepy bloodshot eyes that make people do a genuine double take.
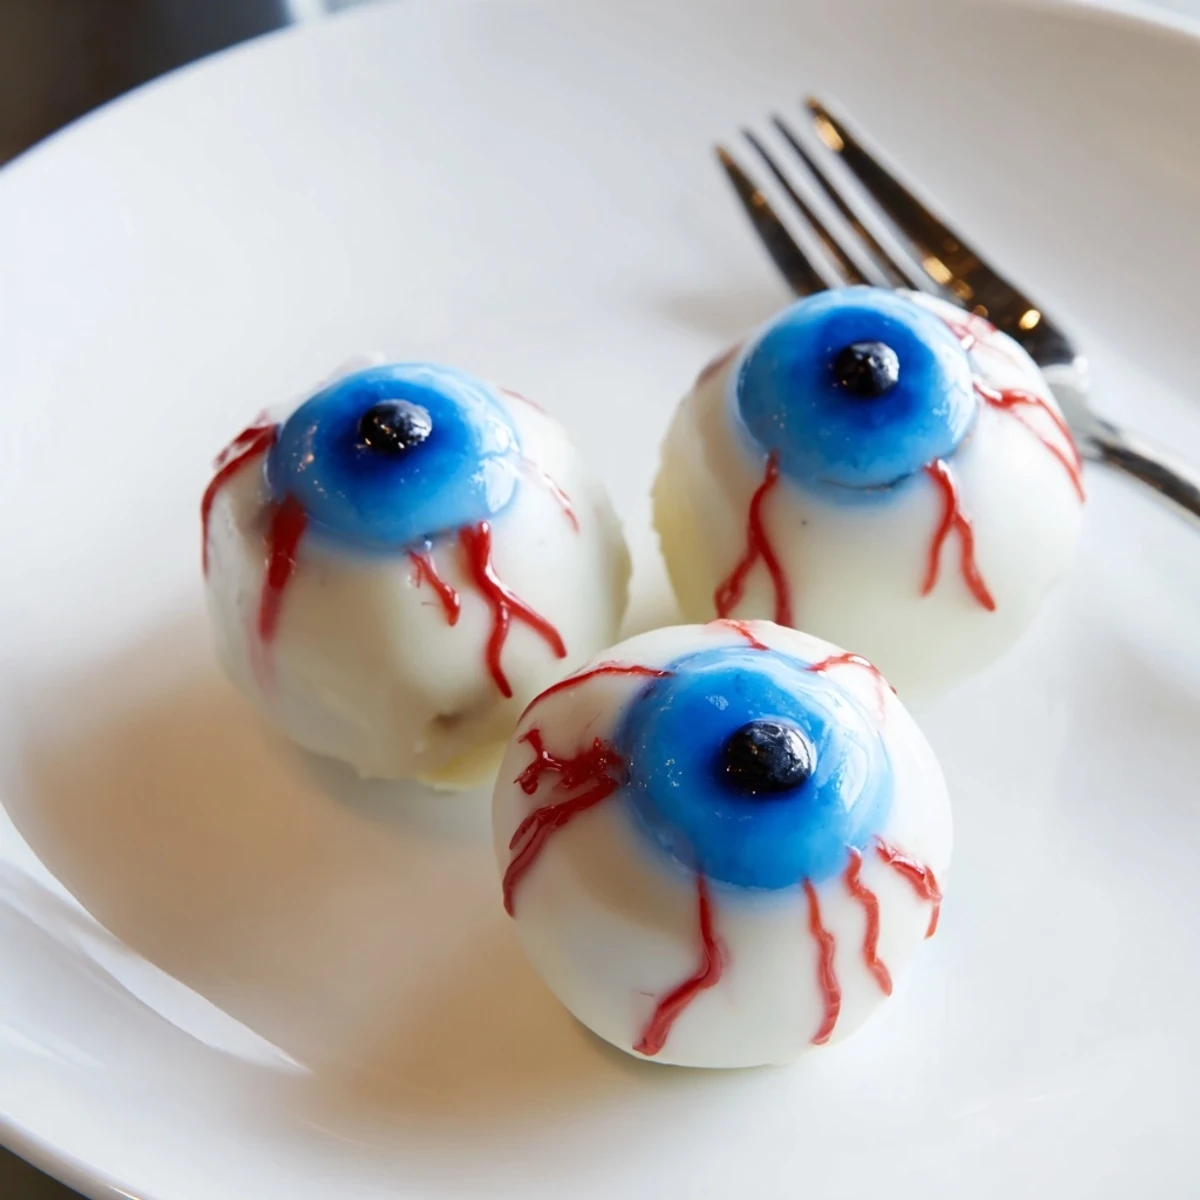
Serving And Storage
These hold up beautifully at room temperature for several hours, making them perfect for parties. Store any leftovers in an airtight container in the refrigerator with parchment paper between the layers.
- Set them out on a dark platter so the white really pops
- Consider serving them alongside other body part themed treats for maximum effect
- Keep them away from direct sunlight or the chocolate will soften and lose its perfect shape
 Save to Pinterest
 There is something deeply satisfying about watching someone hesitate before eating one of these, then seeing their face light up when they realize how delicious they actually are. Happy haunting!
Recipe Questions & Answers
- → How long do cake eyeballs stay fresh?
-
Store in an airtight container in the refrigerator for up to 5 days. The chilled texture helps maintain their shape and the coating stays firm. For best results, bring to room temperature 10 minutes before serving.
- → Can I make these ahead of time?
-
Yes, prepare the cake balls and chill them uncoated for up to 2 days. Coat and decorate 1 day before your event. Once decorated, they'll keep well in the fridge for 3-4 days without losing quality or appearance.
- → What's the best way to melt chocolate for coating?
-
Melt white chocolate in 30-second intervals in the microwave, stirring between each session. Or use a double boiler on low heat, ensuring no water gets into the chocolate as it will seize and become unusable for smooth dipping.
- → Can I use different colors for the irises?
-
Absolutely! While blue and green create classic eerie eyeballs, you can use any candy melt colors. Purple, yellow, or even red create uniquely spooky effects. Use colored icing as an alternative to candy melts for easier application.
- → Why do my cake balls fall apart when dipping?
-
The mixture likely needs more frosting to bind the crumbs, or the balls aren't chilled long enough. Freeze for at least 20 minutes before coating. If the coating is too hot, it can melt the balls — let chocolate cool slightly to working temperature before dipping.
- → Do I need cake pop sticks?
-
Sticks are optional. These work perfectly as bite-sized balls without sticks, which some find easier for coating. If using sticks, insert them before the final freeze and hold sticks while dipping for even coating coverage.
