 Save to Pinterest
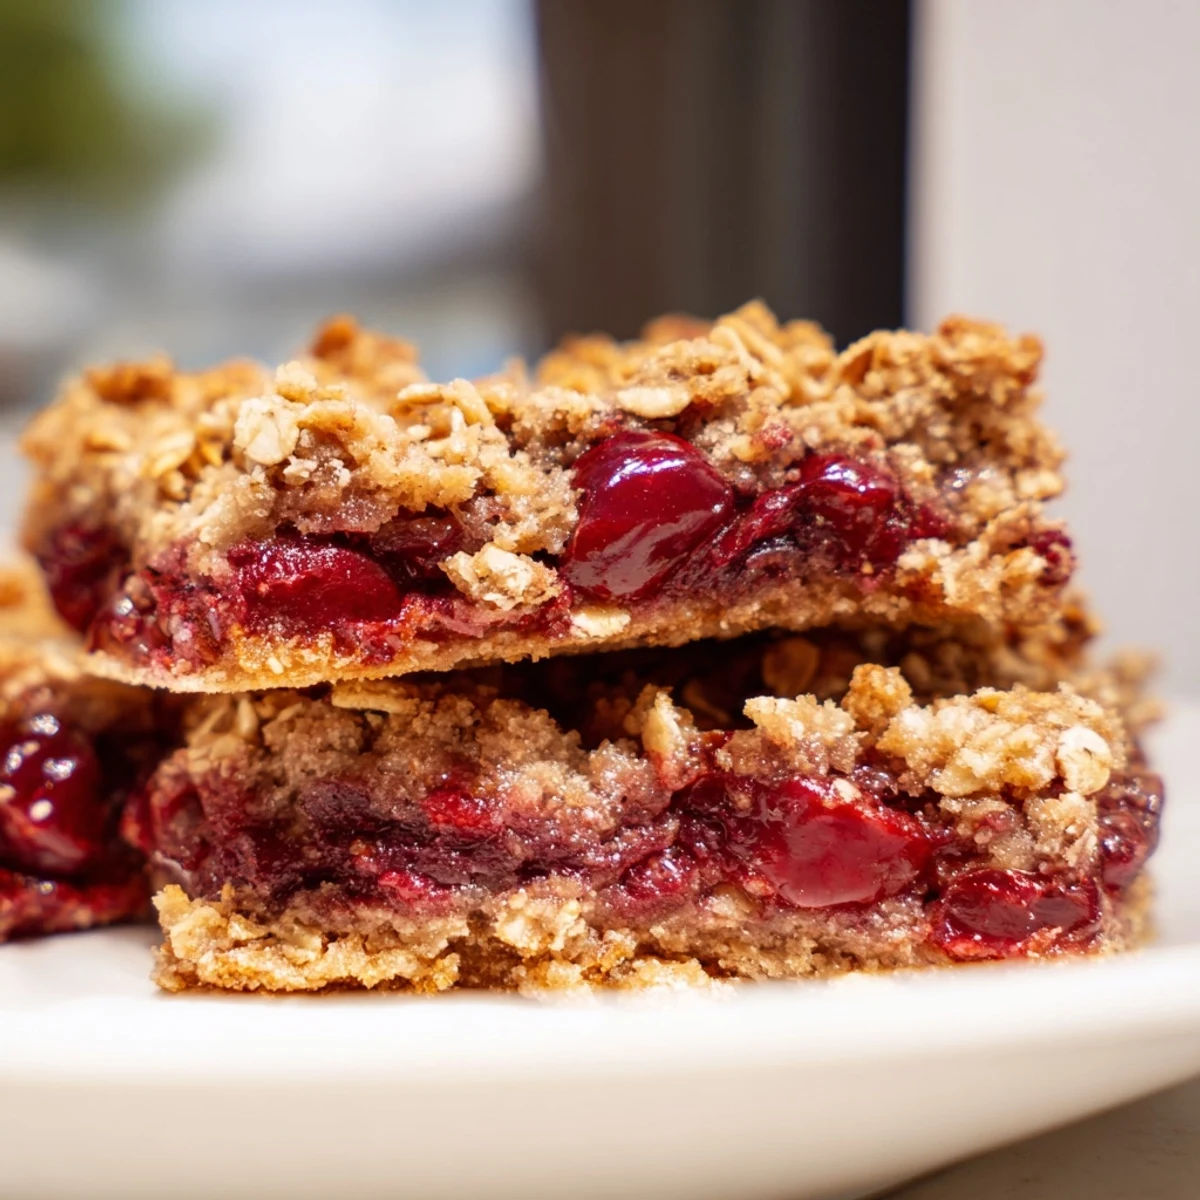
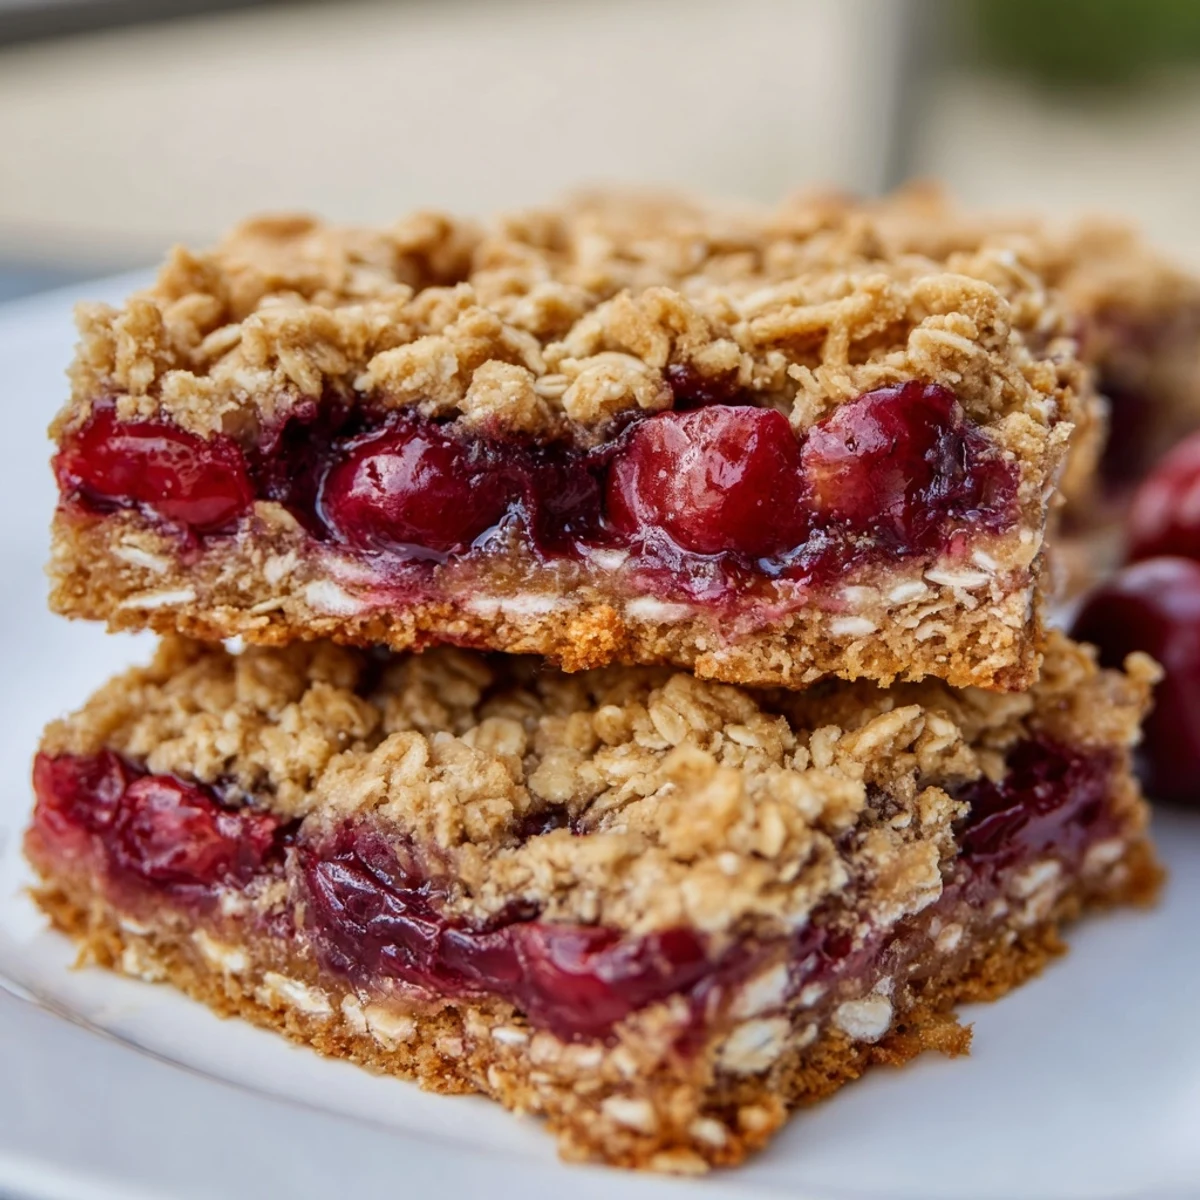
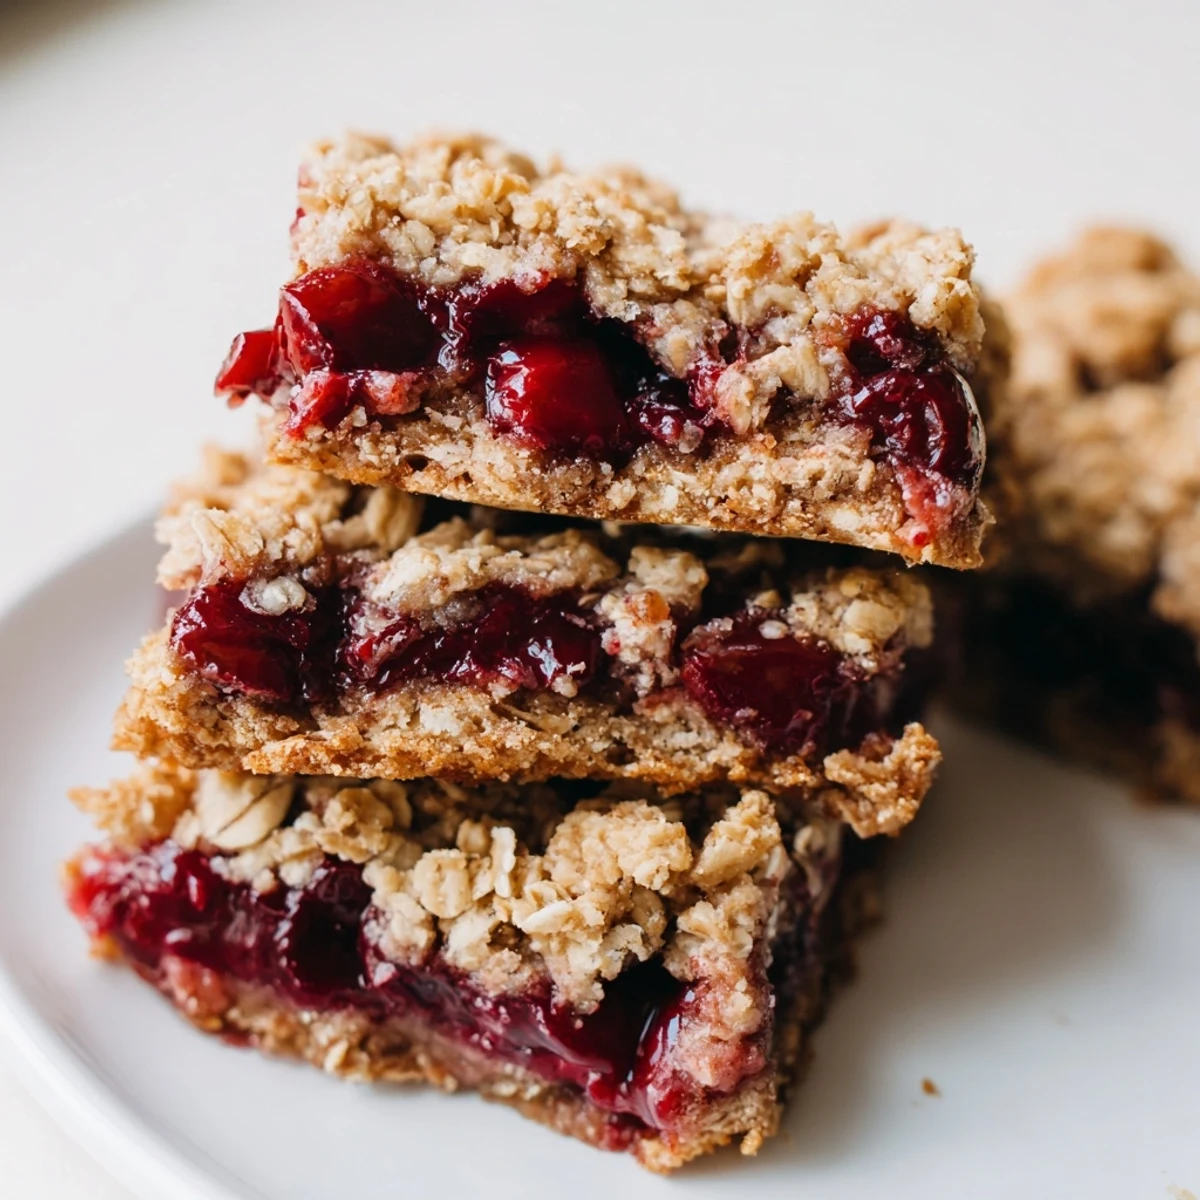
 These cherry crumble bars feature a buttery, oat-studded crust pressed into a pan, topped with sweetened cherry filling, and finished with a generous layer of golden crumble. The bars bake until bubbling and golden, creating irresistible layers of texture—crisp edges, tender fruit, and crumbly topping in every bite.
Ready in under an hour with just 20 minutes of prep, these bars come together with simple pantry staples. The crust doubles as the topping, streamlining the process while maximizing that classic crumble texture. Fresh or frozen cherries work equally well, making this a go-to treat year-round.
Cool completely before cutting for clean, neat bars that hold their shape perfectly for picnics, potlucks, or afternoon snacks. The combination of tart cherries and buttery oat crumble strikes just the right balance between sweetness and brightness.
My neighbor brought over a basket of fresh cherries from her tree last summer, and I stood there staring at them, wondering what to make that wouldn't take all day. These crumble bars were born from that moment of kitchen curiosity, and they've become my go-to whenever I want something that feels special but doesn't require measuring anxiety or special techniques.
I made these for my book club last month, and something magical happened when I pulled them from the oven. That golden oat topping had everyone drifting into the kitchen, asking what smelled so comforting, and suddenly we weren't discussing the book anymore, we were all talking about our grandmother's kitchens and the desserts that smell like home.
Ingredients
- All-purpose flour: Creates the structure for both crust and crumble without turning tough
- Old-fashioned rolled oats: These give you that irresistible chewy texture and nutty flavor instant oats can't match
- Granulated and brown sugar: The combination gives you crisp edges and soft centers
- Baking powder: Just enough to lift the crust slightly so it's not dense
- Unsalted butter, melted: Melted butter incorporates faster and gives you those perfect crumbly pockets everyone fights over
- Fresh or frozen cherries: Frozen work beautifully here, just add a few extra minutes to the bake time
- Cornstarch: Thickens those cherry juices so you don't end up with a soggy bottom
- Almond extract: Optional, but it pairs so perfectly with cherries that I never skip it anymore
Instructions
- Get your oven ready:
- Preheat to 350°F and line a 9x13-inch pan with parchment, letting the edges hang over like little handles that will save you later.
- Mix the crumble base:
- Combine flour, oats, both sugars, baking powder, and salt in a large bowl until evenly distributed.
- Bring it together:
- Pour in melted butter and vanilla, stirring until everything looks like damp sand and you can pinch a clump that holds together.
- Reserve some topping:
- Measure out about 1½ cups of the mixture and set it aside for the golden top layer later.
- Press the crust:
- Firmly press the remaining mixture into your prepared pan, really getting into the corners so it bakes evenly.
- Prepare the cherries:
- Toss the cherries with sugar, cornstarch, lemon juice, and almond extract until every piece is coated.
- Layer and top:
- Spread the cherry mixture over the crust, then scatter that reserved crumble evenly across the top.
- Bake until golden:
- Bake for 35 to 40 minutes until the top is golden brown and you see the cherry filling bubbling through the crumble.
- Cool completely:
- Let them cool completely in the pan, then use those parchment handles to lift the whole thing out before cutting into squares.
 Save to Pinterest
 My daughter asked if we could make these for her school bake sale after trying them, and I realized that sometimes the simplest recipes become the ones people remember most. Watching her carefully press the crust into the pan, I understood why recipes like this get passed down through generations.
Making These Your Own
Once you master the basic method, you can swap in almost any fruit that's in season. Peaches, blueberries, or even apples work beautifully, and I've started adding a handful of chopped pecans to the topping when I want something extra special.
Storage And Serving
These bars keep surprisingly well at room temperature for about two days, though they rarely last that long in my house. For longer storage, wrap them individually and freeze, then just let one thaw on the counter while you make coffee.
Common Questions
The most common question I get is whether fresh cherries are absolutely necessary. Frozen cherries actually work beautifully here and sometimes release more juice, creating those lovely jammy pockets throughout the bars. Just don't thaw them first or you'll end up with too much liquid.
- Chop large cherries in half so they distribute evenly
- Use room temperature ingredients to help the butter incorporate evenly
- Let the bars cool for at least 2 hours before slicing
 Save to Pinterest
 There's something deeply satisfying about a dessert that comes together this easily but looks like you spent all afternoon in the kitchen. That's the kind of recipe I want to fill my kitchen with.
Recipe Questions & Answers
- → Can I use frozen cherries instead of fresh?
-
Absolutely. Frozen cherries work beautifully in these bars—no need to thaw them first. Simply toss them with the sugar and cornstarch mixture, then spread over the crust. Add about 5 extra minutes to the baking time to ensure the filling bubbles properly.
- → How should I store these bars?
-
Store cooled bars in an airtight container at room temperature for up to 3 days. For longer storage, refrigerate for up to a week—the flavors actually develop nicely after a day or two. You can also freeze individually wrapped bars for up to 3 months.
- → What's the best way to get clean cuts?
-
Let the bars cool completely in the pan before cutting—warm bars will crumble and lose their shape. Use the parchment paper overhang to lift the entire batch out, then use a sharp knife wiped clean between cuts. For extra precision, chill the bars for 30 minutes before slicing.
- → Can I substitute the cherries with other fruit?
-
Definitely. This same method works wonderfully with blueberries, raspberries, sliced peaches, or a mix of summer berries. Adjust the sugar slightly based on fruit sweetness—tart berries may need an extra tablespoon, while very sweet stone fruit might need a bit less.
- → What makes the crumble texture so good?
-
The combination of old-fashioned rolled oats and brown sugar creates that perfect crumble texture. Oats add nutty flavor and a satisfying crunch, while brown sugar contributes moisture and deep caramel notes. Melting the butter before mixing ensures everything coats evenly without overworking the dough.
- → Can I make these bars ahead of time?
-
These bars actually taste better the next day as the flavors have time to meld. You can bake them up to 2 days in advance, store covered at room temperature, and serve when ready. For baking further ahead, freeze the unbaked bars wrapped tightly, then bake from frozen adding 10-15 minutes to the time.
