 Save to Pinterest
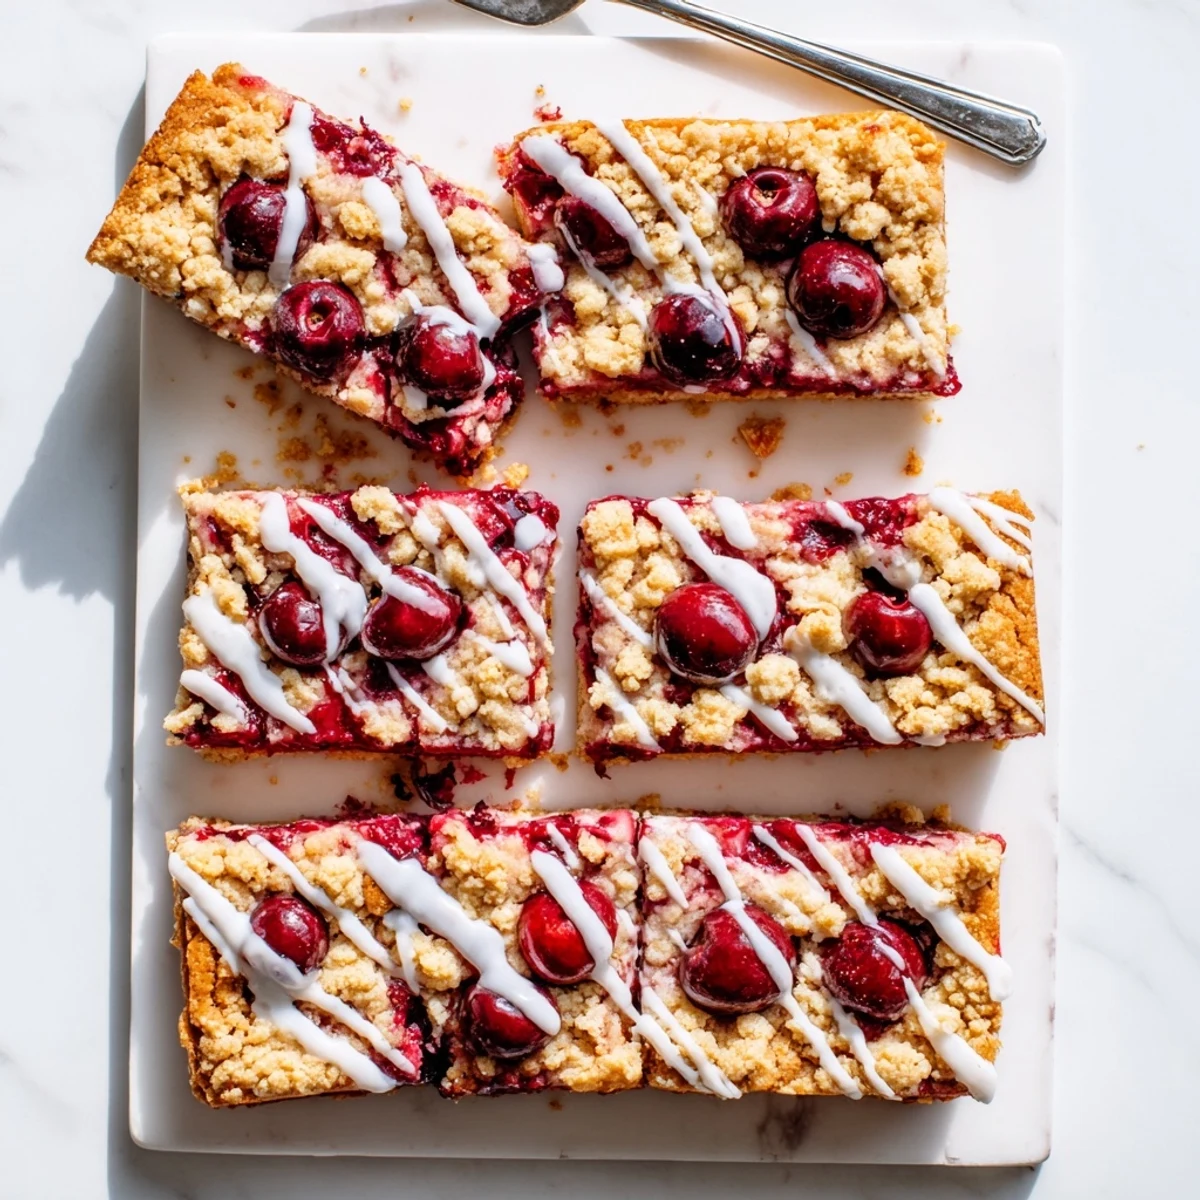
 These tender cherry bars feature a buttery vanilla dough base topped with sweet cherry pie filling and finished with a smooth vanilla glaze. The preparation comes together quickly with just 15 minutes of prep time, followed by 35 minutes in the oven until golden and set. Perfect for gatherings, potlucks, or everyday treats, these bars offer all the classic flavors of cherry pie in an easy-to-serve format. The almond extract adds subtle depth while the glaze provides the perfect finishing touch.
Last summer, my neighbor Linda brought these cherry pie bars to our block party and I literally hovered near the dessert table until I got the recipe. There was something about that buttery crust meeting the sweet cherry filling that made everyone pause mid-conversation for just one more bite.
My youngest daughter helped me make these for her school bake sale last spring and came home beaming because they sold out faster than anything else. She felt so proud telling people the secret was dropping the dough in little clumps instead of trying to spread it perfectly.
Ingredients
- 1 cup unsalted butter, softened: Room temperature butter creates that tender melt-in-your-mouth texture that makes these bars so irresistible
- 1 1/2 cups granulated sugar: Cream this thoroughly with the butter until it looks pale and fluffy for the best texture
- 4 large eggs: Add these one at a time to prevent the mixture from curdling and ensure everything incorporates smoothly
- 1 tsp vanilla extract: Pure vanilla makes all the difference here since the flavor shines through that simple buttery crust
- 1/2 tsp almond extract: This is entirely optional but it pairs so beautifully with cherries and gives them that bakery-style taste
- 3 cups all-purpose flour: Spoon and level this instead of scooping directly to avoid packing too much flour into your dough
- 1/2 tsp salt: Just enough to balance all that sugar and let the butter flavor really come forward
- 1 can cherry pie filling (21 oz): You could make your own but honestly the canned version works perfectly here and saves so much time
- 1 cup powdered sugar: Sift this before making your glaze to avoid any lumpy spots in that pretty white drizzle
- 2-3 tbsp milk: Start with less and add more gradually until you reach that perfect pourable consistency
- 1/2 tsp vanilla extract: A little extra vanilla in the glaze ties everything together beautifully
Instructions
- Get your oven ready:
- Preheat to 350°F and grease a 9x13-inch pan or line it with parchment paper for easy cleanup later
- Cream the butter and sugar:
- Beat them together until the mixture looks pale and fluffy which usually takes about 3-5 minutes of serious mixing
- Add the eggs and extracts:
- Drop in those eggs one at a time letting each fully incorporate before adding the next then stir in both extracts
- Combine the dry ingredients:
- Whisk the flour and salt in a separate bowl then gradually mix it into the wet ingredients just until everything comes together
- Layer the bottom crust:
- Press about two-thirds of the dough into your prepared pan using floured fingers to spread it evenly without sticking
- Add the cherry filling:
- Spoon that entire can of cherry pie filling over the dough and spread it into an even layer right to the edges
- Top with remaining dough:
- Drop small spoonfuls of the leftover dough all over the cherries leaving those pretty gaps where the red filling shows through
- Bake until golden:
- Slide the pan into the oven for 30-35 minutes until the tops turn light golden and the edges look set and slightly puffy
- Let them cool completely:
- This might be the hardest part but wait until they reach room temperature before adding that glaze or it will melt right off
- Make the vanilla glaze:
- Whisk the powdered sugar milk and vanilla until completely smooth then drizzle it back and forth over the cooled bars
- Slice and serve:
- Wait about 15 minutes for the glaze to set then cut them into 16 squares and watch how fast they disappear
 Save to Pinterest
 My grandmother used to say the best desserts are the ones that make people ask for the recipe instead of just asking what is in them. These cherry pie bars have become that recipe in my family the one everyone requests for birthdays holidays and random Tuesday night cravings.
Making The Dough Just Right
I learned the hard way that overworking this dough makes the bars tough instead of tender. Mix the flour in until you just do not see dry streaks anymore then walk away even if it looks slightly uneven. Those tiny pockets of flour will disappear during baking and leave you with that perfect cake-like texture.
Filling Variations Worth Trying
While cherry will always have my heart these bars work beautifully with almost any canned pie filling. Blueberry creates these gorgeous purple swirls while apple gives you that cozy fall feeling with cinnamon notes. Just be sure to use the same 21-ounce can size so your ratios stay consistent.
Storage And Serving Suggestions
These bars keep surprisingly well at room temperature for about two days though honestly they rarely last that long in my house. After that move them to the refrigerator where they will stay fresh for another week. They actually taste amazing cold straight from the fridge with that firmer texture.
- Place a piece of parchment paper between layers if you need to stack them for storage
- Warm individual bars in the microwave for 15-20 seconds if you prefer that freshly baked softness
- Sprinkle a little coarse sugar over the glaze while it is still wet for extra sparkle and crunch
 Save to Pinterest
 There is something about a homemade bar cookie that feels more special than almost any other dessert. Maybe it is because they are meant to be shared broken into small squares and passed around the table.
Recipe Questions & Answers
- → Can I use fresh cherries instead of canned pie filling?
-
While canned filling provides consistent results, you can use fresh cherries cooked down with sugar and cornstarch. You'll need about 4 cups pitted cherries and will need to simmer them with 1/2 cup sugar and 2 tablespoons cornstarch until thickened.
- → How should I store these bars?
-
Store in an airtight container at room temperature for up to 3 days. For longer storage, refrigerate for up to a week. The bars can also be frozen for up to 3 months—wrap individually in plastic wrap and place in a freezer-safe container.
- → Can I make these without a mixer?
-
Yes, you can cream the butter and sugar by hand with a sturdy spoon, though it will take more effort and time. The butter should be very soft to make mixing easier.
- → What other fruit fillings work well?
-
Blueberry, apple, strawberry, or raspberry pie filling all work beautifully. Each variation maintains the same preparation method and baking time.
- → Why did my dough turn out dry?
-
Dry dough usually results from over-measuring flour or using cold butter. Measure flour by spooning into the measuring cup and leveling off, and ensure butter is properly softened to room temperature.
