 Save to Pinterest
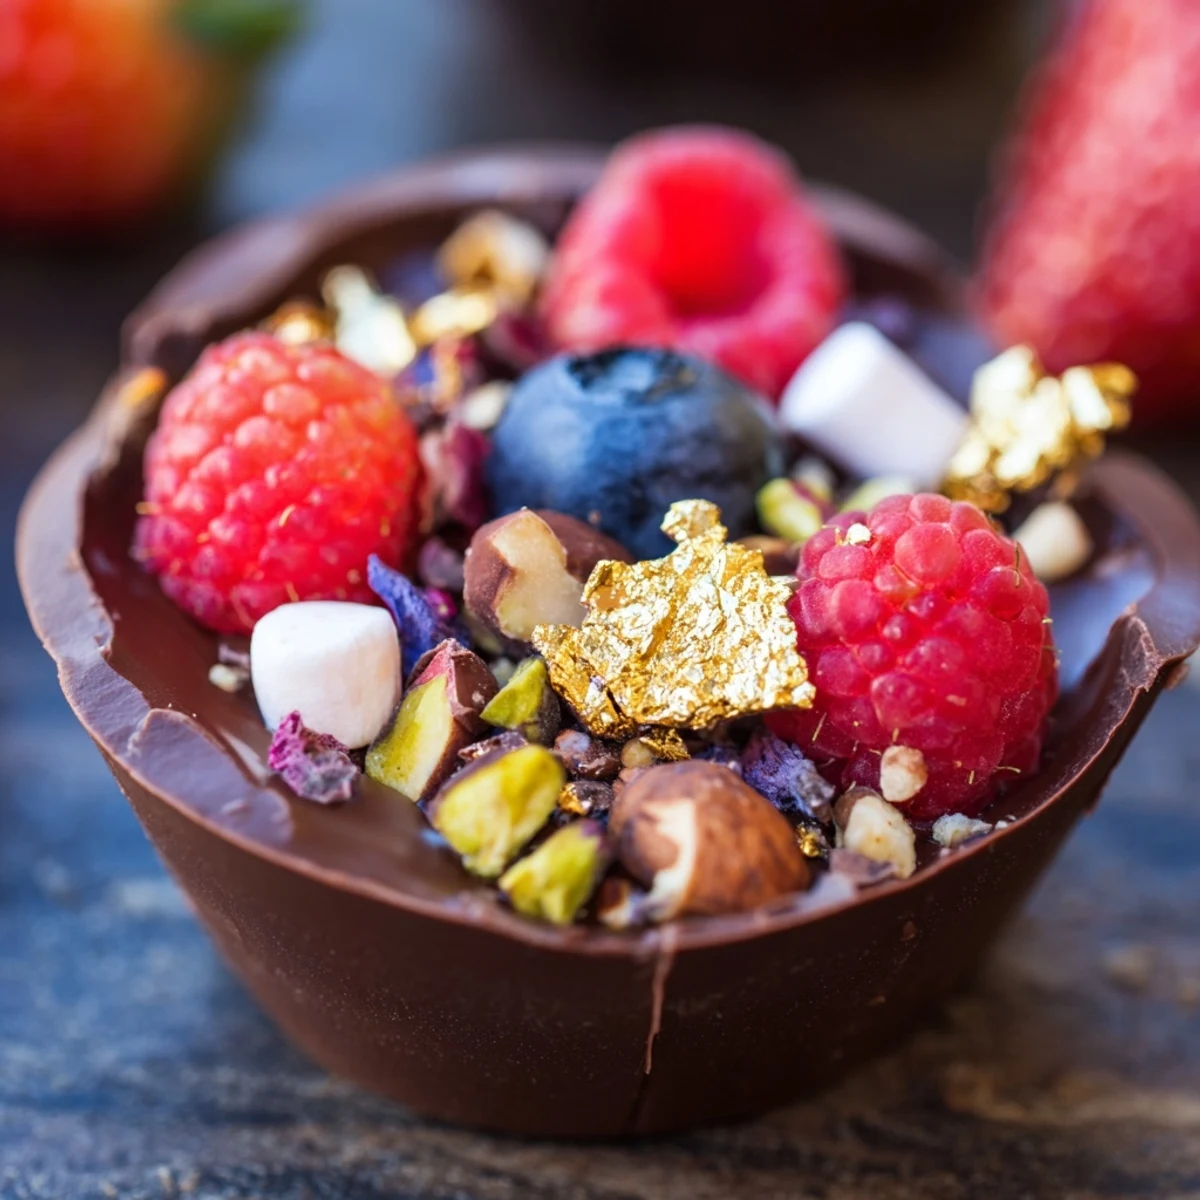
 These stunning chocolate grazing cups feature delicate handmade chocolate vessels filled with velvety chocolate mousse, fresh seasonal berries, and an assortment of crunchy toppings. The combination creates a sophisticated dessert experience perfect for entertaining.
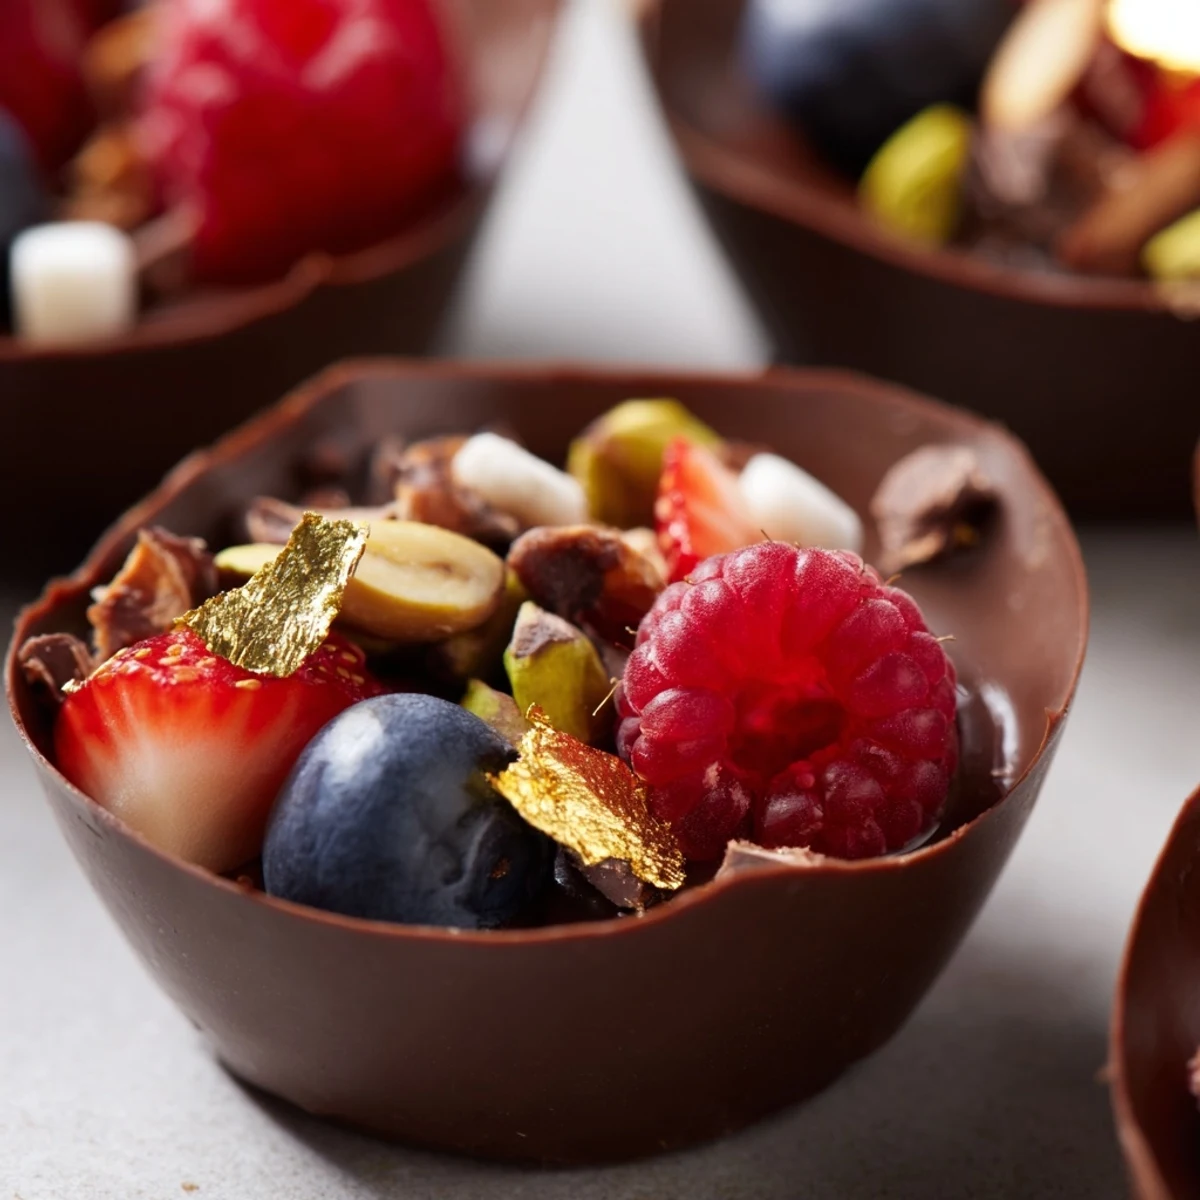
Each cup delivers layers of texture—from the crisp chocolate shell to the creamy mousse center, punctuated by juicy berries and nutty crunch. The visual appeal makes them ideal for dessert tables, dinner parties, or special celebrations.
Preparation involves creating chocolate cups from melted dark chocolate, whipping a light mousse, and artfully arranging garnishes. The result is an impressive yet approachable sweet ending that guests can enjoy individually.
Last New Year's Eve, I set out to make something that looked fancy but wouldn't keep me trapped in the kitchen while guests arrived. These chocolate cups ended up being the perfect solution, and watching everyone's faces light up when they realized the cups themselves were edible was genuinely delightful.
My sister accidentally discovered that if you chill the chocolate cups for too long, they develop this beautiful satin sheen. Now I deliberately plan for that extra chill time, and it's become our little signature touch that people always ask about.
Ingredients
- Dark chocolate (200 g for cups, 100 g for mousse): The higher cocoa percentage gives your cups structural integrity while the mousse chocolate adds that deep intensity without becoming bitter
- Heavy cream (200 ml): Cold cream is non-negotiable here, and I've learned that ten minutes in the freezer before whipping makes all the difference
- Powdered sugar (2 tbsp): This dissolves seamlessly into the mousse, avoiding any grainy texture that granulated sugar might leave behind
- Vanilla extract (1 tsp): Pure vanilla extract elevates the chocolate rather than competing with it, creating those subtle floral undertones
- Fresh mixed berries (1 cup): The tartness cuts through the rich chocolate, and I always toss them in right before serving so they stay perky
- Chopped nuts (2 tbsp): Toasted hazelnuts have become my go-to for their earthy pairing with dark chocolate
- Mini marshmallows (2 tbsp): These add playful sweetness and nostalgic charm that balances the sophisticated elements
- Chocolate curls or shavings (2 tbsp): Use a vegetable peeler on a room-temperature chocolate bar for effortless, professional-looking garnish
- Edible gold leaf or pearls (1 tbsp, optional): Entirely unnecessary but absolutely transformative for special occasions
Instructions
- Prepare the chocolate cups:
- Melt the chocolate in 30-second bursts, stirring between each, until it's glossy and smooth. Coat your cupcake liners thoroughly, paying special attention to the edges, and let them chill until firm to the touch.
- Create the mousse base:
- Melt the remaining chocolate and let it cool until just slightly warm, or it will seize when you fold it into the cream. Whip your chilled cream with sugar and vanilla until you can lift the whisk and see soft peaks that gently curl over.
- Combine the components:
- Stir a dollop of whipped cream into the melted chocolate first, then fold this lighter mixture back into the remaining cream in gentle motions, cutting through the center and lifting from the bottom.
- Assemble your cups:
- Carefully peel away the liners and pipe or spoon the mousse into each chocolate vessel, leaving room at the top. Add your toppings with a light hand, arranging them so each cup gets a bit of everything.
- Final chill:
- Refrigerate for at least 20 minutes, which lets the mousse set and the flavors meld together beautifully. Serve straight from the fridge for the best texture contrast.
 Save to Pinterest
 These became my daughter's birthday request last year, and seeing her carefully choose each topping for her own cup made me realize that the interactive element is part of the magic. Now we set up a toppings bar and let everyone customize.
Chocolate Selection Secrets
I've tried everything from supermarket baking bars to single-origin artisanal chocolate, and honestly, the sweet spot for these cups is around 65-70% cocoa. Anything darker makes the cups too brittle, while milk chocolate lacks the structure needed to hold their shape. The chocolate you choose defines the entire experience, so taste it before you start cooking.
Make-Ahead Wisdom
The chocolate cups can be made up to three days in advance if stored in an airtight container between layers of parchment paper. However, I learned the hard way that the mousse doesn't hold well beyond 24 hours—it starts weeping and loses that ethereal texture that makes it special. Assemble the morning of your event for optimal results.
Presentation Perfection
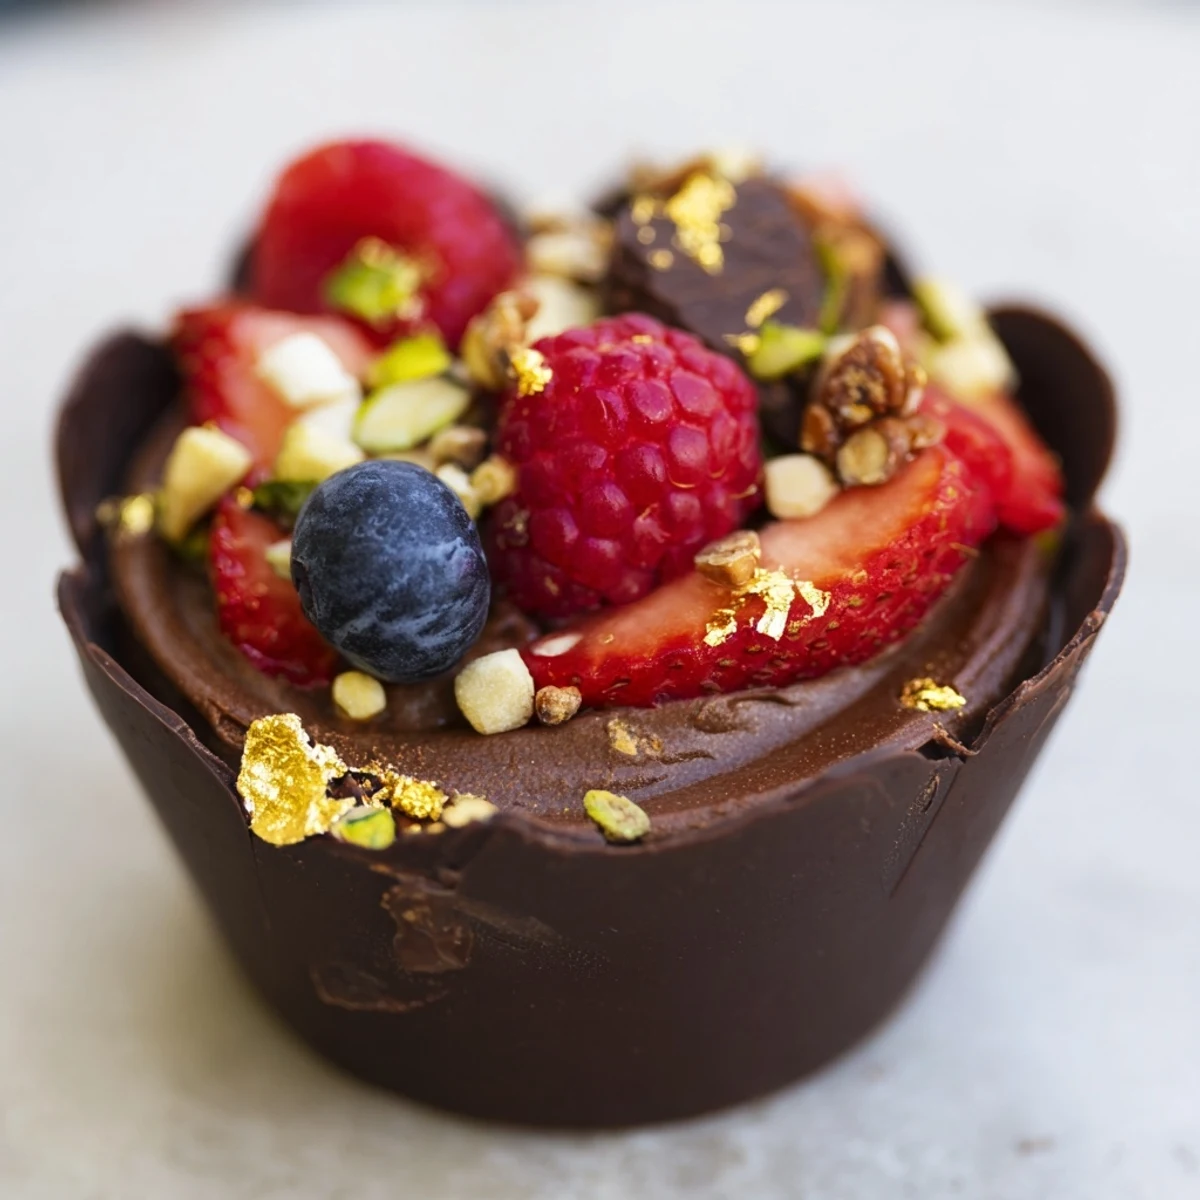
Arrange these on a marble board or slate platter with scattered berries and a few whole cocoa beans for visual interest. The contrast between dark chocolate and vibrant berries creates automatic beauty that requires no additional styling.
- Keep your chocolate curls in the fridge until the last second, as warmth makes them droop instantly
- If serving outdoors, have a backup plan because humidity will turn your beautiful cups soft and sad within minutes
- Always make a few extra cups because someone will inevitably ask for seconds, and you'll want to be that person who can say yes
 Save to Pinterest
 There's something deeply satisfying about serving dessert that looks like it came from a chocolate shop but knowing it came from your own kitchen. These cups have become my answer to every celebration, and they never fail to make people feel special.
Recipe Questions & Answers
- → How far in advance can I make these chocolate cups?
-
The chocolate cups and mousse can be prepared up to 24 hours in advance. Store cups in an airtight container at room temperature, and keep mousse refrigerated. Assemble just before serving to maintain the crisp texture of the chocolate shells.
- → Can I use milk or white chocolate instead of dark?
-
Absolutely. Milk or white chocolate works beautifully for both cups and mousse. Keep in mind that white chocolate contains more cocoa butter, so the cups may be slightly softer. Adjust chilling time accordingly for proper setting.
- → What other toppings work well with these cups?
-
Consider crushed cookies, caramelized nuts, shredded coconut, fresh mint leaves, pomegranate seeds, or edible flowers. A dusting of cocoa powder or cinnamon sugar adds visual appeal. The key is variety in texture and complementary flavors that pair with chocolate.
- → How do I prevent the chocolate cups from cracking or breaking?
-
Ensure your chocolate is properly tempered by melting slowly and avoiding overheating. Apply thick, even layers when coating the liners. Chill completely before attempting to remove liners. Working in a cool, dry room also helps prevent issues.
- → Can I make these gluten-free completely?
-
Yes, these are naturally gluten-free when made with certified gluten-free chocolate. Check labels on all ingredients, especially chocolate brands, as some contain soy lecithin or are processed in facilities with wheat. Choose pure chocolate and fresh toppings for a safe gluten-free dessert.
- → What's the best way to serve these at a party?
-
Arrange on a decorative platter or tiered stand for visual impact. Provide small plates or napkins as guests may eat by hand. Consider labeling different flavor variations. Keep refrigerated until 30 minutes before serving to allow chocolate to come to ideal temperature.
