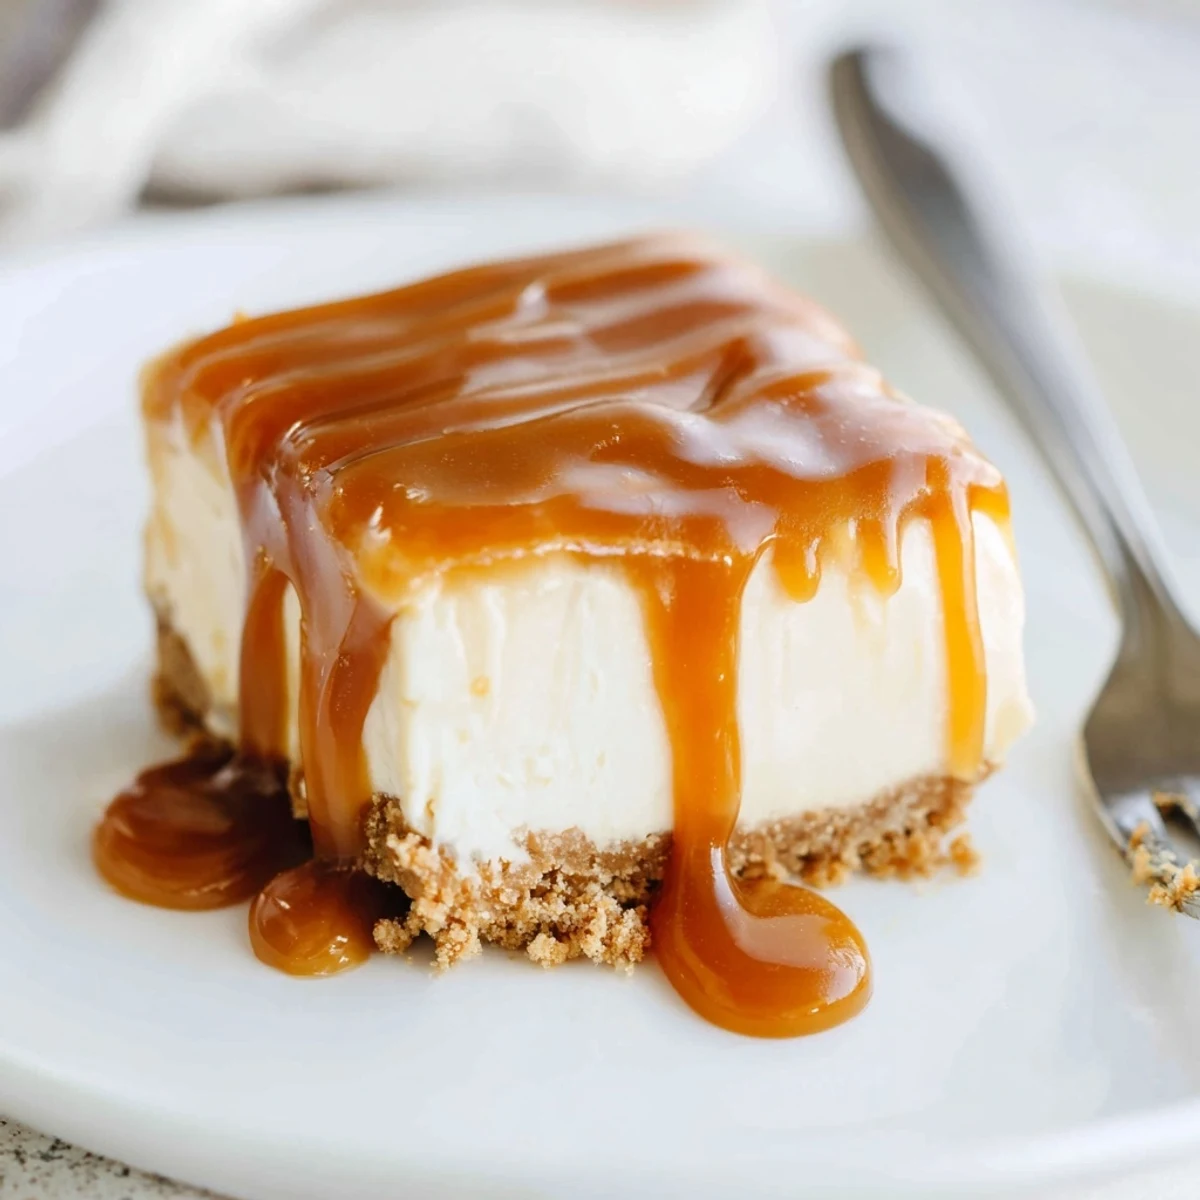
 Save to Pinterest
 These luxurious dessert bars feature three irresistible layers: a crunchy buttery graham cracker base, a velvety smooth cream cheese filling, and a glossy homemade caramel topping. The combination creates the perfect balance of textures and flavors—creamy, sweet, and slightly salty. Perfect for entertaining or special occasions, these bars require some chilling time but are surprisingly straightforward to make. The caramel sauce adds a gourmet touch that elevates classic cheesecake into something extraordinary.
The first time I attempted caramel from scratch, I nearly burned down my kitchen watching sugar turn from white to amber to something resembling asphalt. My roommate walked in to smoke alarms blaring and me frantically waving a tea towel at a smoking saucepan. That disaster taught me patience, and now these cheesecake bars are my redemption story, layers of buttery crust, silky cheesecake, and that perfectly golden caramel I finally mastered.
I made these for my sisters engagement party last summer, stacking them on a vintage cake stand I found at a flea market. Watching guests eyes widen when they realized yes, that is homemade caramel pooling over the top, gave me more joy than the engagement toast itself. My brother in law still texts me monthly asking when Im making them again.
Ingredients
- Graham cracker crumbs: These create the foundation, and crushing them yourself yields better texture than store bought crumbs
- Unsalted butter: Using melted butter here helps the crust hold together beautifully when baked
- Cream cheese: Let this come to room temperature completely or you will end up with lumpy filling
- Sour cream: This adds tang and keeps the cheesecake creamy rather than dense
- Granulated sugar: Regular white sugar dissolves perfectly into both the filling and caramel
- Eggs: Room temperature eggs incorporate better without overmixing
- Vanilla extract: Pure vanilla makes all the difference in the final flavor
- All purpose flour: Just a tablespoon stabilizes the filling without making it taste floury
- Water: Helps dissolve the sugar evenly for the caramel
- Heavy cream: Room temperature cream prevents the caramel from seizing when you add it
- Sea salt: Even if you skip the salted caramel version, a tiny pinch enhances all the flavors
Instructions
- Prep your pan and preheat:
- Set your oven to 175°C (350°F) and line a 23x23 cm (9x9 inch) baking pan with parchment paper, leaving those edges hanging over like handles.
- Build the buttery foundation:
- Mix graham cracker crumbs with melted butter and sugar until it feels like wet sand, then press it firmly into your pan and bake for 10 minutes.
- Make the silky filling:
- Beat softened cream cheese until smooth, then add sour cream and sugar before incorporating eggs one at a time and finishing with vanilla and flour.
- Bake until just set:
- Pour the filling over your crust and bake for 35 to 40 minutes until the center has a slight jiggle like gelatin when you gently shake the pan.
- Create the caramel magic:
- Heat sugar and water over medium heat, swirling the pan constantly until it turns deep amber, then whisk in butter and carefully stream in the heavy cream.
- Assemble and chill:
- Let the caramel cool slightly before pouring it over your chilled cheesecake, then refrigerate everything for at least an hour before slicing.
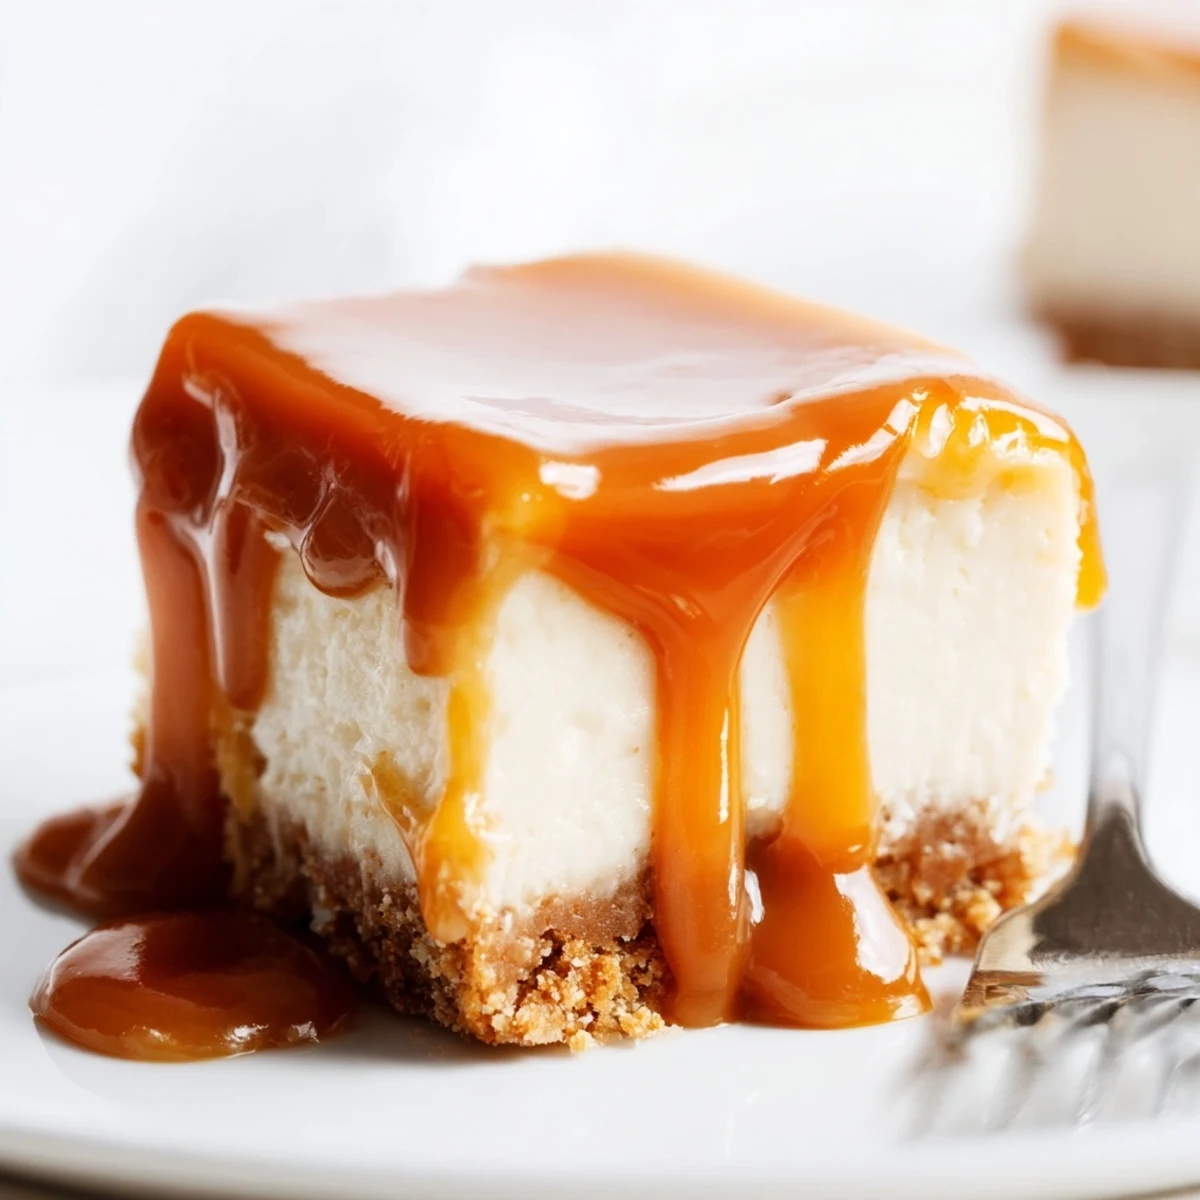 Save to Pinterest
 These bars have become my go to for potlucks because they are impossible to mess up once you know the caramel tricks. Last Christmas, I made three batches and my husband threatened to hide them unless I promised to save some for his office party.
Making Ahead Like a Pro
You can prepare the entire recipe two days in advance, keeping it tightly covered in the refrigerator. The flavors actually meld and improve, making these an ideal make ahead dessert for dinner parties or holiday gatherings.
Getting Perfect Cuts
Run your knife under hot water and wipe it clean between every few cuts for those picture perfect squares. A little patience here makes all the difference between jagged edges and bakery worthy presentation.
Serving Suggestions That Wow
Serve these slightly chilled so the caramel has that perfect chewy consistency. I like to let them sit out for ten minutes before serving, which softens the caramel just enough.
- A sprinkle of flaky sea salt right before serving transforms these into salted caramel heaven
- Drizzle with melted chocolate if you really want to indulge
- Pair with black coffee to cut through the richness
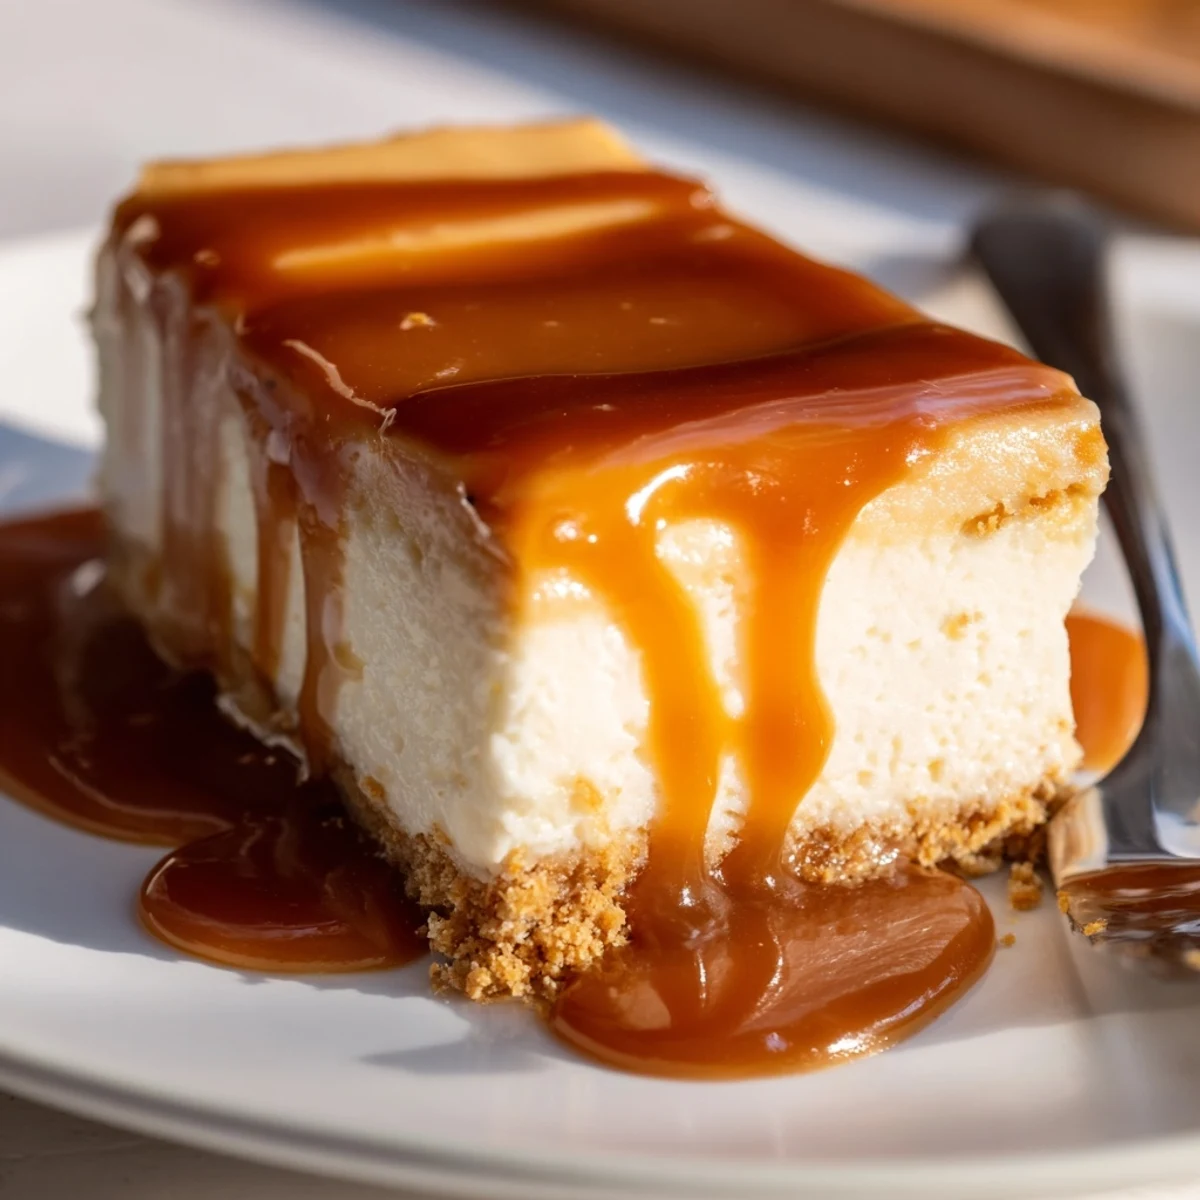 Save to Pinterest
 Every bite of these bars reminds me that the best desserts worth making are the ones that teach you something along the way. Happy baking, and may your caramel never burn again.
Recipe Questions & Answers
- → How long should I refrigerate the cheesecake bars?
-
Refrigerate the cheesecake layer for at least 2 hours before adding caramel. After topping with caramel, chill for another hour to set. For best results, let them chill overnight—the flavors develop and the texture becomes even creamier.
- → Can I make the caramel ahead of time?
-
Yes! Make the caramel up to a week in advance and store it in an airtight container in the refrigerator. Gently reheat before pouring over the cheesecake. The caramel should be warm but not hot when you add it.
- → Why did my caramel turn grainy?
-
Grainy caramel usually happens when sugar crystals form on the sides of the pan. Avoid stirring the sugar-water mixture—just swirl the pan gently. If crystals form, brush down the sides with a wet pastry brush during cooking.
- → Can I freeze these cheesecake bars?
-
Absolutely! Wrap individual bars tightly in plastic wrap and freeze for up to 3 months. Thaw in the refrigerator overnight. For best texture, add the caramel after thawing rather than before freezing.
- → How do I know when the cheesecake is done baking?
-
The cheesecake is ready when the edges are set but the center still has a slight jiggle—similar to gelatin. It will continue cooking as it cools. Overbaking causes cracks, so remove it from the oven when slightly wobbly in the center.
- → What can I substitute for graham crackers?
-
Digestive biscuits, vanilla wafers, or even Biscoff cookies work beautifully as crust alternatives. Each brings a slightly different flavor profile while maintaining that essential crunchy buttery base.
