 Save to Pinterest
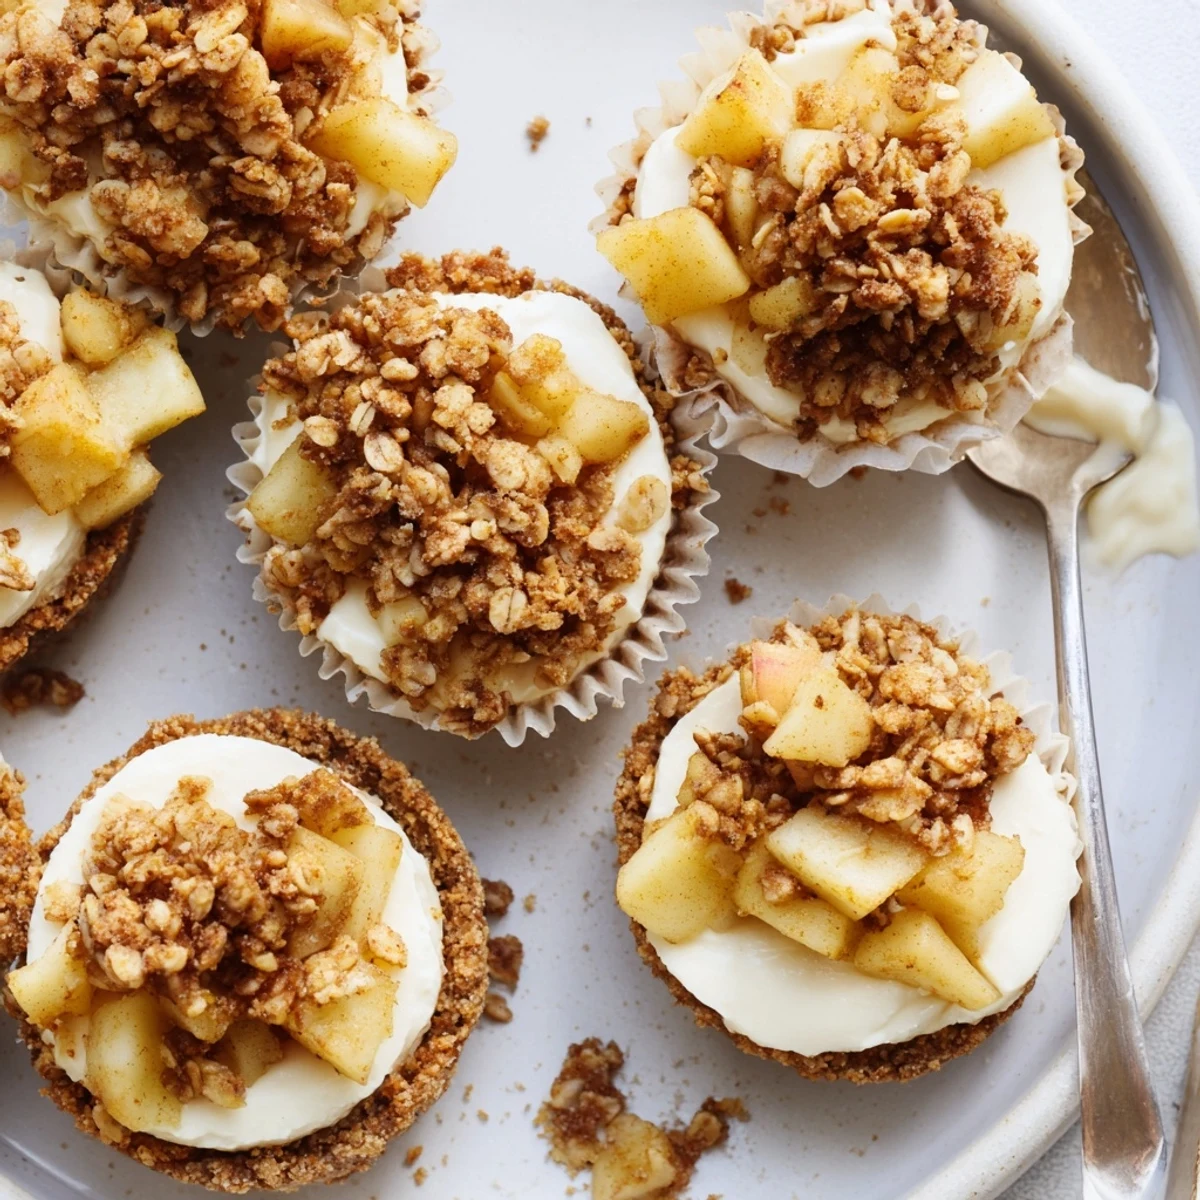
 These individual treats feature a graham cracker crust topped with velvety cream cheese filling and finished with warm spiced apples mixed with buttery oat crisp. Each bite delivers the perfect balance of creamy cheesecake richness and nostalgic apple pie comfort, all in a handheld portion that's perfect for gatherings or special occasions.
My kitchen smelled like caramelized apples and butter on a rainy Sunday afternoon when I first attempted these. I had unexpected guests coming over and no time for a full apple pie. The mini cheesecake idea struck me as I stared at my muffin tin, and suddenly I was mixing graham cracker crumbs with frantic energy. That day taught me that some of the best dessert discoveries happen when you are pressed for time and willing to experiment.
Last autumn my neighbor Sarah tasted one of these and literally paused mid conversation, eyes closed, before demanding the recipe. Now she makes them for every single family gathering and claims they are her signature creation. I never have the heart to correct her when people rave about her recipe.
Ingredients
- Graham cracker crumbs: I pulse whole crackers in my food processor for the most consistent texture, but crushed by hand works too
- Unsalted butter: Melt it completely and let it cool slightly so it does not turn your graham mixture into paste
- Cream cheese: Leave it out for at least two hours because cold cream cheese creates lumps that no amount of beating can fix
- Sour cream: This tiny addition adds tang and prevents the cheesecake from becoming too dense
- Apples: I use Granny Smith for their tartness and ability to hold shape during cooking
- Rollled oats: Old fashioned oats give better texture than instant but use whatever you have
Instructions
- Prepare your muffin tin:
- Line every cup with paper liners because these cheesecakes need support during baking and chilling.
- Make the crust foundation:
- Mix the graham cracker crumbs, sugar, and melted butter until evenly moistened then press firmly into each liner using the back of a spoon or your fingers.
- Brief bake for the crusts:
- Bake at 325°F for just five minutes to set them, then cool completely while you make the filling.
- Create the creamy filling:
- Beat softened cream cheese until completely smooth before adding sugar, then incorporate eggs one at a time and finish with vanilla and sour cream.
- Fill and bake the cheesecakes:
- Spoon the filling over cooled crusts about three quarters full and bake for 18 to 20 minutes until the centers are just barely set.
- Cool slowly and chill thoroughly:
- Let them cool completely in the pan before refrigerating for at least two hours or they will sink in the middle.
- Cook the apple filling:
- Melt butter in a skillet and add diced apples with both sugars, cinnamon, nutmeg, lemon juice and salt until tender.
- Add the crisp element:
- Stir in oats and flour and cook for another 2 to 3 minutes until everything is golden and crumbly.
- Assemble the final dessert:
- Spoon the cooled apple crisp generously over each chilled cheesecake and serve immediately.
 Save to Pinterest
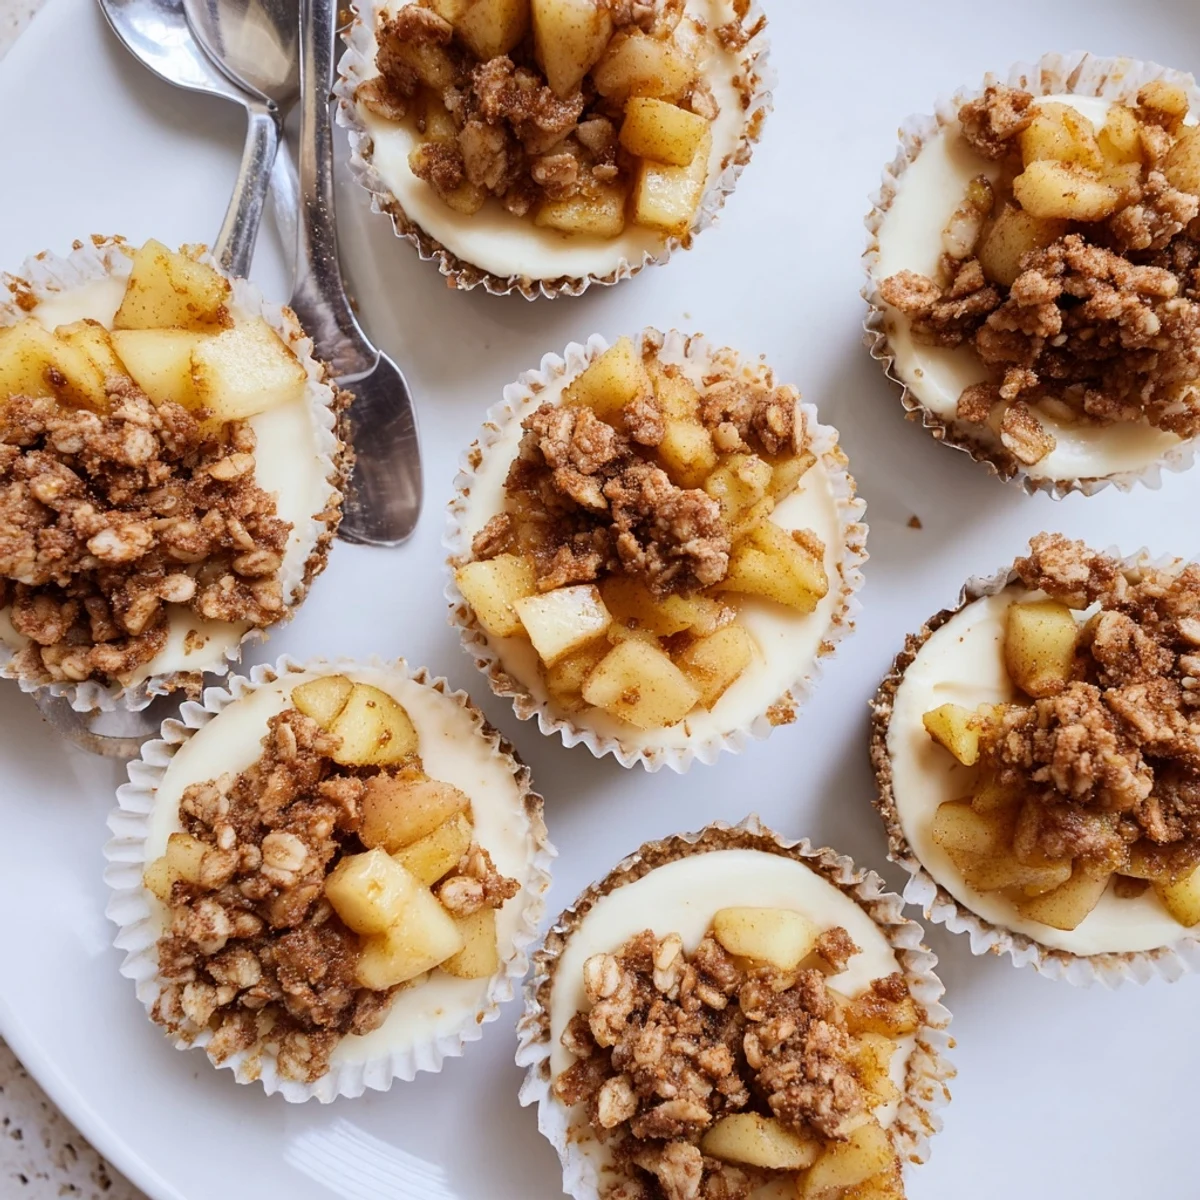
 These have become my go to contribution for every autumn potluck and winter holiday gathering. There is something about the combination of warm spiced apples and cold creamy cheesecake that makes people suddenly very quiet as they take their first bite.
Making Ahead
The cheesecake bases can be made two days in advance and stored in the refrigerator. Prepare the apple crisp topping separately and keep it at room temperature for up to six hours before serving. This actually improves the texture because the flavors have time to meld together.
Serving Suggestions
A drizzle of warm caramel sauce over the top transforms these into something truly restaurant worthy. Fresh whipped cream on the side helps balance the sweetness and adds another layer of luxury. I have also served them with a small scoop of vanilla ice cream for an over the top dessert experience.
Storage and Reheating
Store assembled cheesecakes in an airtight container in the refrigerator for up to three days. The crisp topping will soften slightly but still maintain its texture. If you prefer the topping to stay completely crisp, store it separately and add it just before serving.
- Never freeze these as the texture becomes unpleasantly grainy
- Let refrigerated cheesecakes sit at room temperature for 15 minutes before serving for the best texture
- Leftovers make an amazing breakfast with a cup of coffee the next morning
 Save to Pinterest
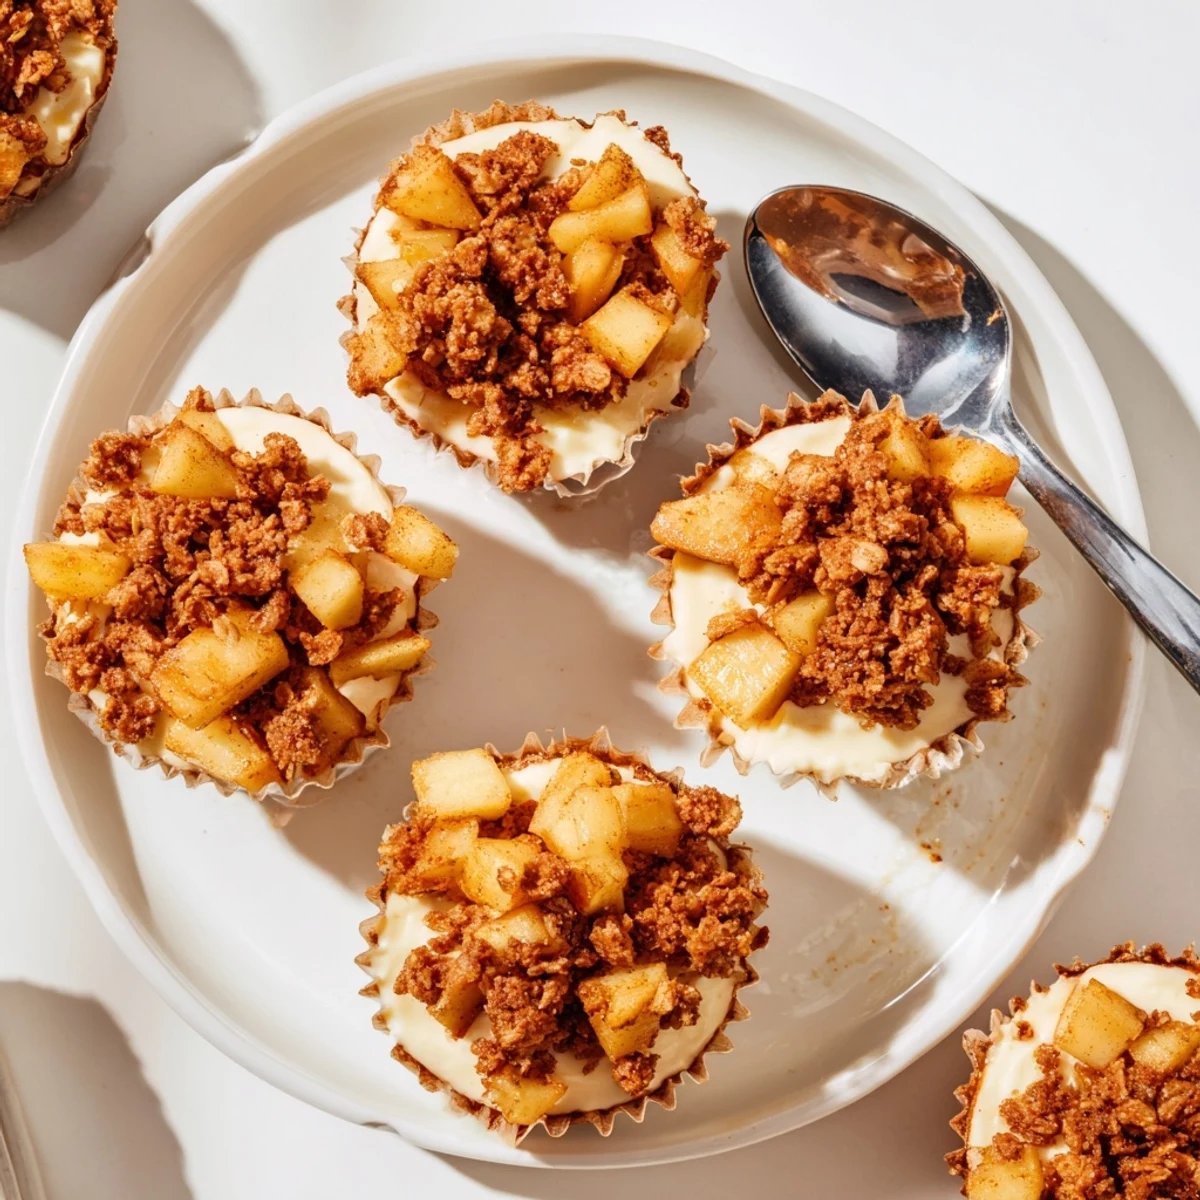
 There is something deeply satisfying about watching people's eyes light up when they bite into that first spoonful of warm apple and cold cheesecake. These little desserts have a way of making ordinary moments feel special.
Recipe Questions & Answers
- → How long should I chill the cheesecakes before serving?
-
Refrigerate the baked cheesecakes for at least 2 hours until completely set and chilled. This ensures the filling firms up properly and makes them easier to top with the apple crisp mixture.
- → Can I make these ahead of time?
-
Yes, prepare the cheesecake bases up to 2 days in advance. Store them refrigerated in an airtight container. Make the apple crisp topping fresh and add it just before serving for the best texture contrast.
- → What apple varieties work best?
-
Firm apples like Granny Smith, Honeycrisp, or Braeburn hold their shape well during cooking. They provide a nice tartness that balances the sweet cheesecake and brown sugar in the topping.
- → How do I know when the cheesecakes are done baking?
-
The centers should be just set with a slight jiggle, similar to custard. They will continue to firm as they cool. Avoid overbaking, which can cause cracking and a dry texture.
- → Can I freeze these mini cheesecakes?
-
Freeze the unfilled cheesecake bases for up to 1 month. Thaw overnight in the refrigerator before topping with the apple crisp mixture. The topping is best made fresh, though you can prep the spiced apples ahead and reheat slightly.
