 Save to Pinterest
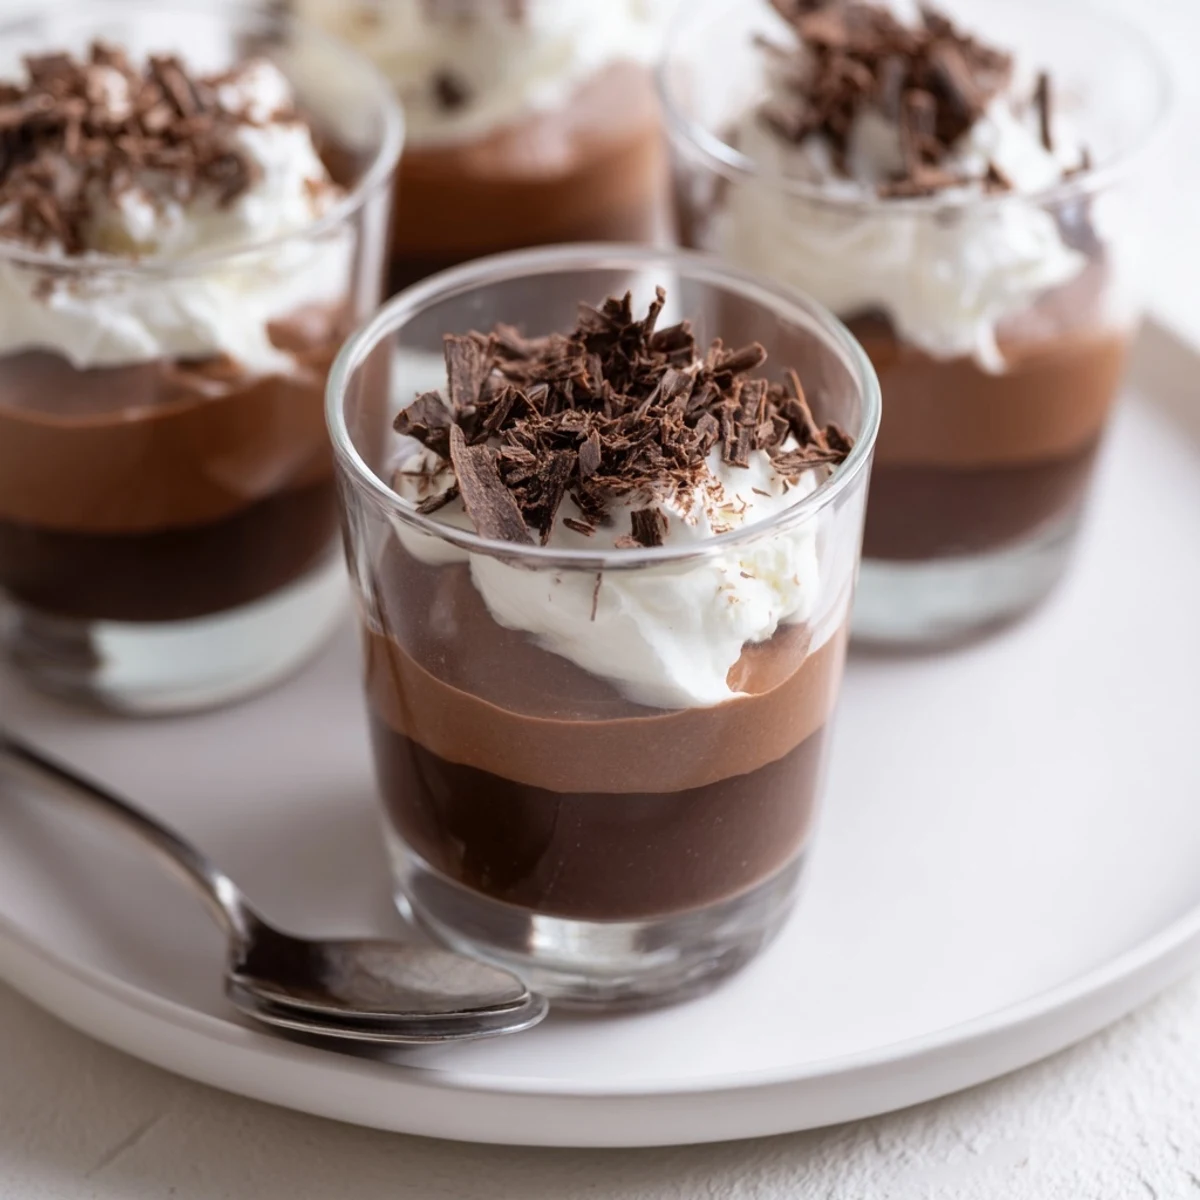
 Layer three smooth mousses—dark, milk and white—into small cups. Melt each chocolate gently over a bain-marie, cool slightly, then fold into whisked egg yolks and sugar. Whip cold cream to soft peaks and incorporate carefully to retain air. Spoon or pipe each mousse, chilling briefly between layers to help them set.
Chill the cups at least 1 hour once assembled. Use quality chocolate, keep ingredients cold where noted, and avoid overwhipping. For depth, stir a splash of coffee liqueur into the dark layer. Finish with chocolate shavings or a dusting of cocoa before serving.
Once, while rain battered against my kitchen window, I tried layering chocolate mousses with little faith they'd stay distinct—but the process became unexpectedly meditative. The sound of chopped chocolate clattering on the cutting board grounded me, and the gradual transformation from raw ingredients to swirled, silky mousse felt quietly triumphant. Sometimes, a day just begs for a tiered treat, and these triple chocolate mousse cups bring a tiny bit of grandeur to a regular afternoon. Each layer offers a different story: dark and bold, creamy and mellow, sweet and dreamy.
Hosting my sister's book club, I nervously stacked mousse layers in mismatched cups, worried they'd collapse, but the playful marbling as I spooned in the last layer turned my anxiety into a shared laugh among friends. That night, seeing everyone pause over the first bite, I caught the satisfaction of not just feeding people, but gifting them a moment of indulgence on a Wednesday.
Ingredients
- Dark chocolate (100 g, minimum 60 percent cocoa): Its robustness forms the base; I found chopping it finely helps it melt more evenly and avoids graininess.
- Milk chocolate (100 g): This is the comforting middle, and using a milky, high-quality bar gives extra creaminess and nostalgia.
- White chocolate (100 g): Sweet and mellow, I've learned to use the best you can find or it turns out cloying—aim for real cocoa butter.
- Large egg yolks (3): The secret to mousse's silkiness, separate them while cold and let stand for a few minutes to warm up slightly for easier mixing.
- Sugar (4 1/2 tbsp): Just enough to balance each layer; I use superfine sugar so it whisks in smoothly.
- Heavy cream (300 ml, cold): Cold cream whips up fluffier, so keep it in the fridge until right before whipping each batch.
- Shaved chocolate or cocoa powder (for garnish): I love grating little chocolate curls just before serving—it looks as beautiful as it tastes.
Instructions
- Melt the chocolate for each layer:
- Place the chopped chocolate in a heatproof bowl and melt it gently using a bain-marie, stirring until just smooth and glossy. Let the mixture cool for a few minutes so it doesn’t seize when combined with other ingredients.
- Whisk egg yolk and sugar for mousse base:
- Beat the egg yolk and sugar together until the color turns light and the texture is airy, like a pale cloud. This brings silkiness and stability to each mousse tier.
- Incorporate chocolate into egg mixture:
- Slowly fold the cooled melted chocolate into the egg mixture, using broad, patient movements until streak-free and silky, taking care not to deflate the volume.
- Whip and fold in the cream:
- Whip chilled heavy cream until soft peaks form—think billowy but not stiff, then gently fold it into the chocolate-egg base. This step creates the mousse’s legendary lightness.
- Layer in cups and chill:
- Spoon the completed mousse into the bottom of each serving cup for the first layer, then refrigerate while repeating the process for each chocolate type. Each layer should be set a little before adding the next, so the colors stay distinct.
- Finish with garnish before serving:
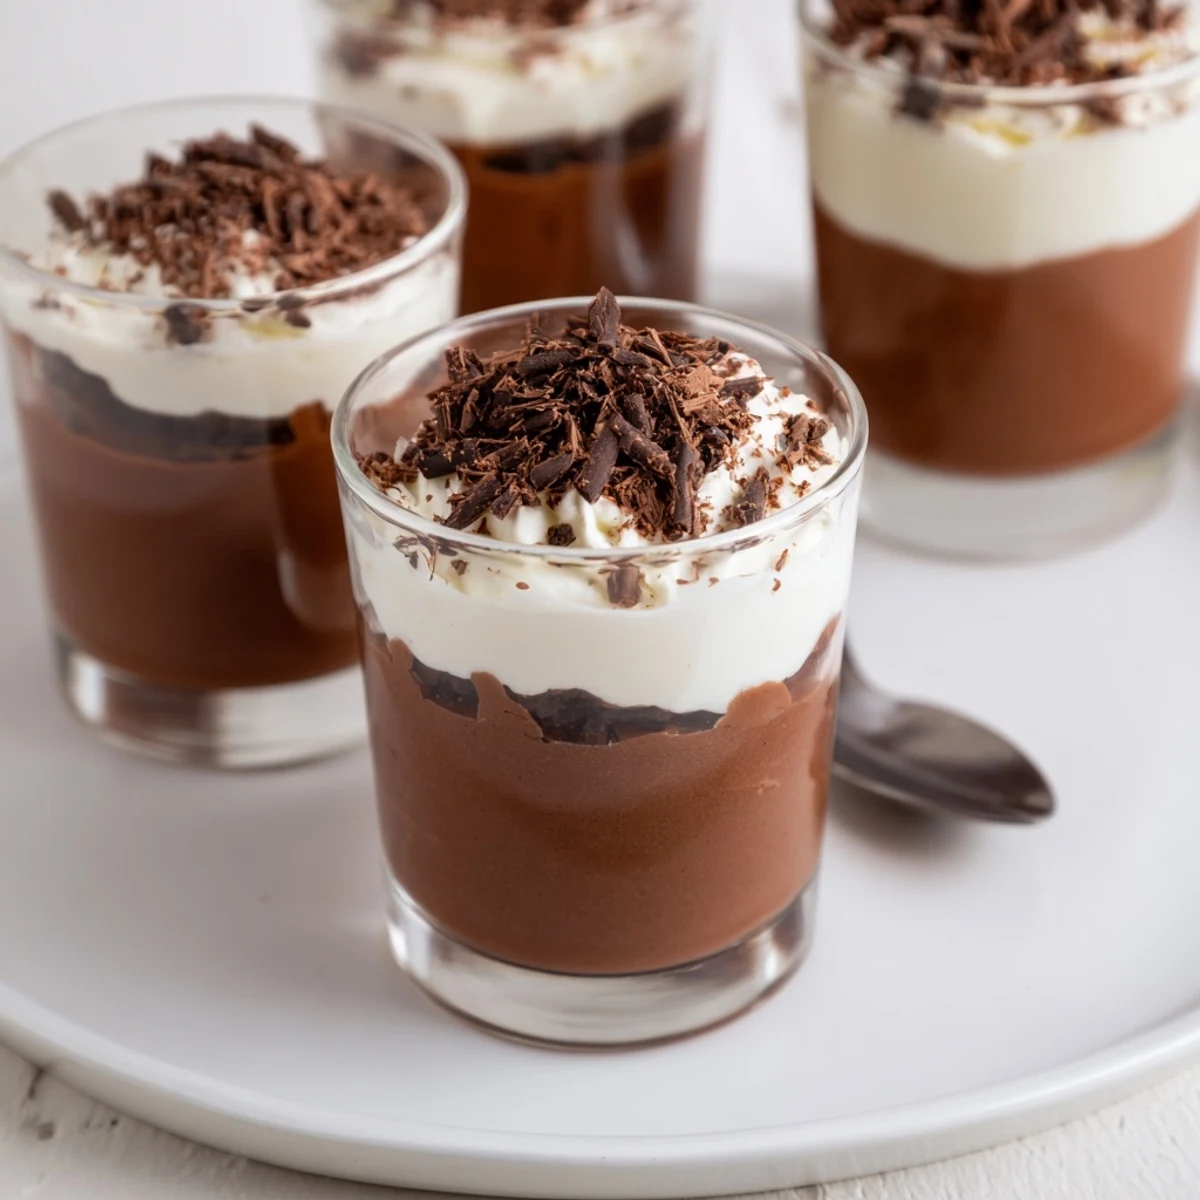
- Shave dark or white chocolate over the set cups, or dust lightly with cocoa for a lush, celebratory finish. Serve chilled and listen for the inevitable happy sighs.
 Save to Pinterest
 Last winter, I served these mousse cups in tiny mismatched espresso glasses at a friend's birthday, and remembered how laughter, flickering candlelight, and that triple hit of chocolate made the evening feel decadent even before the presents came out. That night, the layers became a conversation starter, their neat edges hinting at care in the kitchen and a bit of magic in the making.
When to Make These Mousse Cups
This dessert never fails to impress at dinner parties, but I've also whipped up a batch for solo evenings when the fridge felt empty of treats and I needed a little lift. They store beautifully, and each cup is a guaranteed pick-me-up—especially after a tough week or when you want to offer something small but spectacular.
Swaps and Variations You Might Love
Don’t be afraid to experiment: a hint of orange zest in the white chocolate or a splash of coffee liqueur in the dark layer can be game-changers. For a slightly boozy grown-up version, I've swapped part of the cream for a tablespoon of Baileys, while a pinch of sea salt over the top amplifies every note of chocolate.
Layering Tips for a Stunning Finish
I learned the hard way that patience makes perfect lines, so let each layer chill until set before adding the next for that dramatic effect. Use a piping bag or zip-top bag with the corner snipped off for clean application, and keep a damp cloth handy for wiping glass edges for a professional look. If you’re short on time, the freezer step helps, but don’t let them freeze solid.
- Let the layers chill completely before serving.
- Keep an extra bowl of whipped cream in the fridge for emergencies.
- Only garnish just before serving for the freshest look.
 Save to Pinterest
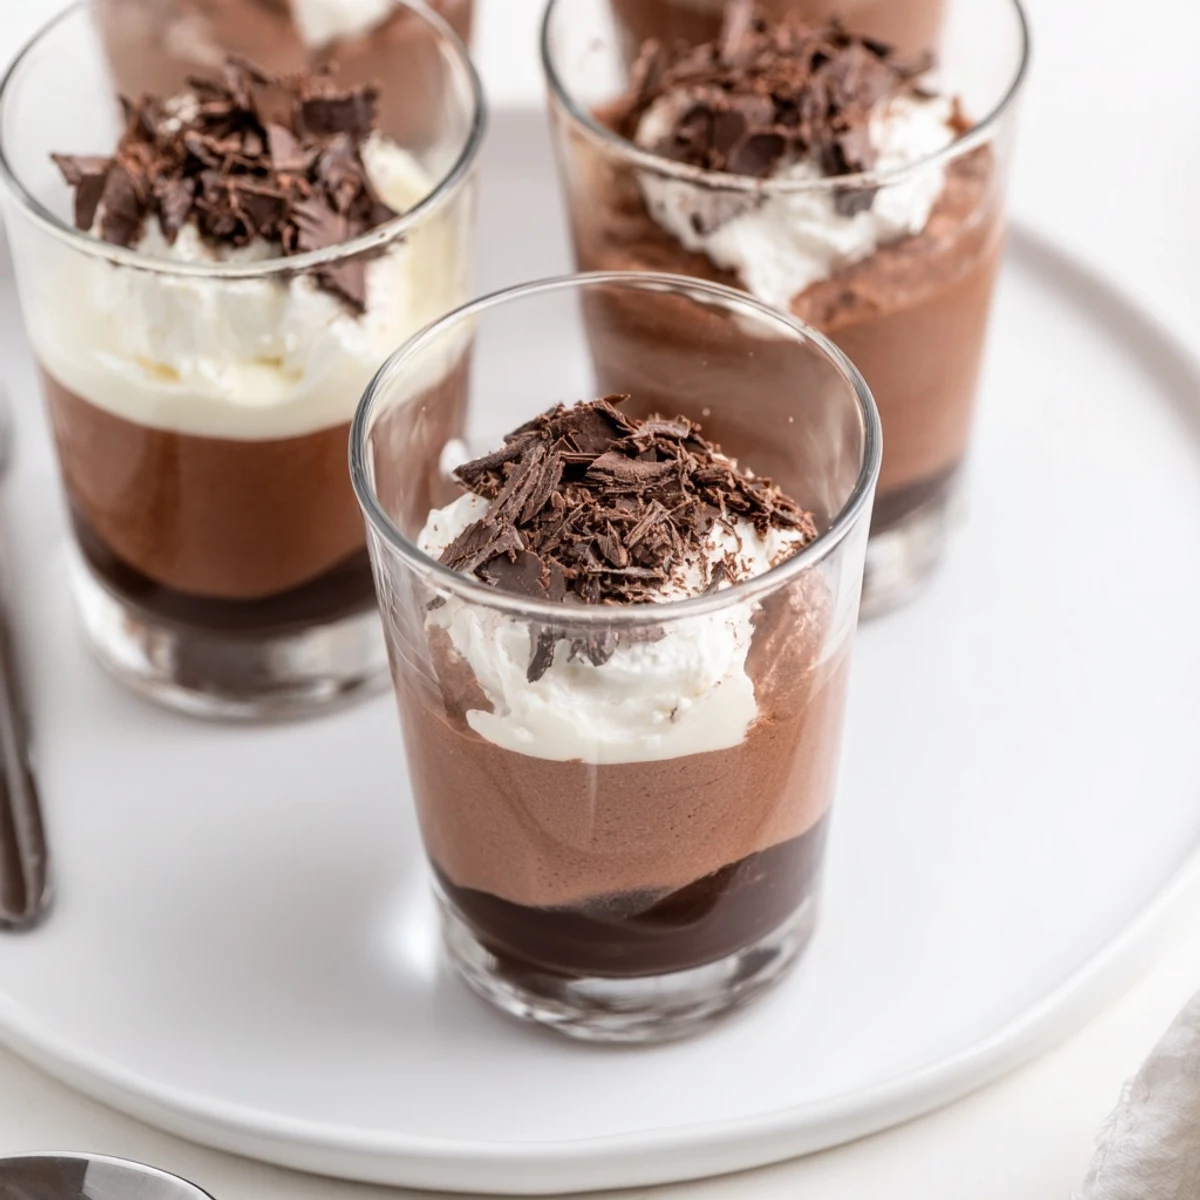
 Chocolate mousse cups are more forgiving than they look—and making them is half the fun. Here’s hoping each spoonful brings a little luxury to your day!
Recipe Questions & Answers
- → Can I make the cups ahead of time?
-
Yes. Assemble the cups and chill for at least an hour to set; they keep well refrigerated for 24–48 hours if covered, which makes them ideal for preparing in advance.
- → How do I get clean, distinct layers?
-
Chill each layer briefly before adding the next so it firms slightly. Use a spoon or piping bag for controlled placement and work gently to avoid disturbing the layer beneath.
- → Is there a safe way to use eggs in the mousse?
-
Use very fresh eggs or pasteurized egg yolks if concerned about raw eggs. Tempering or briefly cooking yolks with sugar over low heat before folding in chocolate can also improve safety and texture.
- → What chocolate should I choose for best results?
-
Choose good-quality chocolate with balanced cocoa and sugar levels: around 60% cocoa for dark chocolate, a well-rounded milk chocolate, and real couverture for white chocolate to ensure smooth, glossy mousses.
- → How can I speed up setting between layers?
-
Place the cups in the freezer for 20–30 minutes between layers to firm them faster, but monitor closely to avoid freezing the mousse solid or causing texture changes.
- → Any garnish or flavor variations to try?
-
Add a splash of coffee liqueur to the dark layer for depth, fold in zest or finely chopped nuts to a layer for texture, and finish with shavings, cocoa, or flaky salt to accentuate flavors.
