 Save to Pinterest
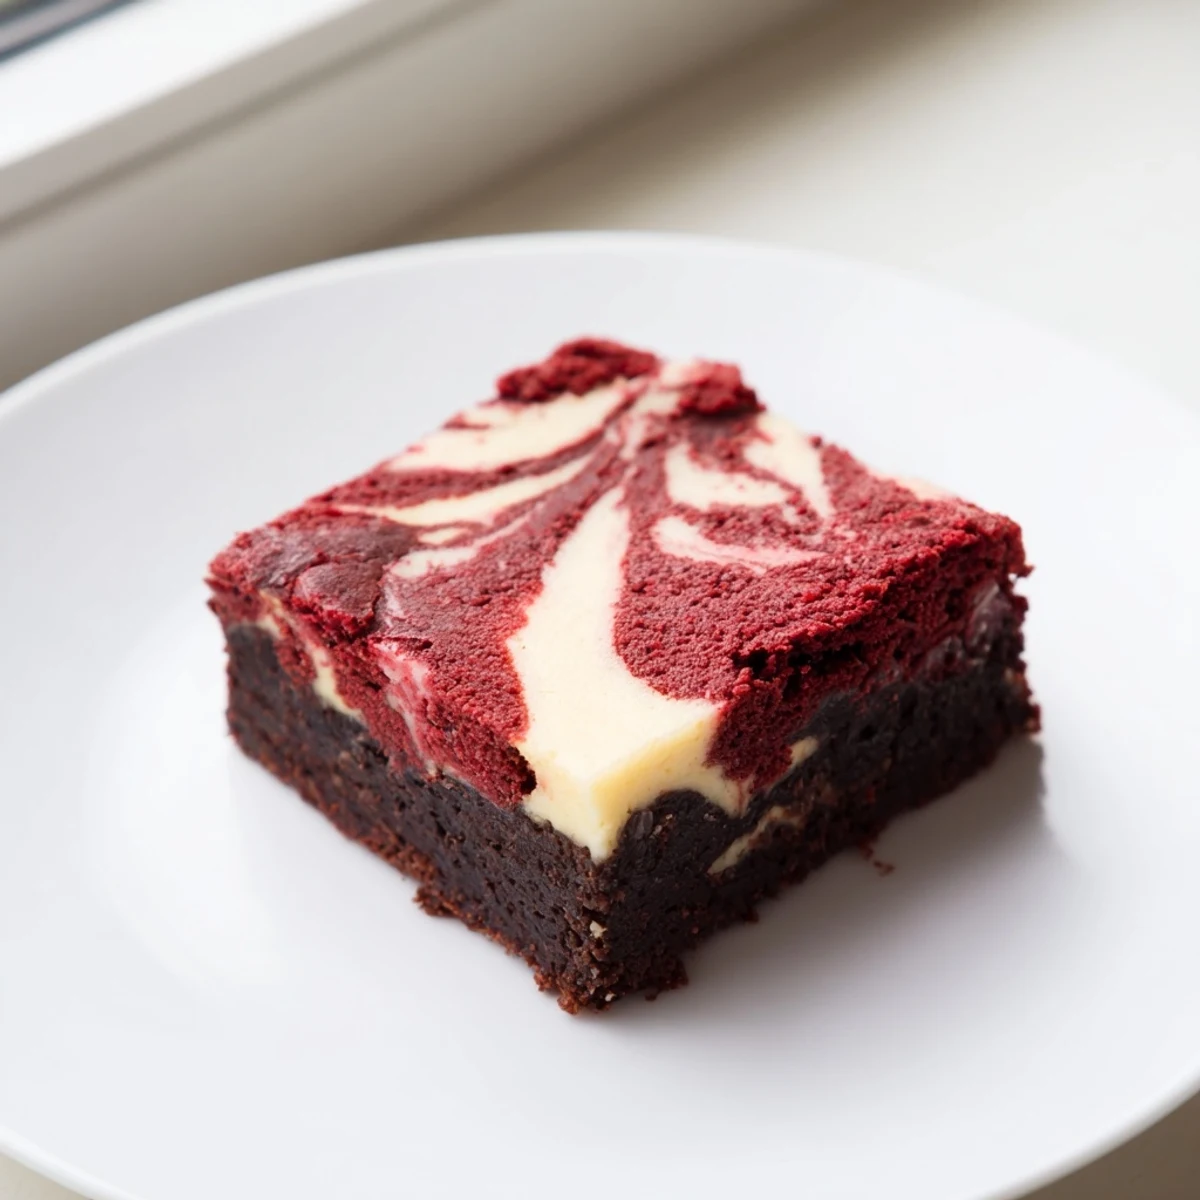
 These red velvet brownies offer a rich, fudgy texture combined with a luscious, tangy cheesecake swirl that creates a beautiful marbled effect. The batter is prepared by blending melted butter, sugar, eggs, and red coloring before folding in flour and cocoa. A separate cheesecake mixture is swirled on top before baking, resulting in a moist, decadent treat that's perfect for sharing. Cooling fully ensures neat slicing and optimal enjoyment. Ideal for those seeking a visually stunning and indulgent dessert experience.
I stumbled onto this combination completely by accident one rainy afternoon when I had half a box of red velvet cake mix and a lonely block of cream cheese that needed using. The swirl pattern looked absolutely chaotic coming out of the oven, but my roommate took one bite and demanded I write down exactly what I did before I forgot.
My sister requested these for her birthday instead of a traditional cake, and watching her friends lean over the pan, arguing over who got the corner pieces with the most swirl, was better than any present I could have bought.
Ingredients
- Unsalted butter: Melted butter creates that dense fudgy texture we love in brownies, and cutting it into cubes first helps it melt evenly without hot spots
- Granulated sugar: The sugar does double duty here sweetening while creating that crackly, shiny top we associate with really good brownies
- Large eggs: Room temperature eggs incorporate so much better into the batter, preventing those weird eggy bits that sometimes happen when ingredients are too cold
- Vanilla extract: Do not skip this even though the red velvet flavor is subtle, it rounds everything out and makes the cheesecake layer taste properly decadent
- Red food coloring: Gel coloring gives you that vibrant red without needing to add much liquid, though liquid works perfectly fine if that is what you have
- All purpose flour: Measuring by weight is honestly life changing here too much flour turns these into cake and nobody wants that
- Unsweetened cocoa powder: A little goes a long way, providing just enough chocolate backbone to support the red velvet flavor without overwhelming it
- Salt: Even a tiny amount wakes up all the flavors and keeps these from tasting flat or overly sweet
- Cream cheese: Make sure this is properly softened, straight from the fridge will leave you with lumpy swirls no matter how long you beat it
- Extra sugar for cheesecake: The swirl needs its own sweetness to balance the tang, and this ratio keeps the cheesecake layer from feeling too rich
- Egg yolk: Using just the yolk adds incredible richness without making the cheesecake layer too soft or weepy
Instructions
- Get your oven ready:
- Preheat to 175°C (350°F) and line your 20x20 cm (8x8-inch) pan with parchment paper, letting the edges hang over like a little sling for easy lifting later
- Make the red velvet base:
- Whisk melted butter and sugar in a large bowl until completely smooth, then beat in eggs, vanilla, and red food coloring until the color is uniform
- Add the dry ingredients:
- Sift in the flour, cocoa powder, and salt, then fold gently with a spatula just until combined overmixing makes tough brownies and nobody wants that
- Prep for swirling:
- Set aside about ¼ cup of the brownie batter in a small bowl, then spread the rest evenly in your prepared pan
- Whip up the cheesecake layer:
- Beat softened cream cheese until smooth, then add sugar, egg yolk, and vanilla, mixing until creamy and completely blended
- Create the marble:
- Drop spoonfuls of cheesecake mixture all over the brownie batter, then add little dollops of your reserved brownie batter on top of those
- Swirl it together:
- Run a knife or skewer through the layers gently, maybe making an S pattern a couple times do not over swirl or you will lose those beautiful distinct pockets
- Bake to perfection:
- Bake for 32 to 35 minutes until the center is just set and a toothpick comes out with moist crumbs, not wet batter
- Cool completely:
- Let them cool completely in the pan on a wire rack, then use the parchment overhang to lift the whole batch out before slicing into squares
 Save to Pinterest
 These became my go to contribution to every potluck and office party after three different coworkers asked for the recipe in one week, which is basically the highest compliment a dessert can receive.
Getting The Perfect Swirl
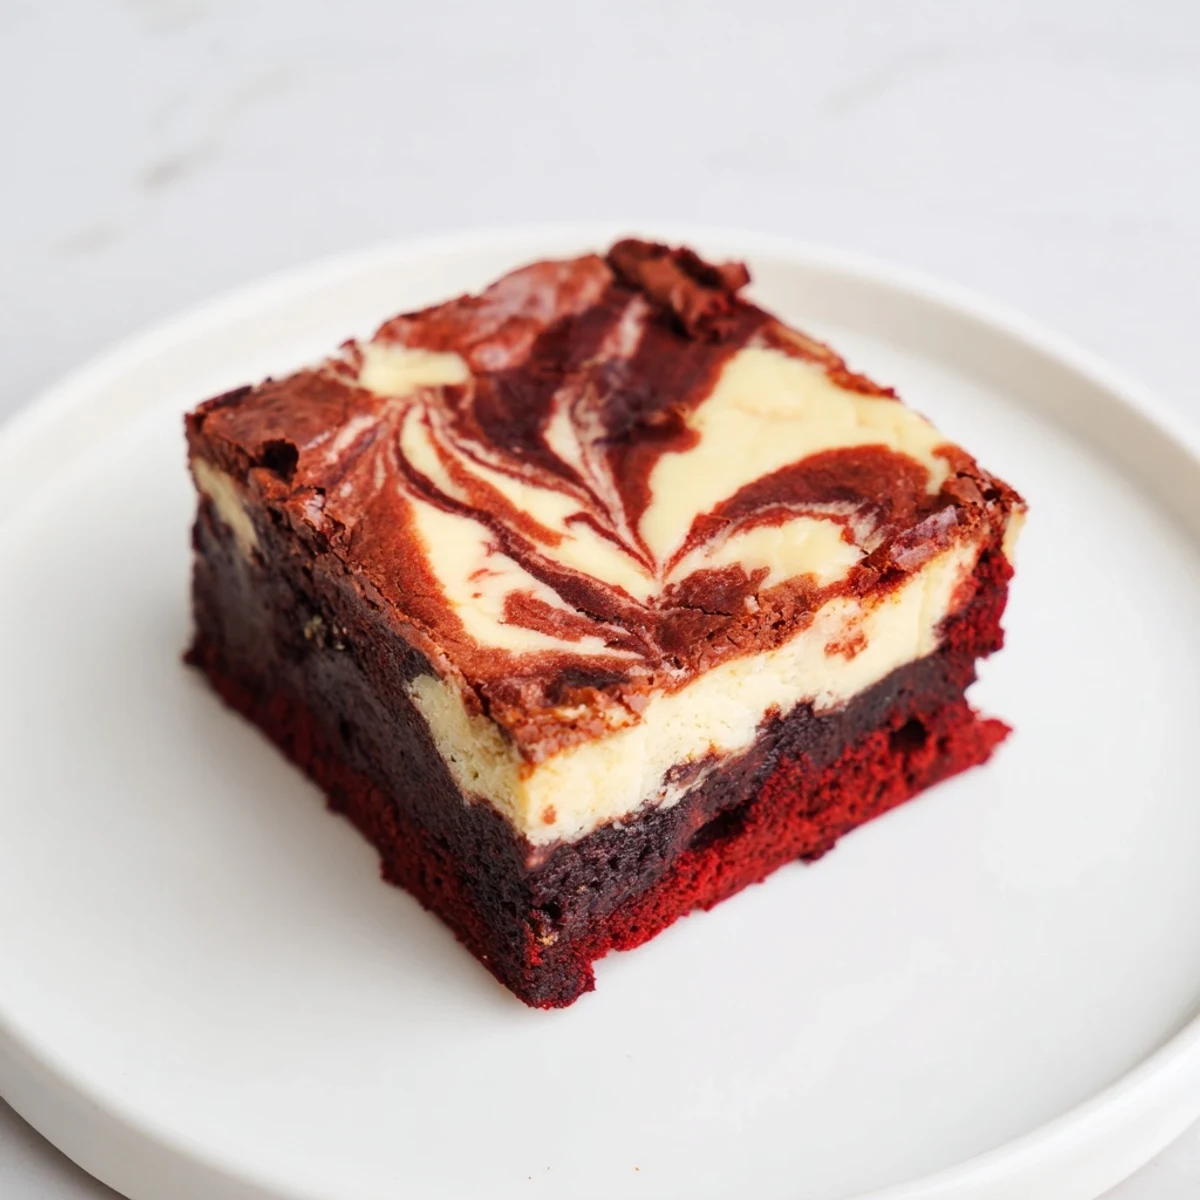
The secret to restaurant looking swirls is dropping your cheesecake mixture in rows rather than random piles, then running your knife through in one continuous motion rather than going back and forth repeatedly. I learned this after my first few attempts looked like tie dye experiments gone wrong.
Temperature Matters
All your ingredients should be at room temperature before you start mixing, especially the cream cheese and eggs. Cold ingredients create a separated, curdled looking batter that never quite bakes up right, even though it tastes perfectly fine.
Storage And Serving
These actually taste better after chilling in the refrigerator for a few hours, which gives the flavors time to meld and the cheesecake layer to firm up beautifully. Serve them slightly chilled or let them come to room temperature for about 15 minutes before serving.
- Store them in an airtight container in the refrigerator for up to 5 days
- Place a piece of parchment paper between layers if you stack them
- These freeze exceptionally well wrapped individually for up to 3 months
 Save to Pinterest
 Hope these bring as much joy to your kitchen as they have to mine over the years, happy baking.
Recipe Questions & Answers
- → How do I achieve the vibrant red color?
-
Use gel red food coloring for a deeper, more vibrant hue compared to liquid versions.
- → Can I make these brownies ahead of time?
-
Yes, store them in an airtight container in the refrigerator for up to five days to maintain freshness.
- → What is the best way to create the marbled cheesecake effect?
-
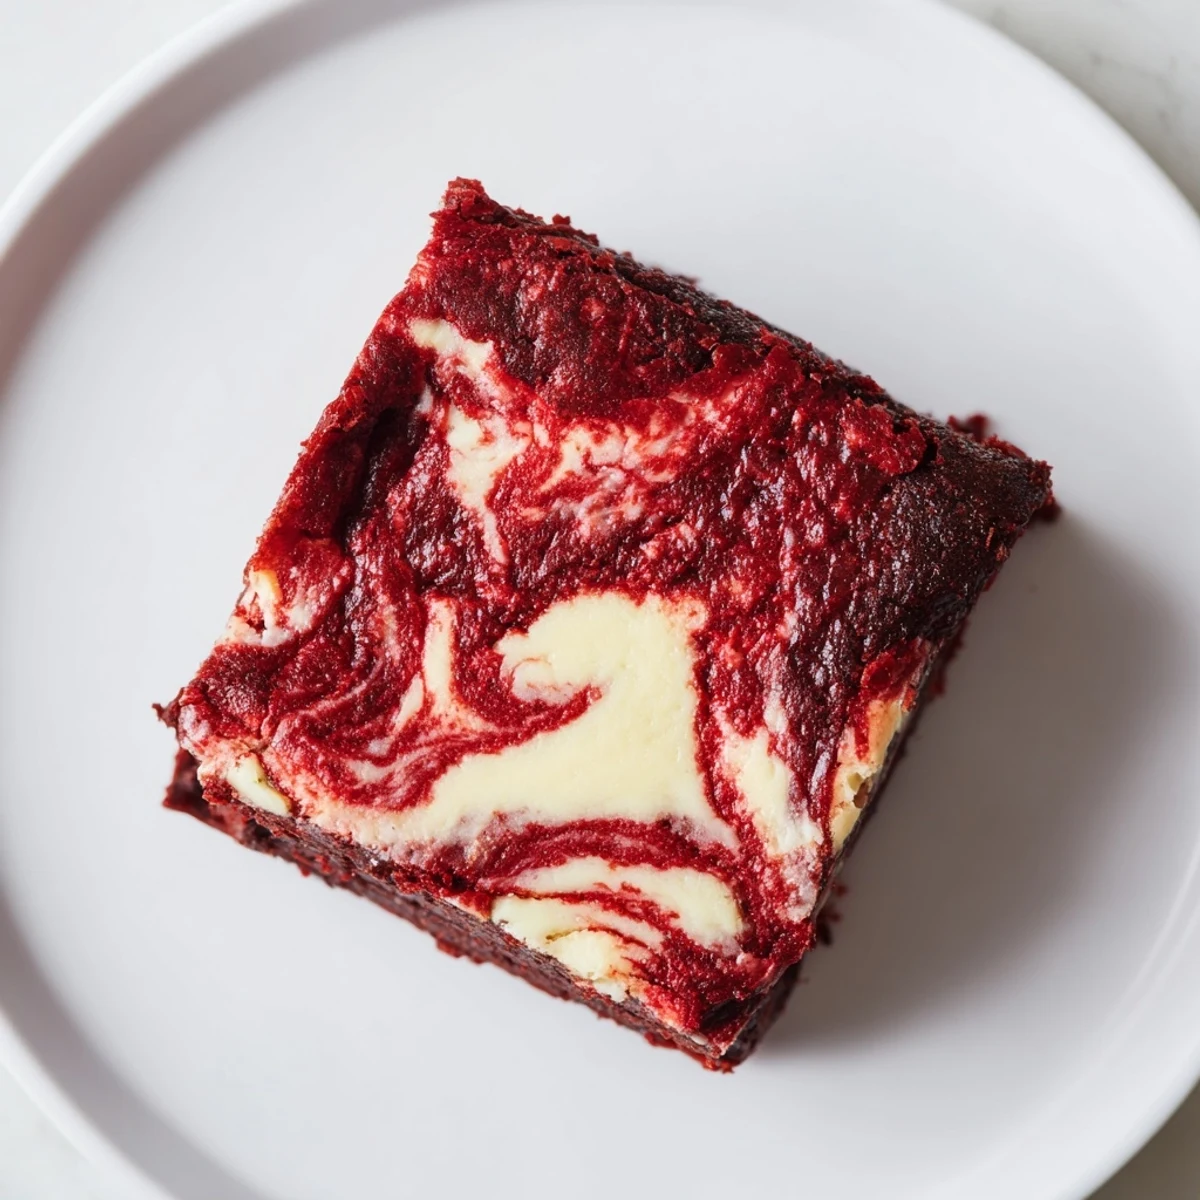
Drop spoonfuls of cheesecake mixture over the brownie batter, then lightly swirl together with a knife or skewer to create a marbled pattern.
- → Can I add mix-ins to the brownie batter?
-
White chocolate chips can be added for extra richness and texture without overpowering the flavors.
- → What pan size is recommended for baking?
-
A 20x20 cm (8x8 inch) baking pan lined with parchment paper works best for even baking and easy removal.
