 Save to Pinterest
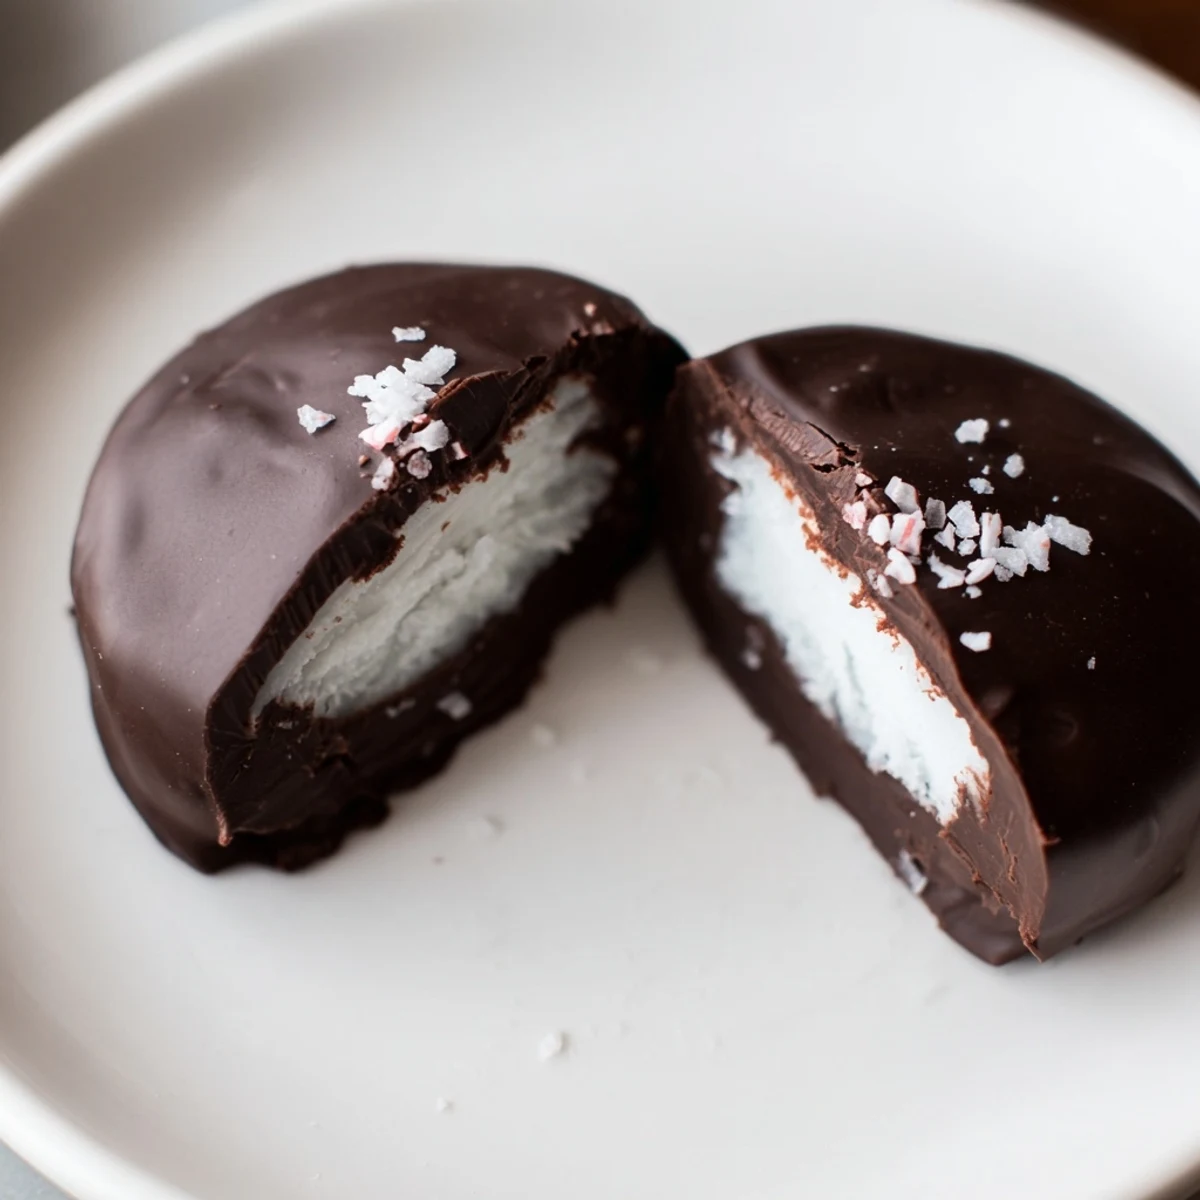
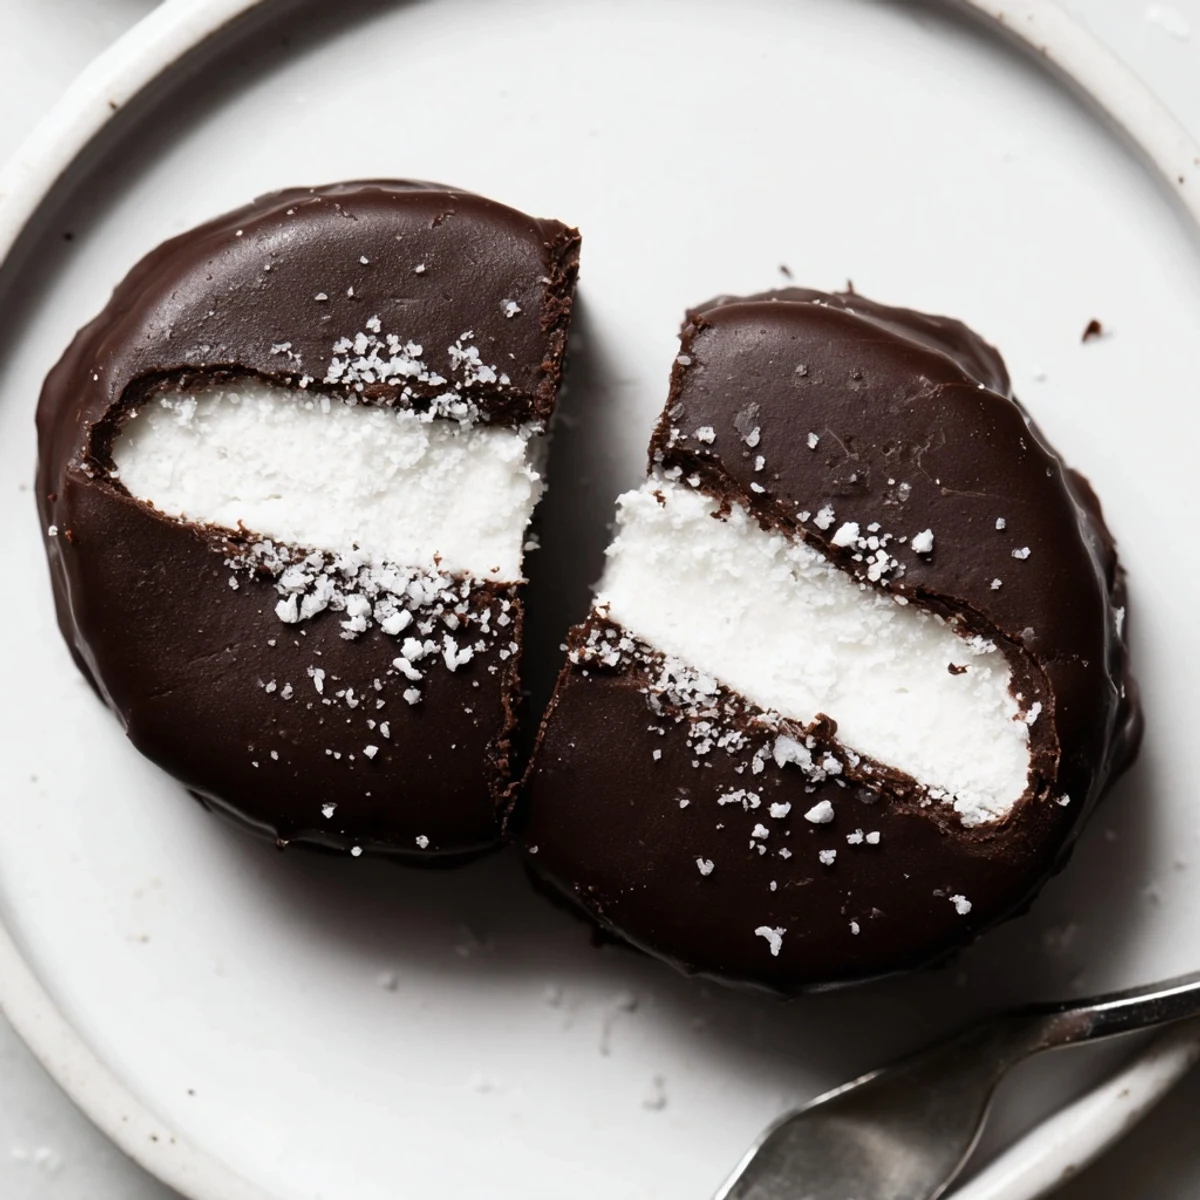
 Peppermint patties begin with a smooth, pliable mint filling made from sifted powdered sugar, butter, cream and peppermint extract. Shape into discs, freeze until firm, then dip in melted dark chocolate for a glossy coating. Chill until set and top with crushed peppermint or flaky salt. Swap dairy for vegan alternatives and store chilled in an airtight container for up to two weeks.
The first time I made peppermint patties, the house filled with an icy-cool aroma that woke everyone up from their afternoon slumps. It had been a rainy Sunday and I just needed something bright and satisfying to pull me out of that gray drizzle mood. Watching the chocolate melt was my moment of zen, but the real treat came with that first snap—the taste of pure winter tucked inside rich dark chocolate. It was my ticket from gloom to glee, all in under an hour.
I actually whipped up a batch of these patties for a game night with friends and ended up fielding requests for more before the evening was over. There was laughter over smudged chocolate fingers and a small debate about whether they tasted better straight from the fridge or at room temperature. Someone hid the plate behind the stack of board games to hoard extras—honestly, I couldn’t blame them. It’s a recipe that turns sharing into a playful challenge.
Ingredients
- Powdered sugar (240 g): Be sure to sift it for a silky, lump-free filling and smoothest texture.
- Unsalted butter (2 tablespoons, softened): Soft butter vanishes right into the dough, making the minty center melt-in-your-mouth.
- Peppermint extract (2 teaspoons): Genuine peppermint extract gives these patties that brisk, breath-fresh air flavor, but don't overdo it—it’s potent.
- Heavy cream (2 tablespoons): A splash of cream pulls it all together into a dreamy, workable dough; add it slowly and don’t worry if you don’t use every drop.
- Pinch of salt: Don’t skip this, as a little salt brings the whole mint-vanilla profile into focus and makes every bite pop.
- Dark chocolate (8 oz, 60–70% cocoa): Choose a chocolate you’d snack on alone for a glossy, deeply flavorful shell.
- Coconut oil (1 teaspoon, optional): This helps the chocolate go glossy and smooth, especially if it’s your first time dipping.
Instructions
- Mix up the minty center:
- Grab your mixing bowl and beat together powdered sugar, softened butter, peppermint extract, cream, and salt until it all becomes a soft, pliable dough—don’t worry if it seems sticky; just dust in a bit more sugar as needed.
- Shape into discs:
- Pinch off little balls (2 teaspoons each), flatten them into quarter-inch discs between your palms, and place them on a parchment-lined sheet (think tiny snowflakes in a perfect lineup).
- Chill until firm:
- Slide the tray into the freezer for about 20–30 minutes, just long enough for everything to firm up so the next steps are mess-free.
- Melt the chocolate:
- Pop the chopped chocolate and coconut oil into a heatproof bowl set over simmering water, stirring gently until it’s glossy and completely smooth (pause to inhale the aroma—irresistible).
- Dip the patties:
- Drop each cold mint disc in the chocolate with a fork, lift so the chocolate drips off, and return to the parchment for their final set.
- Chill and set:
- Slide the finished patties into the fridge for at least 15 minutes, until the chocolate is perfectly snappy and set.
 Save to Pinterest
 It was during a snowy December weekend that these peppermint patties took on a whole new meaning—stacked in a little glass jar, they became my go-to hostess gift, and the sparkle in a friend’s eyes always said more than any store-bought box could. Handing them over with a flourish, I realized these candies were little tokens of thoughtfulness, not just a treat.
The Trick to Effortless Dipping
I used to dread the dipping step, but here's my solution: always work in small batches, only taking a few chilled patties out of the freezer at a time so the rest stay firm. Swirling each one in chocolate with a fork gives you maximum control and keeps fingers from turning into a chocolate mess. Clean up is a breeze compared to the sticky situation of dipping room-temperature discs.
Storage That Actually Works
Don’t fret if you end up with leftovers—these patties are made for longevity. Layer them with parchment in an airtight container, and they stay fresh for up to two weeks in the fridge. They’re equally delicious snuck straight from the cold or after a few minutes resting at room temperature.
Creative Finishes You’ll Crave
One night I pressed crushed peppermint candies into the glossy chocolate coating, and suddenly the patties looked just as festive as they tasted. A crackle of flaky sea salt ups the sophistication, while a drizzle of white chocolate makes them show-stopping for gifts or dessert trays.
- If decorating, do it before the chocolate fully sets for best results.
- Change the vibe with different extracts—think orange or almond for a twist.
- Don’t forget the joy of licking the spoon at the end—it’s the chef’s prerogative.
 Save to Pinterest
 There’s something special about making candy at home, especially when it’s this forgiving and fun. Give these peppermint patties a try—sharing them might just become your new favorite tradition, too.
Recipe Questions & Answers
- → How long should the mint discs freeze before dipping?
-
Freeze for 20–30 minutes until firm; this prevents the filling from melting when dipped and helps the chocolate set with a neat edge.
- → What's the best way to melt the dark chocolate?
-
Melt over a gentle simmer in a heatproof bowl (double boiler) while stirring; add a teaspoon of coconut oil for a smoother, shinier coating if needed.
- → Can I make a dairy-free version?
-
Yes. Use dairy-free butter and coconut cream in the filling, and choose dark chocolate labeled vegan to keep the patties plant-based.
- → How do I stop the filling from being too sticky?
-
Adjust by gradually adding more sifted powdered sugar until the dough is firm and workable; chilling also firms the mixture for easier shaping.
- → Is tempering the chocolate necessary?
-
Tempering yields the best snap and shine, but simply melting the chocolate and adding a bit of coconut oil produces a smooth, acceptable finish for home use.
- → How should I store the finished patties?
-
Keep in an airtight container in the refrigerator for up to two weeks; bring to cool room temperature briefly before serving for best texture.
