 Save to Pinterest
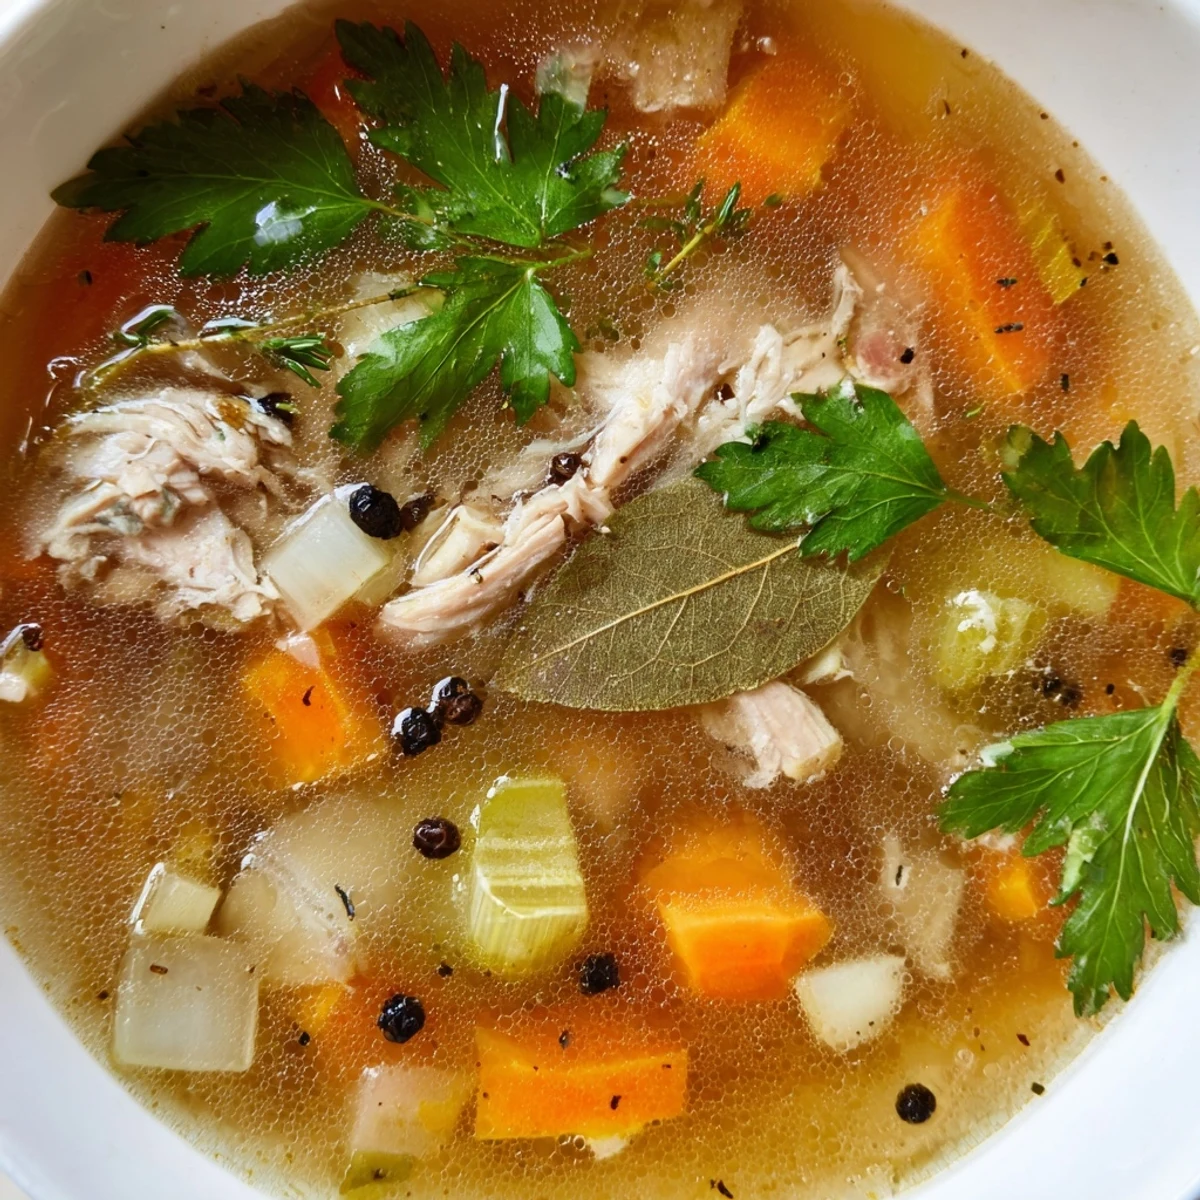
 This slow-cooked elixir transforms simple chicken bones into a golden, nutrient-rich liquid that forms the foundation of countless culinary creations. After just 15 minutes of preparation, your slow cooker works its magic over 12-18 hours, extracting collagen, minerals, and deep savory flavors from roasted bones, fresh vegetables, and aromatic herbs. The resulting broth offers incredible versatility—enjoy it warm as a comforting sip, use it to elevate soups and risottos, or freeze portions for future cooking adventures. With apple cider vinegar helping to extract beneficial nutrients and classic aromatics like bay leaves and peppercorns building depth, this nourishing liquid becomes a kitchen staple that tastes far superior to store-bought alternatives.
The sound of a slow cooker humming at two in the morning became my favorite lullaby during a particularly brutal winter, when everyone in my house seemed to catch one cold after another. I started making bone broth out of desperation and stubbornness, refusing to buy another overpriced jar from the health food store. What began as a practical decision turned into a weekly ritual I genuinely look forward to. There is something deeply satisfying about turning leftover bones into liquid gold.
My neighbor Laura knocked on my door one Sunday afternoon asking if I was roasting a chicken because the hallway smelled incredible. I handed her a warm mug of the freshly strained broth, and she stood in my doorway sipping it in silence for a full minute before saying anything. She now drops off her leftover chicken bones at my door every week like a sacred offering.
Ingredients
- Chicken bones (1.5 kg): Carcasses, wings, backs, or a mix work beautifully, and roasted bones give a deeper, richer flavor than raw ones.
- Carrots (2 medium, roughly chopped): No need to peel them, just give them a good scrub and chop them into chunks.
- Celery stalks (2, roughly chopped): These add a subtle savory backbone that you will miss if you skip them.
- Onion (1 large, quartered): Leave the skin on for a lovely golden color in your finished broth.
- Garlic cloves (4, smashed): A quick press with the flat side of a knife releases the oils and saves you from peeling each clove.
- Bay leaves (2): Essential for that quiet, earthy depth that makes broth taste like broth.
- Whole black peppercorns (10): Whole peppercorns give gentle warmth without clouding the liquid.
- Fresh parsley (1 bunch, optional): Toss it in during the last hour for a fresh, bright note.
- Fresh thyme (1 to 2 sprigs, optional): A little goes a long way and pairs beautifully with chicken.
- Apple cider vinegar (1 tablespoon): This is the secret weapon, helping draw minerals out of the bones and into your broth.
- Cold water (2.5 liters): Always start with cold water, as it extracts more collagen and flavor from the bones.
- Salt (1 teaspoon, or to taste): Add this at the end so you can control the saltiness precisely.
Instructions
- Load the slow cooker:
- Pile the chicken bones into your slow cooker, breaking up any large carcass pieces so everything fits snugly beneath the water line.
- Add the vegetables:
- Toss in the chopped carrots, celery, quartered onion, and smashed garlic cloves, distributing them around and between the bones.
- Season with aromatics:
- Scatter the bay leaves, peppercorns, and herb sprigs over the top, letting them settle naturally into the gaps.
- Pour the liquid:
- Add the apple cider vinegar followed by the cold water, making sure everything is fully submerged, then give it one gentle nudge to settle the contents.
- Slow cook patiently:
- Set your slow cooker to LOW and let it go for 12 to 18 hours, skimming off any foamy residue that rises to the top during the first hour or two.
- Strain carefully:
- Pour the hot broth through a fine mesh sieve or cheesecloth into a large bowl, discarding all the spent solids without hesitation.
- Season and cool:
- Stir in salt to taste while the broth is still warm, then let it cool completely and scrape off the layer of fat that solidifies on top if you prefer a cleaner broth.
- Store properly:
- Ladle the finished broth into airtight containers or jars, refrigerating for up to five days or freezing for months of ready made nourishment.
 Save to Pinterest
 There was a evening when my daughter was home sick from school, and I handed her a warm mug of this broth with a squeeze of lemon. She wrapped both hands around it and told me it tasted like a hug, which is now the only way she asks for it.
Choosing the Right Bones
Not all bones are created equal, and I learned this after a few batches that tasted thin and disappointing. The best broth comes from a mix of joint heavy pieces and meaty bones, because joints and cartilage deliver that silky, gelatinous texture you want. If you roast a whole chicken for dinner, save every bone, wing tip, and back piece in a bag in your freezer until you have enough. Your future self will thank you when a rich, golden batch is ready with almost zero extra shopping.
Getting That Beautiful Gel Set
The first time my broth gelled completely in the refrigerator, I panicked and assumed I had done something wrong. That firm, wobbly set is actually the hallmark of a collagen rich broth, and it means you extracted everything worthwhile from those bones. It will melt back into liquid the moment you heat it, so do not be alarmed. If your broth stays completely liquid after chilling, try adding a few more joint pieces or extending the cooking time next time around.
Storage and Freezing Tips
I keep a rotating stockpile of frozen broth in my freezer at all times, labeled with the date so nothing sits too long.
- Freeze broth in portion sized jars or silicone ice cube trays for easy single servings.
- Leave at least an inch of headspace in glass jars before freezing to prevent cracking.
- Always label your containers because frozen broth and frozen soup look annoyingly identical.
 Save to Pinterest
 Once you start making your own bone broth, you will never go back to the boxed stuff again, and your kitchen will smell like the coziest place on earth every single time. Share a jar with someone you love and watch them become a convert too.
Recipe Questions & Answers
- → How long does chicken bone broth last in the refrigerator?
-
Properly stored in airtight containers, your homemade broth will stay fresh for up to 5 days in the refrigerator. For longer storage, freeze in portion-sized containers or freezer bags for 3-6 months.
- → Do I need to roast the bones first?
-
Roasting isn't required but creates a much deeper, richer flavor. Try roasting bones at 220°C (425°F) for 30 minutes before adding them to your slow cooker—the caramelized bits add incredible depth.
- → What's the purpose of apple cider vinegar?
-
The acidity helps extract minerals and collagen from the bones during the long cooking process. Don't worry—you won't taste the vinegar in the finished broth, but you'll notice the improved body and nutrition.
- → Can I use cooked bones from a roasted chicken?
-
Absolutely! In fact, roasted bones from a whole chicken create an exceptionally flavorful broth. Simply save your carcass after dinner and combine with any additional raw or roasted bones you have on hand.
- → Why does my broth sometimes turn cloudy?
-
Cloudiness typically occurs from boiling too vigorously or stirring frequently during cooking. For the clearest broth, cook on LOW, avoid stirring, and strain carefully through a fine-mesh sieve or cheesecloth at the end.
- → What vegetables work best in broth?
-
Classic aromatics like carrots, celery, onion, and garlic form the foundation, but feel free to add leeks, parsnips, or even mushroom stems for extra umami. Avoid strong-flavored vegetables like broccoli or cabbage, which can overpower the delicate chicken flavor.
