 Save to Pinterest
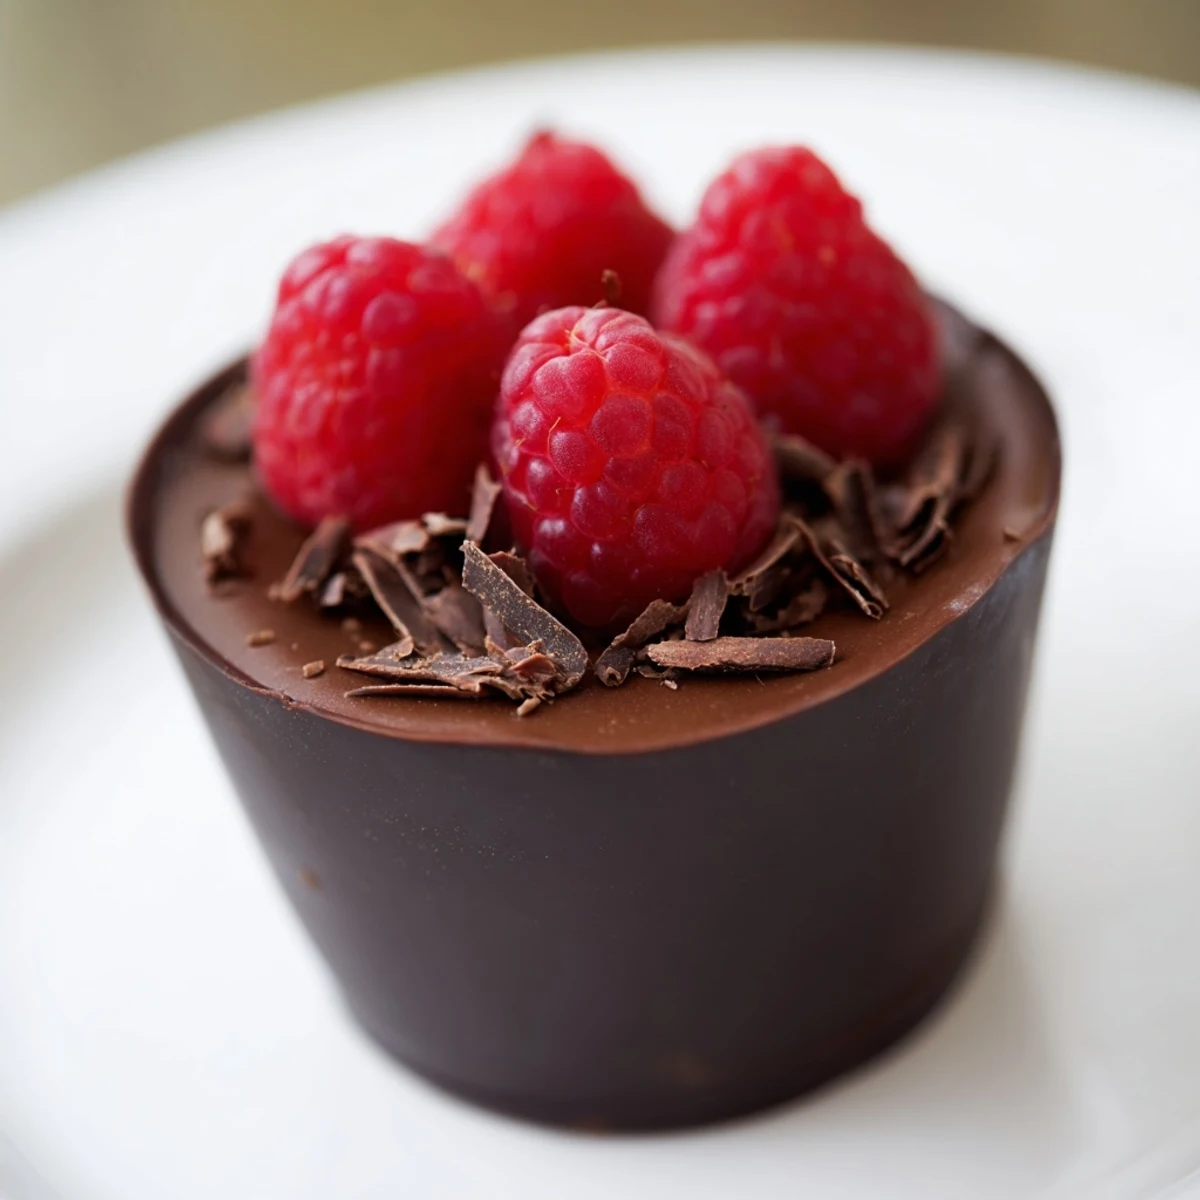
 This French-inspired dessert combines crisp chocolate cups with velvety chocolate mousse for an elegant presentation. Begin by tempering dark chocolate and coating silicone molds with two layers for durability. The mousse features whipped egg whites and heavy cream folded into melted chocolate for a light, airy texture. Chill components separately before assembly, then fill cups with mousse and refrigerate for at least 2 hours until set. Garnish with fresh berries, chocolate shavings, and mint for visual appeal.
The first time I made chocolate cups, it was for my sister's engagement dinner. I remember the wide-eyed looks when I brought out these decadent vessels filled with silky mousse. My hands trembled slightly as I unmolded each cup, praying they wouldn't shatter. The kitchen smelled like a chocolate factory that evening, rich and intoxicating.
Last Valentine's Day, I made these for my husband after the kids went to bed. We sat on the kitchen floor with our backs against the refrigerator, eating them slowly with tiny spoons I'd found at an antique shop. The house was quiet except for the occasional murmur of appreciation and the clink of spoon against chocolate.
Ingredients
- Dark chocolate (70% for cups, 60-70% for mousse): The quality of chocolate makes all the difference - I learned this after serving a batch made with bargain chocolate that tasted flat compared to the good stuff.
- Egg whites: Room temperature eggs whip up with much more volume, giving your mousse that ethereal lightness that makes people close their eyes when they taste it.
- Heavy cream: Keep it cold until the very moment you whip it, even chilling the bowl beforehand if your kitchen runs warm like mine.
- Vanilla extract: Just a teaspoon creates a foundation that makes the chocolate taste more complex and rounded.
Instructions
- Create your chocolate vessels:
- Melt the dark chocolate slowly over simmering water until it feels like silk under your spatula. Brush it generously inside your molds, making sure to reach all the way up the sides.
- Layer for strength:
- After the first chocolate layer chills firm, add a second coating for durability. My early cups were too fragile until I learned this crucial second-layer technique.
- Prepare the mousse base:
- Whisk those egg yolks and sugar until they transform from bright yellow to a pale ribbon that falls back on itself. The chocolate should be cool enough that it won't scramble the eggs but warm enough to blend smoothly.
- Create clouds of texture:
- When beating the egg whites, watch for the moment they turn from foamy to glossy peaks that hold their shape. Overbeating makes a grainy mousse, while underbeating results in a mousse that won't hold its loft.
- The gentle fold:
- Use your largest spatula and a figure-eight motion to incorporate the whipped ingredients. Cutting directly down through the middle and scooping around the edges preserves those precious air bubbles.
- Fill with patience:
- A piping bag makes elegant work of filling the cups, but a small spoon works just as well. Leave a slight gap at the top for garnishes to nestle against the mousse.
 Save to Pinterest
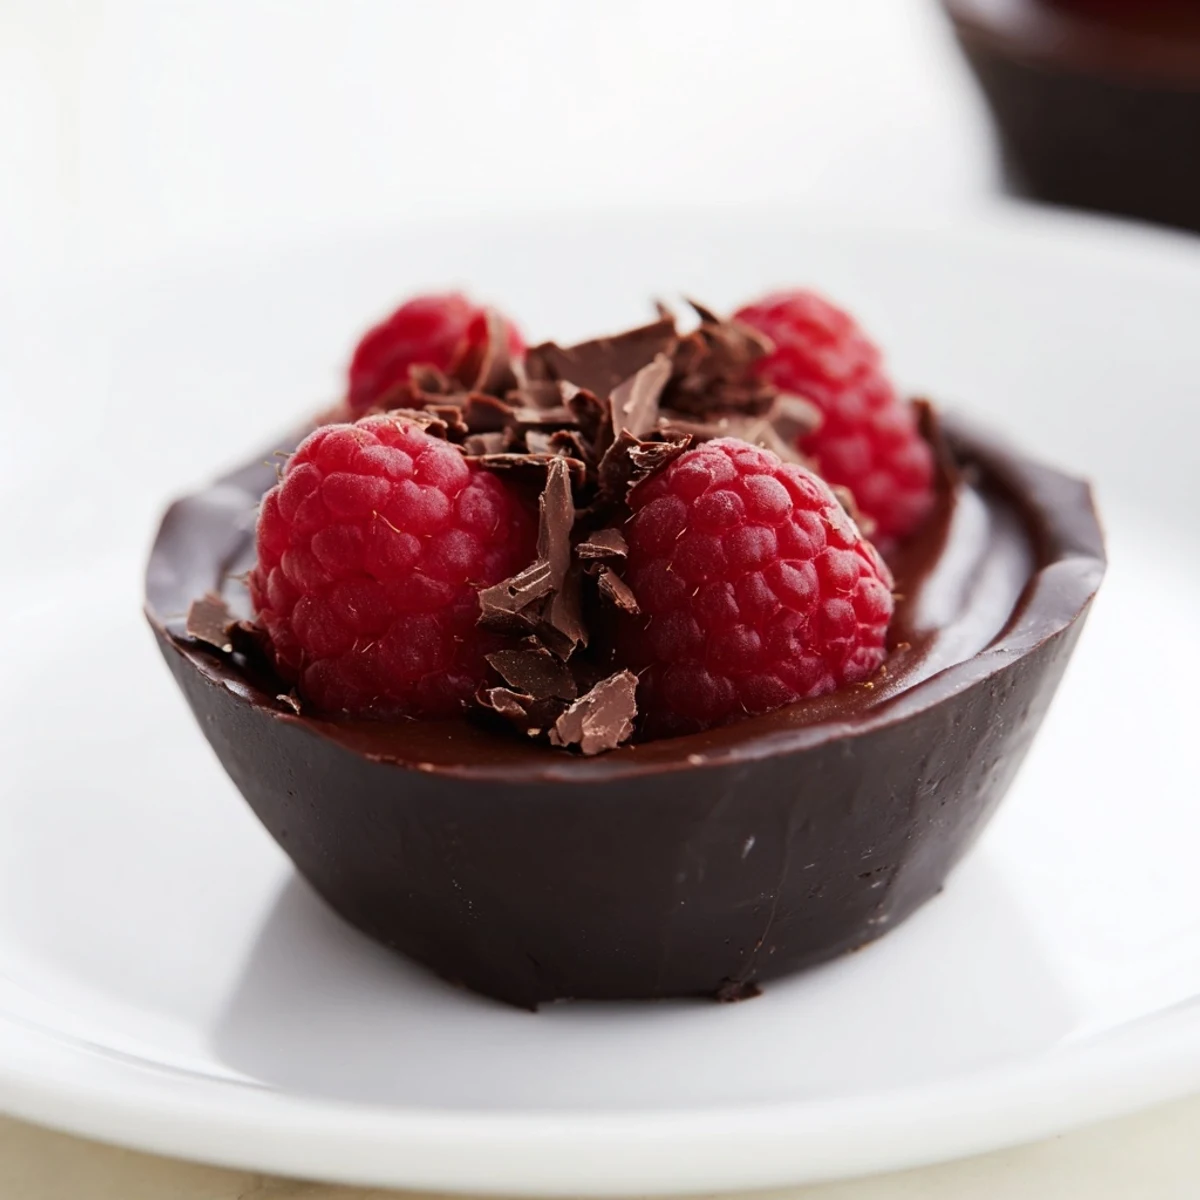
 When my daughter had her wisdom teeth removed, these chocolate cups became her comfort food. I would melt the chocolate cup slightly with my fingertip so she could easily spoon through it, mixing the solid and creamy chocolate together. She claims this dessert healed her faster than any medicine, and maybe there's some truth to chocolate's power to soothe.
Flavor Variations
Some evenings when I make these, I'll add a tablespoon of orange liqueur to the mousse, which reminds me of those chocolate oranges my grandmother would break apart at Christmas. Coffee liqueur creates a beautiful mocha version that pairs wonderfully with after-dinner conversation. The beauty of this recipe is how it welcomes these small creative touches while maintaining its elegant simplicity.
Making Ahead
I've found these cups can be made up to three days ahead and stored empty in an airtight container. The mousse itself benefits from an overnight chill, developing deeper flavor as it rests. When hosting dinner parties, having these prepped and waiting in the refrigerator has saved me from the last-minute dessert scramble that used to leave me too exhausted to enjoy my own gatherings.
Serving Suggestions
The presentation of these chocolate cups can transform from casual to stunning with just a few thoughtful touches. I once created a dessert table where each cup sat on a small mirror tile, reflecting the overhead lights and making the chocolate gleam like polished wood.
- For summer parties, surround each cup with a halo of fresh berries and mint sprigs for a garden-inspired look.
- A light dusting of gold luster dust on the rim of each cup turns them into celebration-worthy treasures for milestone birthdays or anniversaries.
- Serve alongside tiny espresso cups for the perfect bitter-sweet contrast that cleanses the palate between bites.
 Save to Pinterest
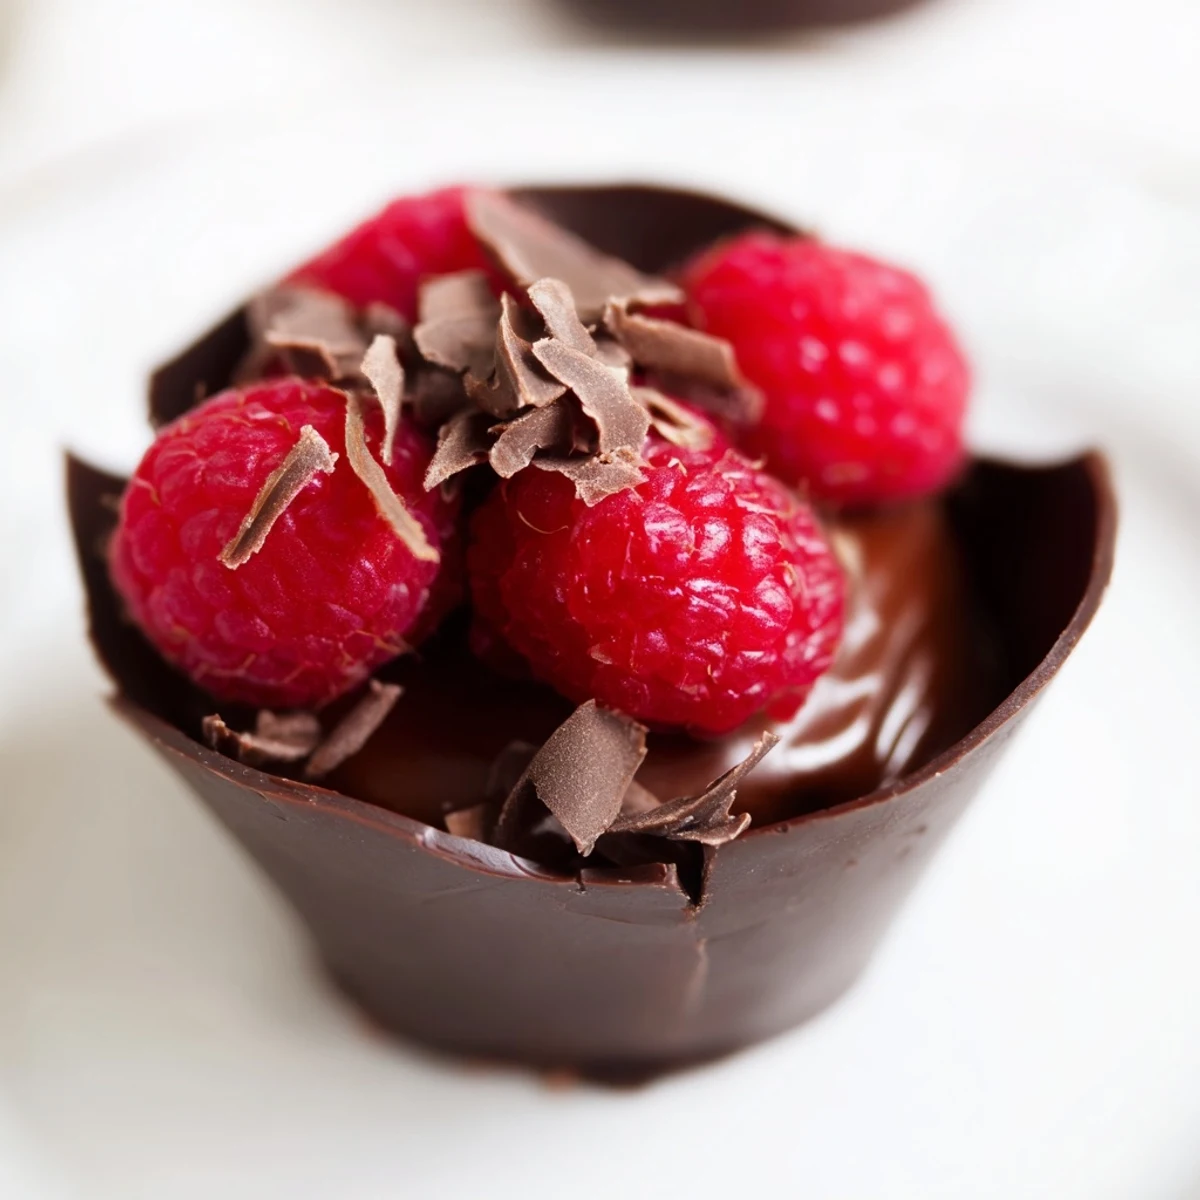
 These chocolate dessert cups have become my signature offering, requested at family gatherings and celebrations throughout the years. There's something magical about watching someone experience that first bite - the crack of the chocolate shell giving way to the cloud-like mousse within.
Recipe Questions & Answers
- → Can I make the chocolate cups ahead of time?
-
Yes, chocolate cups can be made up to 3 days in advance. Store them in an airtight container in the refrigerator to maintain their structure and prevent moisture absorption.
- → How do I prevent the chocolate cups from cracking?
-
Apply two thin, even layers of melted chocolate to the molds, allowing each layer to set completely in the refrigerator. Avoid sudden temperature changes when unmolding, and handle them gently to prevent breakage.
- → What's the best way to unmold the chocolate cups?
-
Once the chocolate is completely set and firm, gently squeeze the silicone mold from underneath to release the cup. If using paper liners, peel them away carefully. Ensure the chocolate has reached room temperature for easier unmolding.
- → Can I substitute the raw eggs with an alternative?
-
Yes, use pasteurized eggs for safety. Alternatively, replace egg whites with whipped heavy cream for an all-cream mousse, though this changes the traditional texture and richness slightly.
- → How long can I store assembled desserts?
-
Store assembled chocolate cups in the refrigerator for up to 24 hours. Avoid garnishing with berries until shortly before serving to prevent sogginess. Do not freeze after assembly.
- → What flavoring variations work well with this mousse?
-
Orange liqueur, espresso, or a hint of cinnamon complement the chocolate beautifully. Add these extracts to the cooled melted chocolate before folding in cream and egg whites. Start with ½ teaspoon and adjust to taste.
