 Save to Pinterest
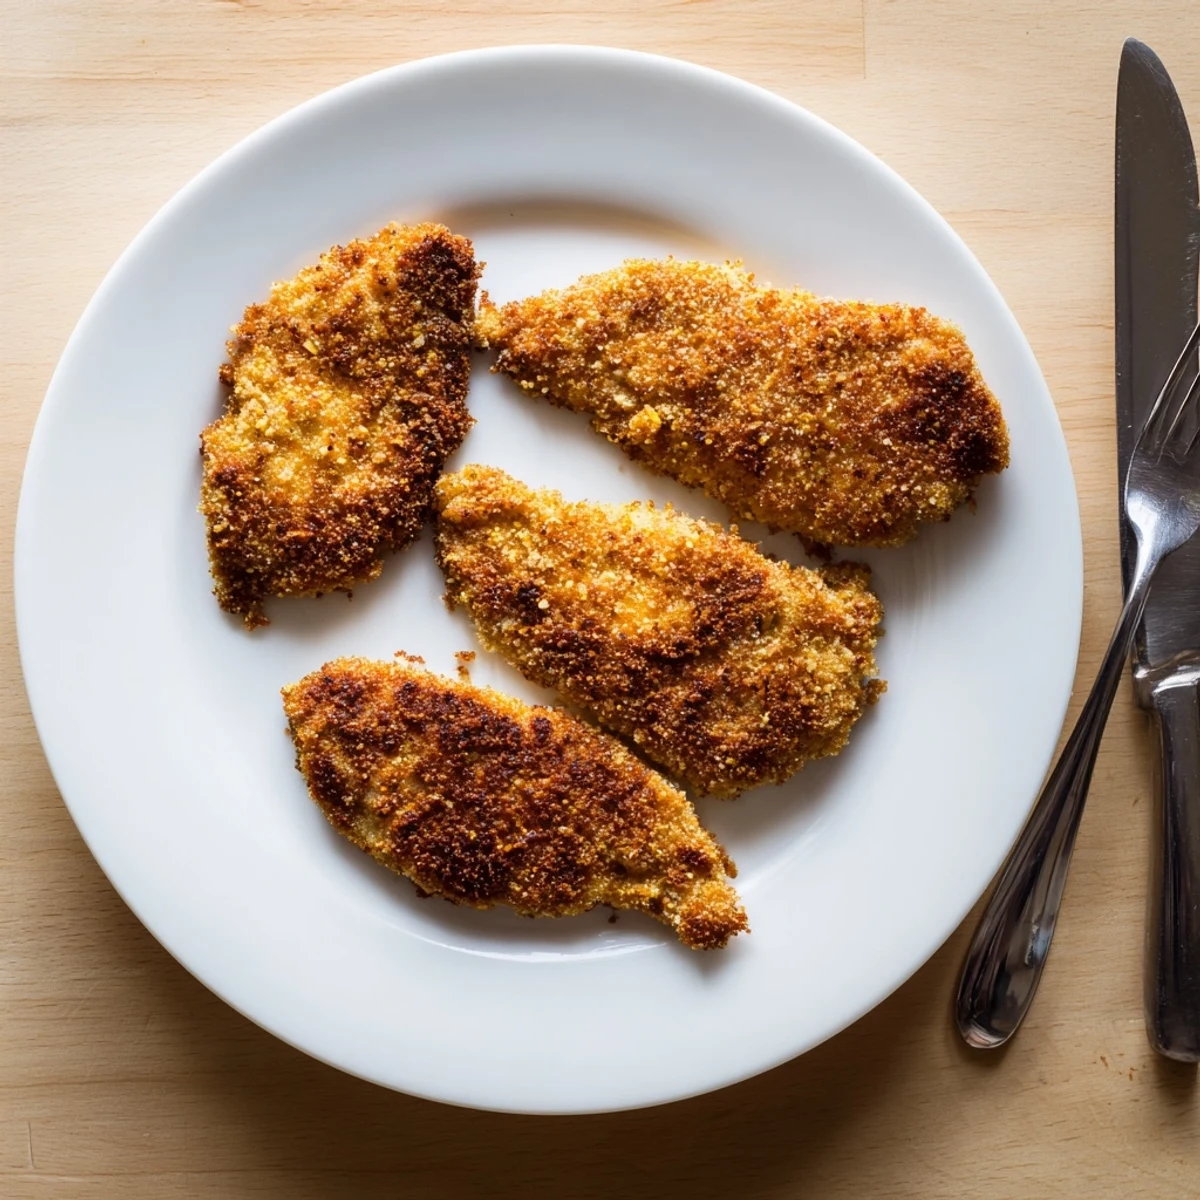
 These breaded chicken breasts deliver everything you love about classic fried chicken with a fraction of the oil. The air fryer creates an incredibly crispy, golden exterior while keeping the meat juicy and tender inside. A seasoned coating of panko breadcrumbs, Parmesan, garlic powder, and paprika adds layers of savory flavor to every bite. The entire dish comes together in just 30 minutes, making it perfect for busy weeknight dinners.
The three-step breading process ensures the coating sticks perfectly and creates that satisfying crunch. Preheating the air fryer and using a light spray of olive oil helps achieve that restaurant-quality golden finish. Each serving provides 45 grams of protein, making this as nutritious as it is delicious. Serve with lemon wedges, over a fresh salad, or alongside roasted vegetables for a complete meal.
My husband actually bought our air fryer as a random impulse purchase, and for months it sat collecting dust on the counter. One rainy Tuesday when I'd forgotten to defrost anything for dinner, I decided to try making breaded chicken in it—mostly because I was too tired to deal with oil splattering everywhere. When that first batch came out golden and impossibly crispy, my seven-year-old asked if we'd ordered takeout. Now this is the dinner I make when everyone needs a little comfort food but I still want to feel good about what we're eating.
Last summer my sister came to visit with her three kids, and I made a double batch of this chicken. We ate it outside on paper plates while the kids ran through the sprinkler, and something about that simple meal—crispy chicken, cold lemonade, bare feet on the grass—became one of my favorite memories from that whole summer. The best part was how everyone kept going back for seconds, even the picky cousin who usually survives on buttered noodles.
Ingredients
- 4 boneless, skinless chicken breasts: Pound them to an even thickness so they cook through evenly without drying out
- 1 cup all-purpose flour: This creates the base layer that helps the egg and breadcrumbs stick properly
- 2 large eggs: Beat them thoroughly until no streaks of white remain
- 1 cup panko breadcrumbs: These Japanese-style breadcrumbs create that irresistibly light and crunchy coating
- 1/2 cup grated Parmesan cheese: Adds a savory depth that makes the breading taste restaurant-quality
- 1 tsp garlic powder and paprika each: This combination gives the chicken that classic savory flavor everyone recognizes
- 1/2 tsp salt and black pepper: Season every layer—flour, egg, and crumbs—for the best flavor
- Olive oil spray: This is the secret to getting that fried-food texture without actually frying
Instructions
- Preheat and Prep:
- Fire up your air fryer to 200°C (400°F) while you get everything organized. Pound the chicken breasts until they're an even 1.5–2 cm thick—this is the single most important step for juicy results.
- Set Up Your Breading Station:
- Arrange three shallow bowls in a line. Fill the first with flour, the second with beaten eggs, and the third with panko, Parmesan, garlic powder, paprika, salt, and pepper all mixed together.
- Dredge Like a Pro:
- Press each chicken breast into the flour first, shaking off any excess. Then dip it in the egg mixture, letting any extra drip off. Finally press it firmly into the crumb mixture until it's thoroughly coated on all sides.
- Spray and Arrange:
- Give both sides of each breast a light mist of olive oil spray. Place them in the air fryer basket in a single layer—work in batches if necessary rather than overcrowding.
- Fry to Perfection:
- Cook at 200°C (400°F) for 7 minutes, then flip each piece and spray again with oil. Continue cooking for another 6–8 minutes until golden brown and the internal temperature hits 74°C (165°F).
- The Resting Period:
- Let the chicken rest for 2–3 minutes before cutting into it. This short wait allows the juices to redistribute throughout the meat.
 Save to Pinterest
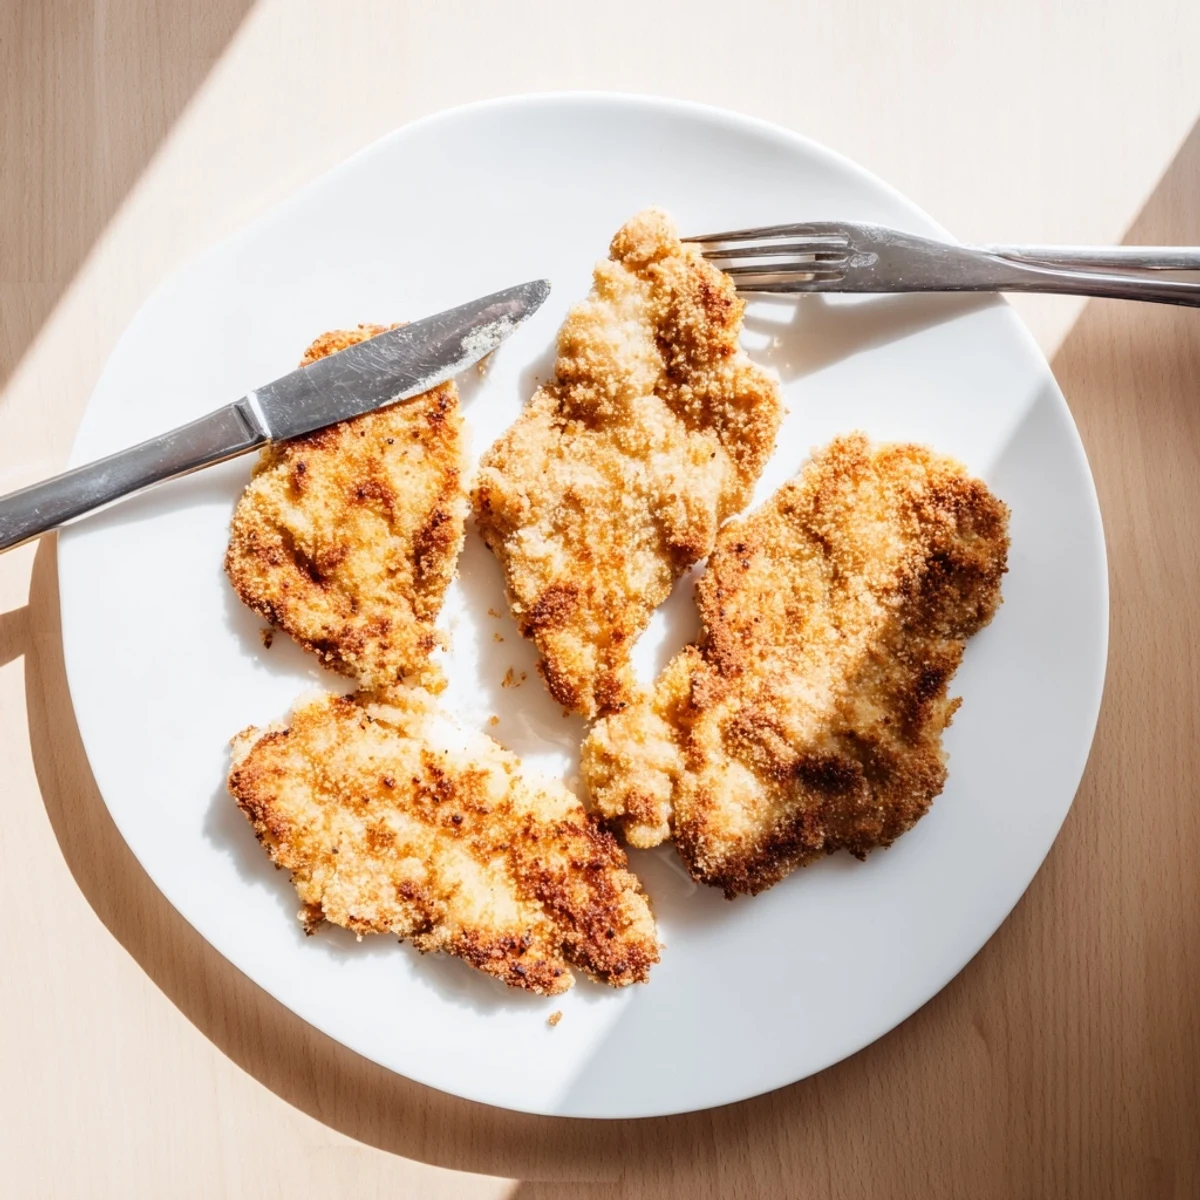
 This chicken has become my go-to for Sunday supper because it feels special enough for company but doesn't leave me stuck in the kitchen while everyone else is hanging out. Last month my dad came over and he kept asking what restaurant we'd ordered from—when I told him I'd made it, he immediately asked for the recipe. That's when you know a dish is worth keeping around.
Getting the Crispiest Results
The oil spray might seem optional but it's actually crucial for that authentic fried texture. I learned this the hard way when I tried to skip it to save calories and ended up with pale, soft breading that just fell off the chicken. Now I always keep a good quality olive oil spray specifically for this recipe.
Customization Ideas
Sometimes I add dried Italian herbs to the breadcrumb mixture, especially when I'm serving this with pasta. Other times I'll throw in some cayenne if we're in the mood for something with a little kick. The beauty of this recipe is how easily it adapts to whatever you're craving that night.
Make-Ahead Strategies
You can bread the chicken up to a day in advance and store it on a parchment-lined baking sheet in the refrigerator. I've done this for dinner parties and it saves so much stress. Just cook them straight from the fridge—you might need an extra minute or two per side.
- Set up your breading station left to right to avoid cross-contamination
- Use one hand for wet ingredients and one for dry to keep your fingers from getting coated in breading
- Line your air fryer basket with perforated parchment paper for easier cleanup
 Save to Pinterest
 I hope this becomes one of those recipes you can make without even thinking about it, the one you turn to when life gets busy but you still want to put something homemade and delicious on the table.
Recipe Questions & Answers
- → How do I know when the chicken is fully cooked?
-
Use a meat thermometer to check the internal temperature reaches 74°C (165°F). The chicken should feel firm and the coating should be golden brown. If you don't have a thermometer, cut into the thickest part to ensure the meat is opaque throughout with no pink.
- → Can I make this ahead of time?
-
You can bread the chicken breasts up to 4 hours ahead and store them refrigerated on a parchment-lined baking sheet. Cook just before serving for the crispiest results. Leftovers will keep refrigerated for up to 3 days, though the coating softens slightly after storage.
- → What's the best way to get the breading to stick?
-
Pat the chicken completely dry before breading, press firmly when coating with the panko mixture, and don't skip the flour layer—it helps the egg adhere. Letting the breaded chicken sit for 5-10 minutes before cooking also helps the coating set.
- → Do I need to preheat the air fryer?
-
Yes, preheating to 200°C (400°F) for 5 minutes ensures the air fryer is hot enough to immediately crisp the coating, resulting in better texture and more even cooking throughout the chicken.
- → Can I use regular breadcrumbs instead of panko?
-
Panko creates a lighter, crispier coating, but regular breadcrumbs work in a pinch. The texture will be denser and slightly less airy. You may need to reduce the cooking time by 1-2 minutes as regular breadcrumbs brown faster than panko.
- → How do I prevent the chicken from drying out?
-
Avoid overcooking by checking the temperature at the minimum cooking time. Pound thick breasts to even thickness so they cook uniformly. Let the chicken rest for 2-3 minutes after cooking—the juices redistribute and keep the meat moist.
